Intent: demonstrate — this guide walks school IT coordinators, facilities staff, and athletic administrators through a touchscreen recognition display screen uniformity test so they can identify brightness and color problems before formally accepting a new installation.
A recognition display in your school lobby or athletic hallway will show alumni portraits, championship records, and donor names under consistent ambient light from roughly the same viewing distance every day. A panel with a bright spot in the upper-right quadrant will become that lobby’s most noticeable flaw — more visible than it ever looked in a vendor showroom. Running a simple uniformity test during the acceptance window, before the installer leaves and before you sign off on delivery, gives you documented evidence to request a panel replacement or adjustment at no cost to the school.
Schools investing in digital hall of fame displays, donor recognition walls, and athletic record boards often focus acceptance checks on software — verifying that content appears correctly and navigation works — while skipping the hardware quality check that would catch panel defects before they become permanent problems. This guide fills that gap with a structured, repeatable procedure any facilities coordinator or IT staff member can complete in under two hours with no specialized equipment.
Why Screen Uniformity Matters for Recognition Displays
Consumer televisions tolerate modest uniformity variation because viewing content changes every few minutes. A recognition display runs the same screens — white name fields, portrait photos, team records — for hours at a time in a controlled lighting environment. Defects that disappear in casual use become distracting focal points on static recognition content.
Four categories of uniformity problems commonly surface during post-installation inspection:
Brightness hotspots. Local bright patches appear when LED backlight clusters produce uneven illumination. On a portrait of a hall-of-fame inductee, a hotspot in the cheek area creates a bleached-out region that reads as a print defect to visitors unfamiliar with panel technology.
Backlight bleed and clouding. Light leaks inward from display edges or creates diffuse bright clouds on dark backgrounds. Black nameplate sections and dark team color backgrounds reveal this most clearly.
Color tint shifts. The right or left portion of the panel renders warm (yellowish) while the opposite side reads cool (bluish). On a display built to show consistent school colors — a specific navy or cardinal red — tint variation across the panel undermines branding precision.
Banding. Horizontal or vertical stripes appear on solid-color fills, usually caused by uneven panel column or row driver output. Banding is most visible on mid-gray backgrounds and can suggest manufacturing quality issues worth escalating before warranty periods begin.
Athletic directors overseeing display installations benefit from understanding what professional-grade display procurement looks like before accepting a delivery — including hardware quality benchmarks most vendors do not volunteer in their sales materials.
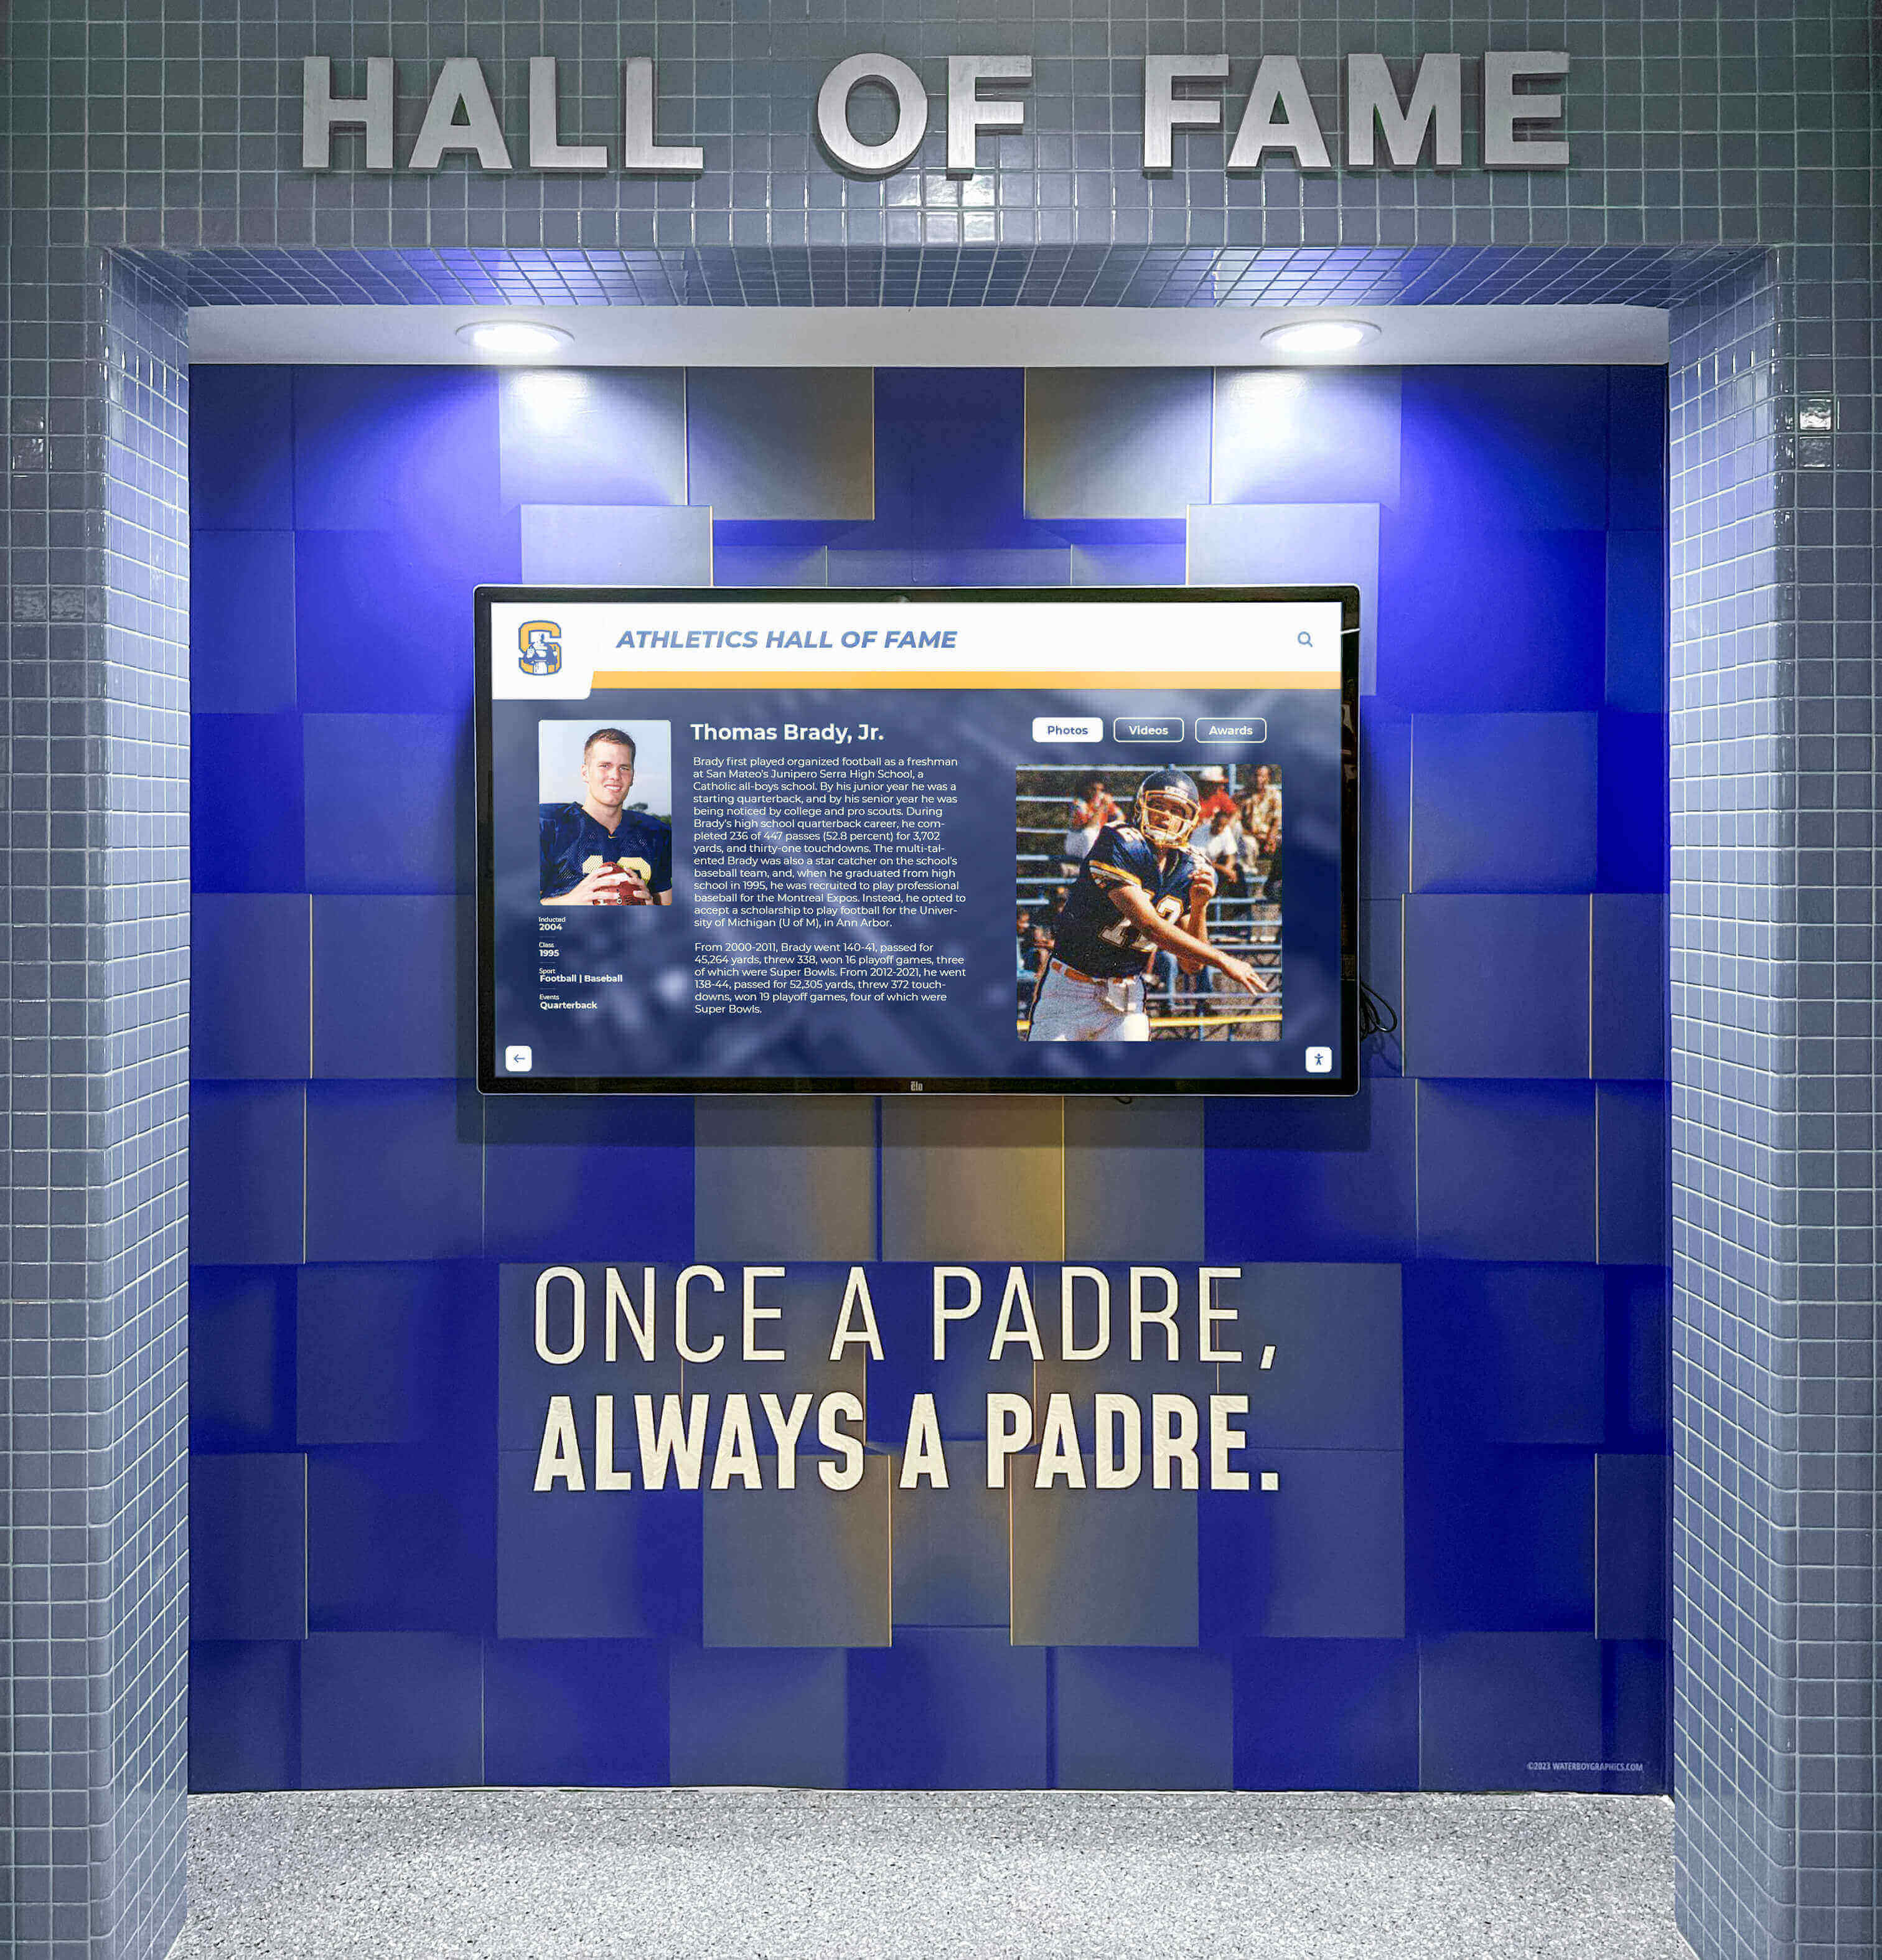
Recognition displays in athletics facilities run the same content for hours — panel uniformity defects become permanent features of the installation
Before You Begin: Viewing Conditions Setup
The test patterns described in this guide reveal defects best under specific viewing conditions. Preparing the space before running test images saves time and produces more reliable results.
Room lighting. For dark-background tests (black and dark-gray patterns), reduce ambient light as much as possible — close blinds, turn off overhead fixtures, or run the test at dusk if your space lacks effective light control. For light-background tests (white and mid-gray), standard room lighting is appropriate and mirrors how visitors will typically encounter the display.
Viewing distance. Stand at the distance where most visitors will view the display: typically 6 to 10 feet for a hallway kiosk and 10 to 15 feet for a lobby display visible from across the entrance. Defects visible only from 18 inches are generally not worth escalating; defects visible from your standard viewing distance are.
Warm-up period. Allow the display to run for at least 30 minutes before beginning the test. Panels that have just powered on may show temporary brightness variation that normalizes once operating temperature stabilizes.
Documentation. Bring a phone with a camera. Photograph any defects you identify, capturing the test pattern on screen and the defect location. Timestamps from your photos establish when defects were observed relative to installation, which matters if you need to file a warranty claim later.
The Test Pattern Sequence
Most recognition display platforms include a settings menu with test patterns, or your installation technician can display a solid-color fill from the connected computer. If neither option is available, a browser window filled with a solid hex color displayed full-screen produces an adequate test image.
Run each pattern in order, allowing 60 to 90 seconds to scan each screen at your established viewing distance before moving to the next.
Pattern 1: White (Full Brightness)
A solid white screen reveals brightness uniformity — whether the display produces consistent luminance across its full surface.
Scan from center outward toward all four corners. Look for:
- Regions noticeably brighter or darker than the center
- Gradient falloff from center to edges (common in lower-grade panels)
- Visible bright spots corresponding to individual LED cluster positions
White also reveals dead pixels: small black dots on a white background that do not change regardless of input.
Pattern 2: 50% Mid-Gray
Mid-gray is the most diagnostic pattern for banding. Horizontal or vertical stripes that were invisible on white frequently appear on 50% gray because the panel’s per-row or per-column variation is less masked at mid-tone.
This pattern also reveals:
- Subtle brightness gradients invisible on white
- Initial evidence of tint shifting (one side reading warmer than the other)
Pattern 3: Black (or Dark Gray)
Dark backgrounds reveal backlight bleed and clouding — the two defects most visible on recognition displays that feature dark header bars, team color backgrounds, or nighttime athletic photography.
Run this test in reduced ambient light. Look for:
- Bright areas along the display edges (bleed)
- Diffuse bright patches in interior regions (clouding)
- Any visible flickering on the black field
Pattern 4: Solid Red, Green, and Blue
Primary color fills reveal color uniformity — whether a specific hue is rendered consistently from one side of the panel to the other.
On red: check for an orange cast on one side and a crimson cast on the other. On green: check for yellow-green vs. blue-green variation. On blue: check for cyan-blue vs. purple-blue variation.
These fills also reveal stuck pixels — pixels locked to a single color regardless of input signal — which appear as bright, differently colored dots on a solid-color background.
Pattern 5: School Colors and Portrait Sample
After running the technical test patterns, display a sample of your actual recognition content: a portrait photo at full resolution and a slide showing your school’s primary colors. Uniformity problems that passed the technical patterns sometimes become noticeable at this stage because human skin tones and brand-specific colors are highly sensitive to the variation panels exhibit.
If your vendor provided sample content during installation, use it here. If not, loading your school’s logo on a solid background and a high-resolution portrait at full screen are sufficient.
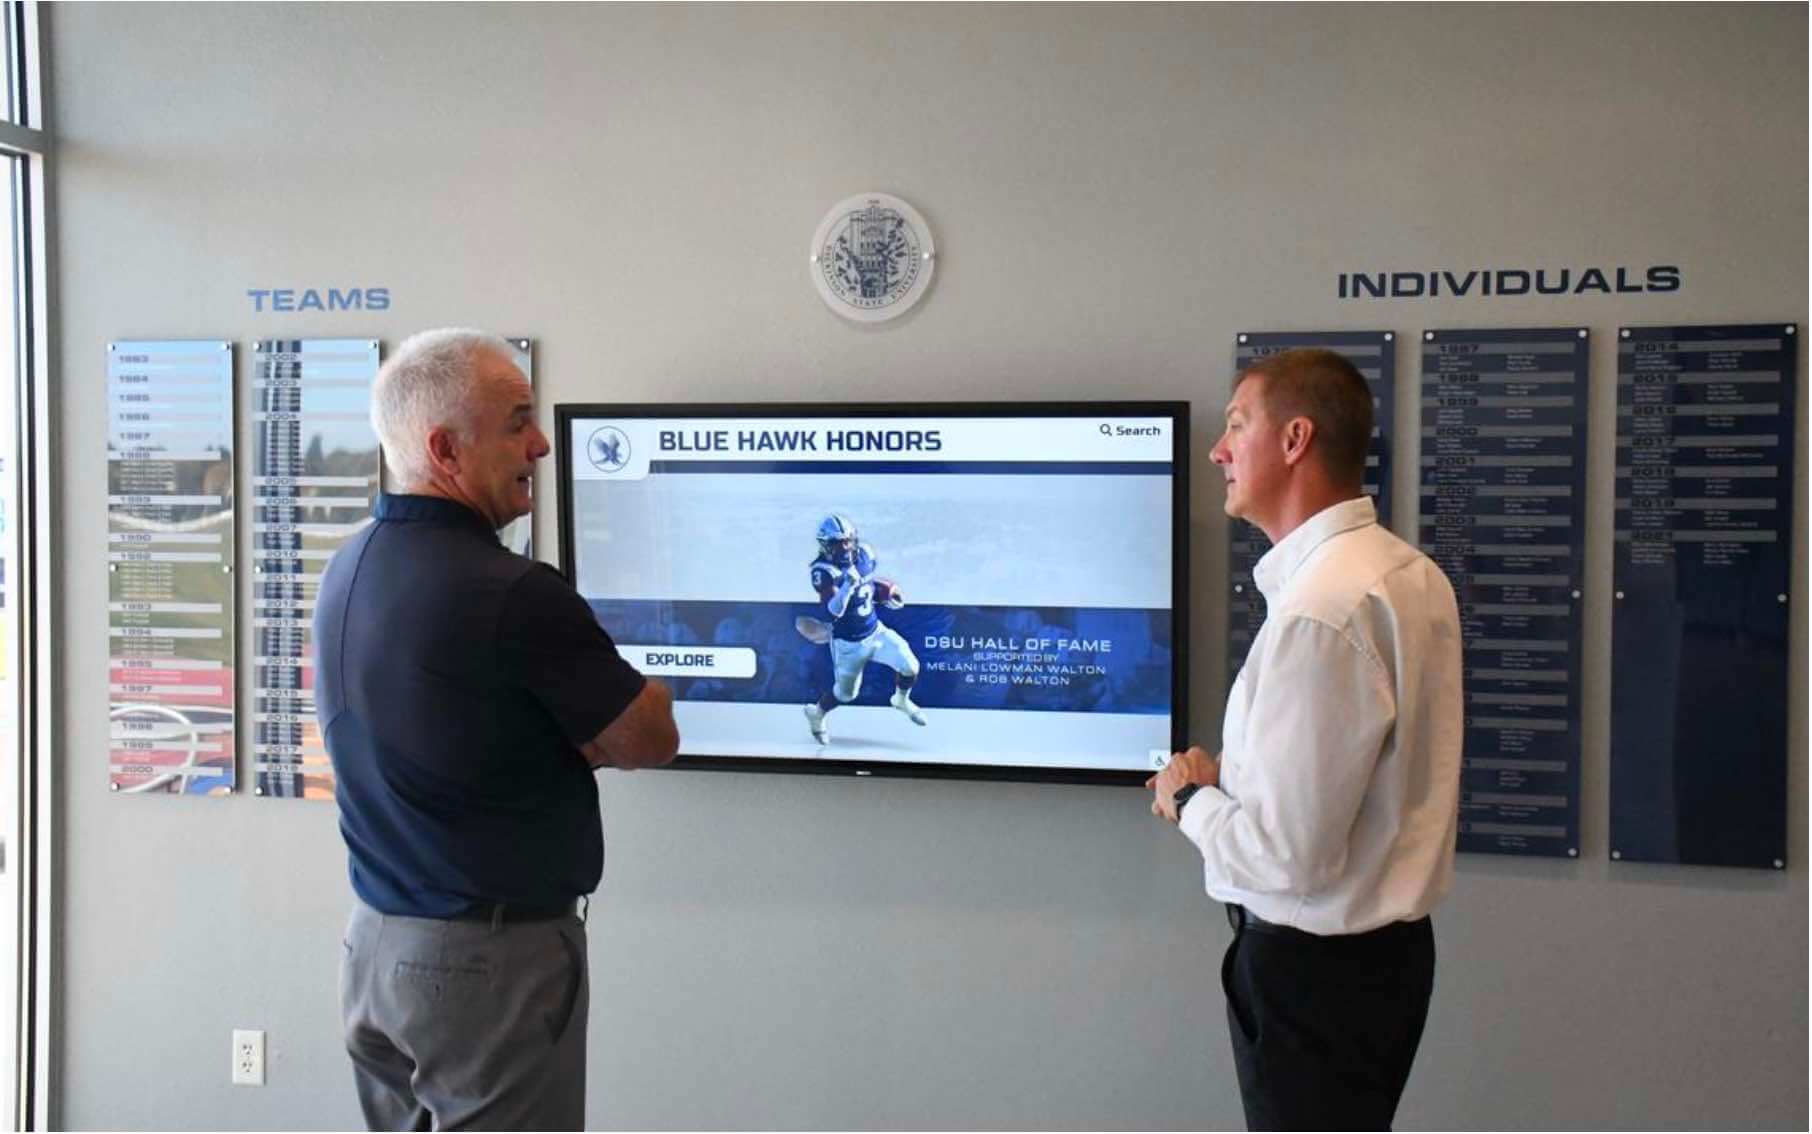
Running the acceptance test as a two-person exercise — one at the display controls, one at standard viewing distance — catches defects a solo inspector can miss
Screen Uniformity Scoring Table
Use this table to evaluate what you observe during each test pattern. The Pass threshold reflects variation typical of commercial-grade panels operating within manufacturer specifications. The Escalate threshold reflects defects that warrant documented communication with your vendor before signing acceptance paperwork.
| Defect Type | Test Pattern | Pass (Acceptable) | Escalate to Vendor | Notes for Documentation |
|---|---|---|---|---|
| Brightness hotspot | White, Mid-Gray | Slight brightness variation in corners not visible from standard viewing distance | Visible bright patch at standard viewing distance; any hotspot in the center third of the panel | Photograph on white pattern; note clock-position (e.g., "upper-right quadrant") |
| Edge darkening (vignetting) | White | Gradual edge falloff visible only within 2 feet of the display | Corner or edge darkening visible from standard viewing distance; affects more than 10% of panel area | Measure approximate area affected; compare all four corners to one another |
| Backlight bleed | Black (reduced light) | Faint glow along edges visible only in a very dark room from close distance | Edge glow visible from standard viewing distance in reduced ambient light; any bleed extending more than 2 inches inward from the edge | Phones often capture bleed well in low light — photograph the screen directly |
| Backlight clouding | Black (reduced light) | No interior clouds acceptable at any viewing distance | Any diffuse bright patch in the interior of the panel | Cloud patterns can shift with temperature — document immediately after the warm-up period |
| Banding | Mid-Gray | No banding acceptable at standard viewing distance | Any horizontal or vertical stripe visible at standard viewing distance | Note orientation (horizontal vs. vertical), approximate width, and location on panel |
| Color tint shift | White, Mid-Gray, RGB fills | Slight warming or cooling at extreme corners not visible from standard viewing distance | Visible color cast difference between left and right halves, or top and bottom halves, at standard viewing distance | Use the solid green fill — human eyes are most sensitive to green hue variation |
| Dead pixels (black dots) | White | Zero dead pixels in the center 90% of panel; 1–2 isolated dead pixels in the outermost edge band only | Any dead pixel in the center 90% of the panel; clusters of 2 or more dead pixels anywhere | Mark pixel location relative to corners using a tape measure for precise documentation |
| Stuck pixels (colored dots) | Red, Green, Blue fills | Zero stuck pixels in the center 90% of panel | Any stuck pixel visible at standard viewing distance, regardless of location | Stuck pixels are bright and colorful — they are almost always noticeable on recognition content |
| Color uniformity on brand colors | School logo / solid color slide | Consistent color rendering with no visible hue shift between panel zones | Noticeable color rendering difference between left and right, or center and corners, on a solid brand color | Compare to a printed reference sample of your school's Pantone or CMYK color if available |
Viewing Conditions Reference Table
Different defect types require different observation conditions. This table summarizes optimal setup for each test pattern.
| Test Pattern | Room Lighting | Viewing Distance | Warm-Up Required | Primary Defects Revealed |
|---|---|---|---|---|
| White | Standard room lighting | Standard viewing distance | Yes (30 min) | Hotspots, edge darkening, dead pixels |
| 50% Mid-Gray | Standard room lighting | Standard viewing distance | Yes (30 min) | Banding, brightness gradients, early tint shift |
| Black | Reduced (blinds closed) | Standard viewing distance | Yes (30 min) | Backlight bleed, clouding, flickering |
| Solid Red | Standard room lighting | Standard viewing distance | Yes (30 min) | Color uniformity, stuck pixels |
| Solid Green | Standard room lighting | Standard viewing distance | Yes (30 min) | Color uniformity (most sensitive channel), stuck pixels |
| Solid Blue | Standard room lighting | Standard viewing distance | Yes (30 min) | Color uniformity, stuck pixels |
| School colors / portrait | Match installed ambient lighting | Standard viewing distance | Yes (30 min) | Practical color accuracy, tint on skin tones and brand colors |
Pass, Escalate, or Reject: Decision Framework
After completing all test patterns and comparing observations to the scoring table, place the display in one of three categories:
Pass — Accept the installation. No Escalate thresholds were crossed. Minor variation falls within the Pass column and is not visible from standard viewing distance. Sign acceptance paperwork, photograph the display running school-appropriate content as documentation of its condition at acceptance, and file that documentation with your facilities or technology department.
Escalate — Document and communicate before accepting. One or more Escalate thresholds were crossed. Do not sign acceptance paperwork until you have communicated in writing with the vendor, described the specific defects with your photographs attached, and received written confirmation of how the vendor will respond — panel replacement, factory recalibration, or warranty credit. Keep records of all communications. Schools that encounter vendor friction during this process can find useful context in guidance on navigating vendor accountability in the digital hall of fame market.
Reject — Decline the panel. Multiple Escalate defects are present, or a single severe defect exists — a center dead pixel cluster, visible banding across the panel, a full-panel tint shift. Request panel replacement under the shipping and installation warranty before accepting delivery. Document the rejection in writing with your photographs, the date of installation, and the names of any vendor representatives present.
Most school display installations from established vendors result in a clean pass. The value of this test is not that problems are common — they are not — but that the test gives staff the framework to identify and document the rare panel issue before the acceptance window closes.
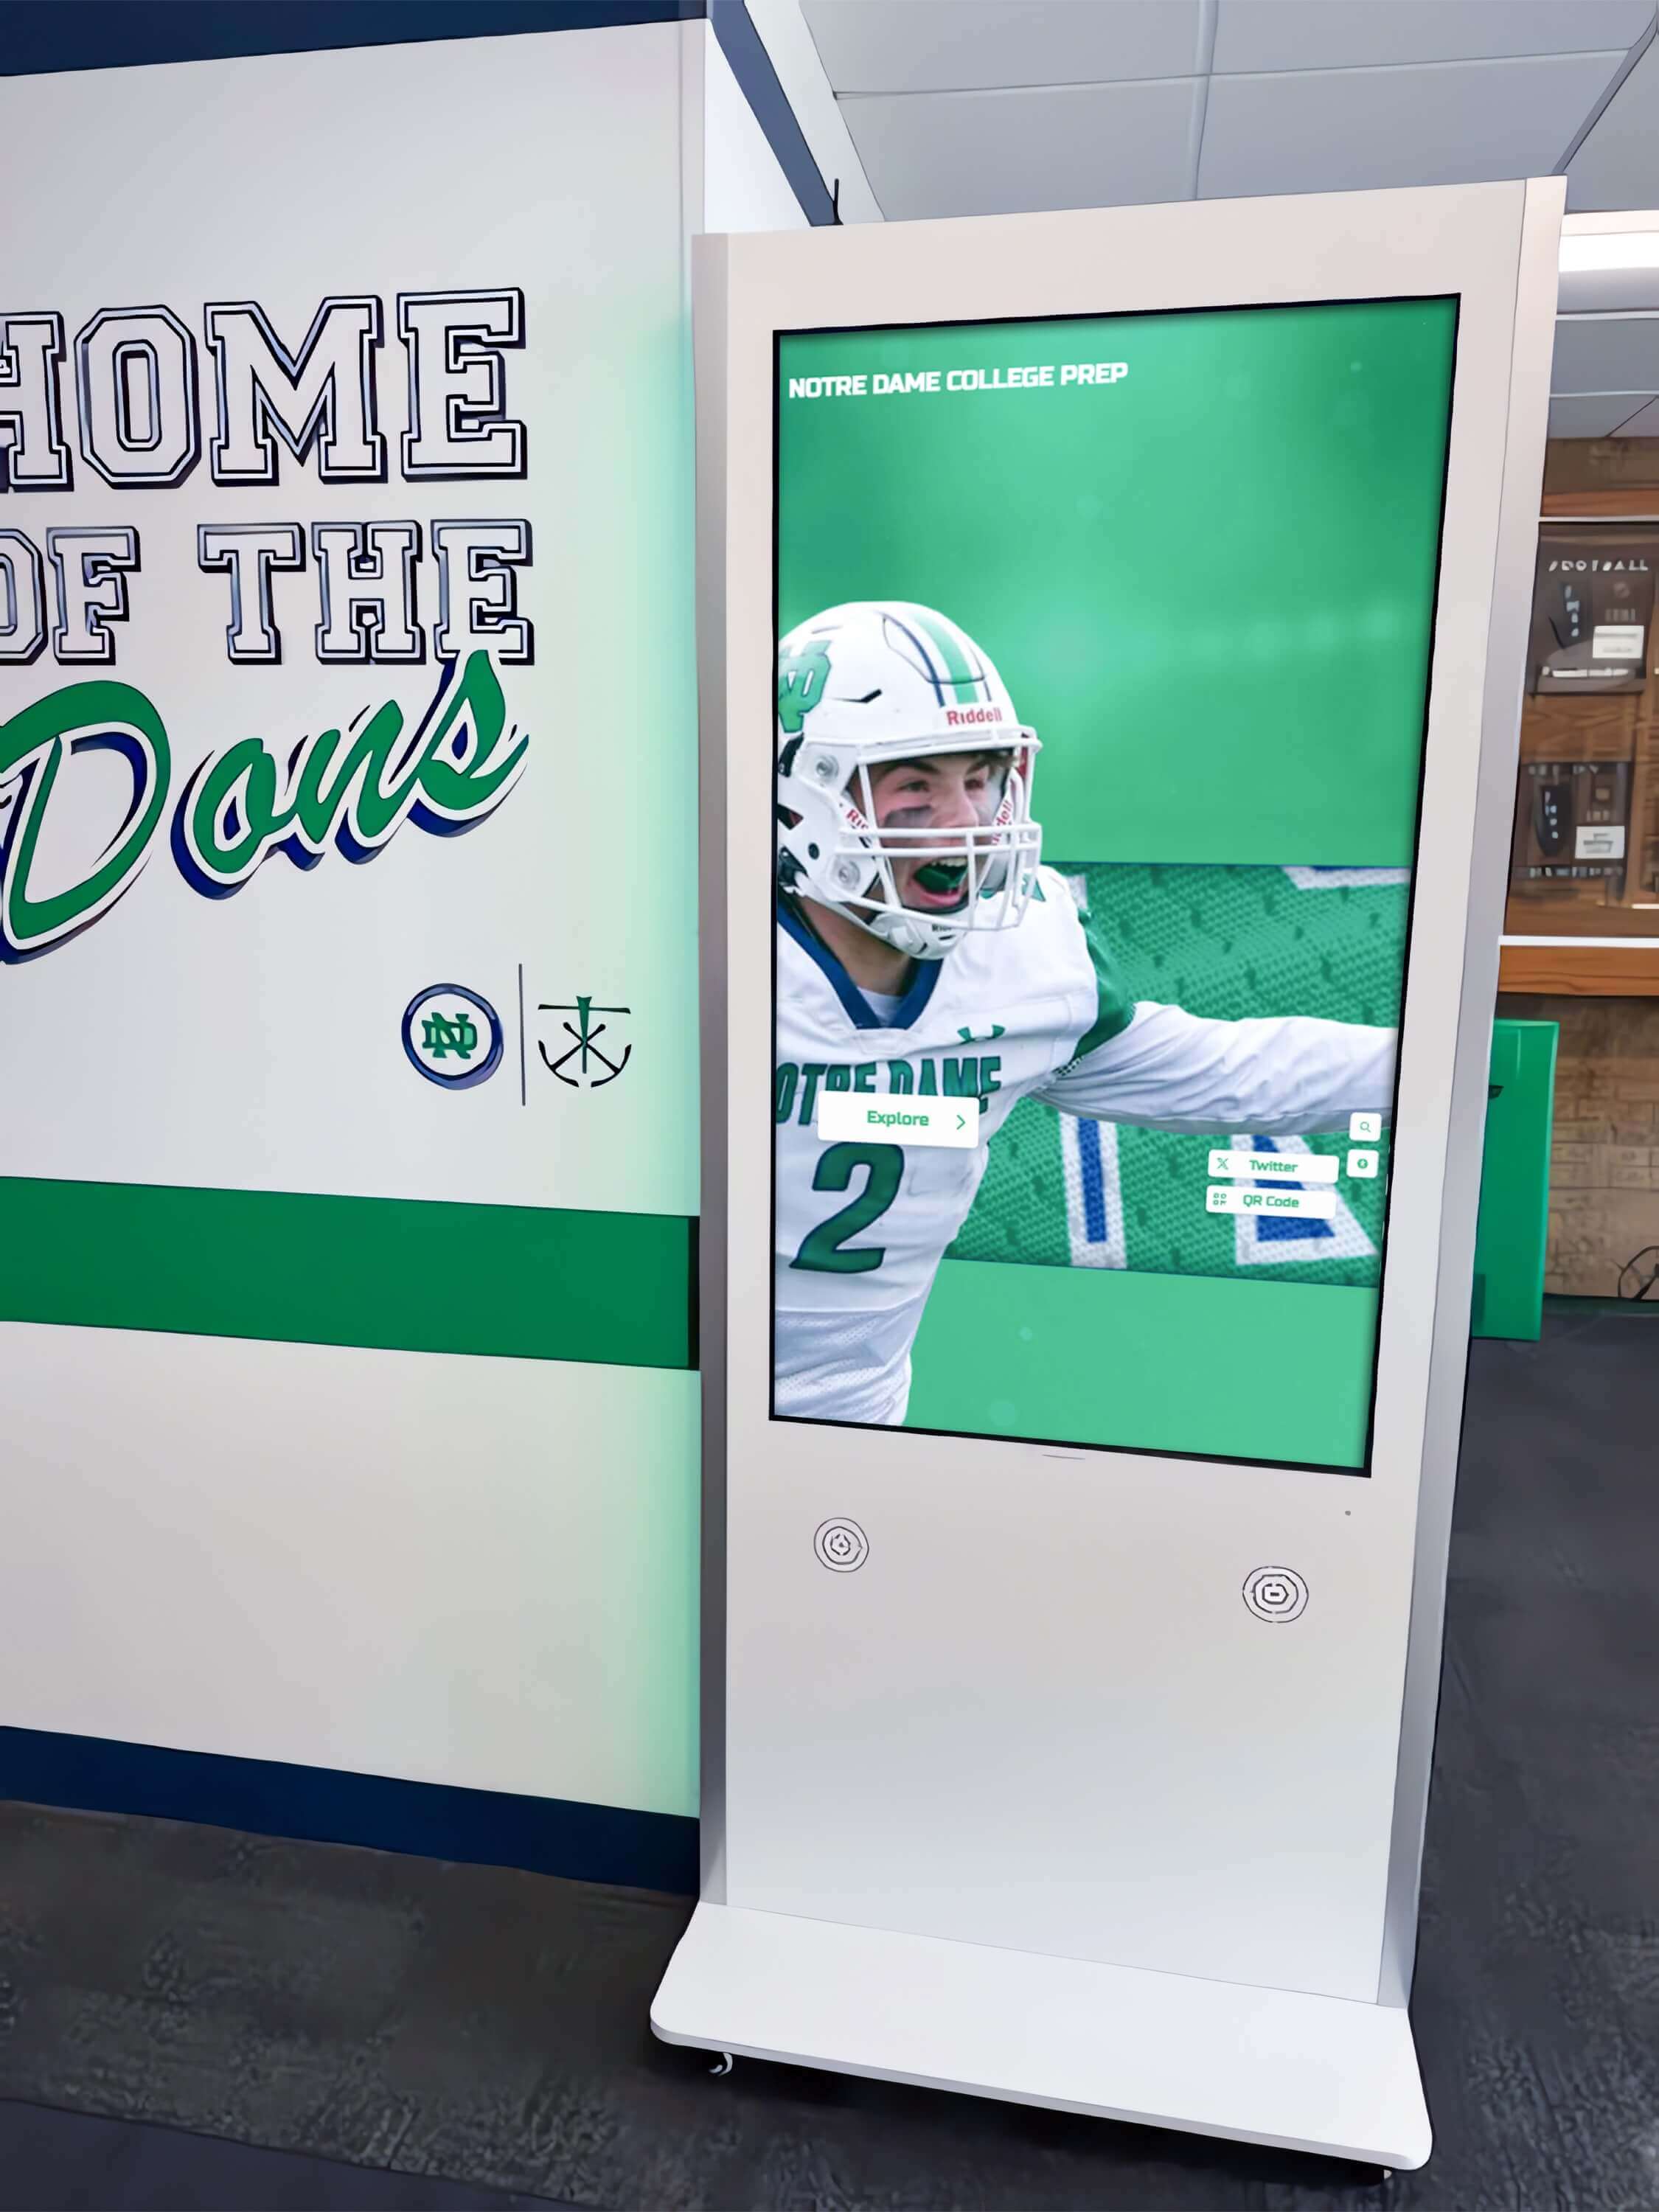
Acceptance testing is most practical when the display is fully installed and running at its permanent location under the actual lighting conditions it will experience daily
Running the Test on Different Display Configurations
The procedure above applies to the most common school recognition display format: a single wall-mounted or kiosk-mounted flat panel. Variations exist for other configurations.
Multi-panel installations. Schools with two or more panels side-by-side — common in athletic hallways and trophy corridors — should run the uniformity test on each panel independently, then display a solid color spanning all panels simultaneously. Panel-to-panel brightness and color matching is a separate quality dimension beyond single-panel uniformity. Mismatched adjacent panels are among the most visible installation problems in school recognition board environments, and the only practical time to address them under warranty is during the acceptance window.
Portrait-orientation panels. Panels mounted vertically (portrait mode) sometimes exhibit brightness gradients less apparent in landscape orientation. Run the same test patterns, noting that banding will appear as horizontal stripes on a portrait-mounted panel rather than vertical ones.
High-ambient-light environments. Gymnasiums, natatoriums, and exterior-facing lobbies with significant natural light may require temporarily shading the display during the dark-background test. A large sheet of black foam board positioned between a window and the display is sufficient for most environments.
Coordinating the Test with Your Installation Team
Most professional installation teams expect an acceptance test and can assist with running test patterns if you ask in advance. Request the following from your installation coordinator before installation day:
- Access to a solid-color test pattern mode (most commercial displays include one in the settings menu)
- A walkthrough of how to navigate to the display’s built-in brightness and color temperature adjustment settings
- Written documentation of the panel’s factory-set brightness in nits and color temperature settings, so you have a baseline for future calibration references
Schools implementing comprehensive recognition programs benefit from treating the acceptance test documentation as the first entry in the display’s maintenance record. Digital asset management practices for schools illustrate how organized documentation protects long-term program value — a display’s hardware acceptance record belongs in that same structure alongside content files and revision logs.
If your vendor’s installation team declines to assist with the acceptance test or creates friction around the process, that is itself a signal worth noting before signing acceptance paperwork.
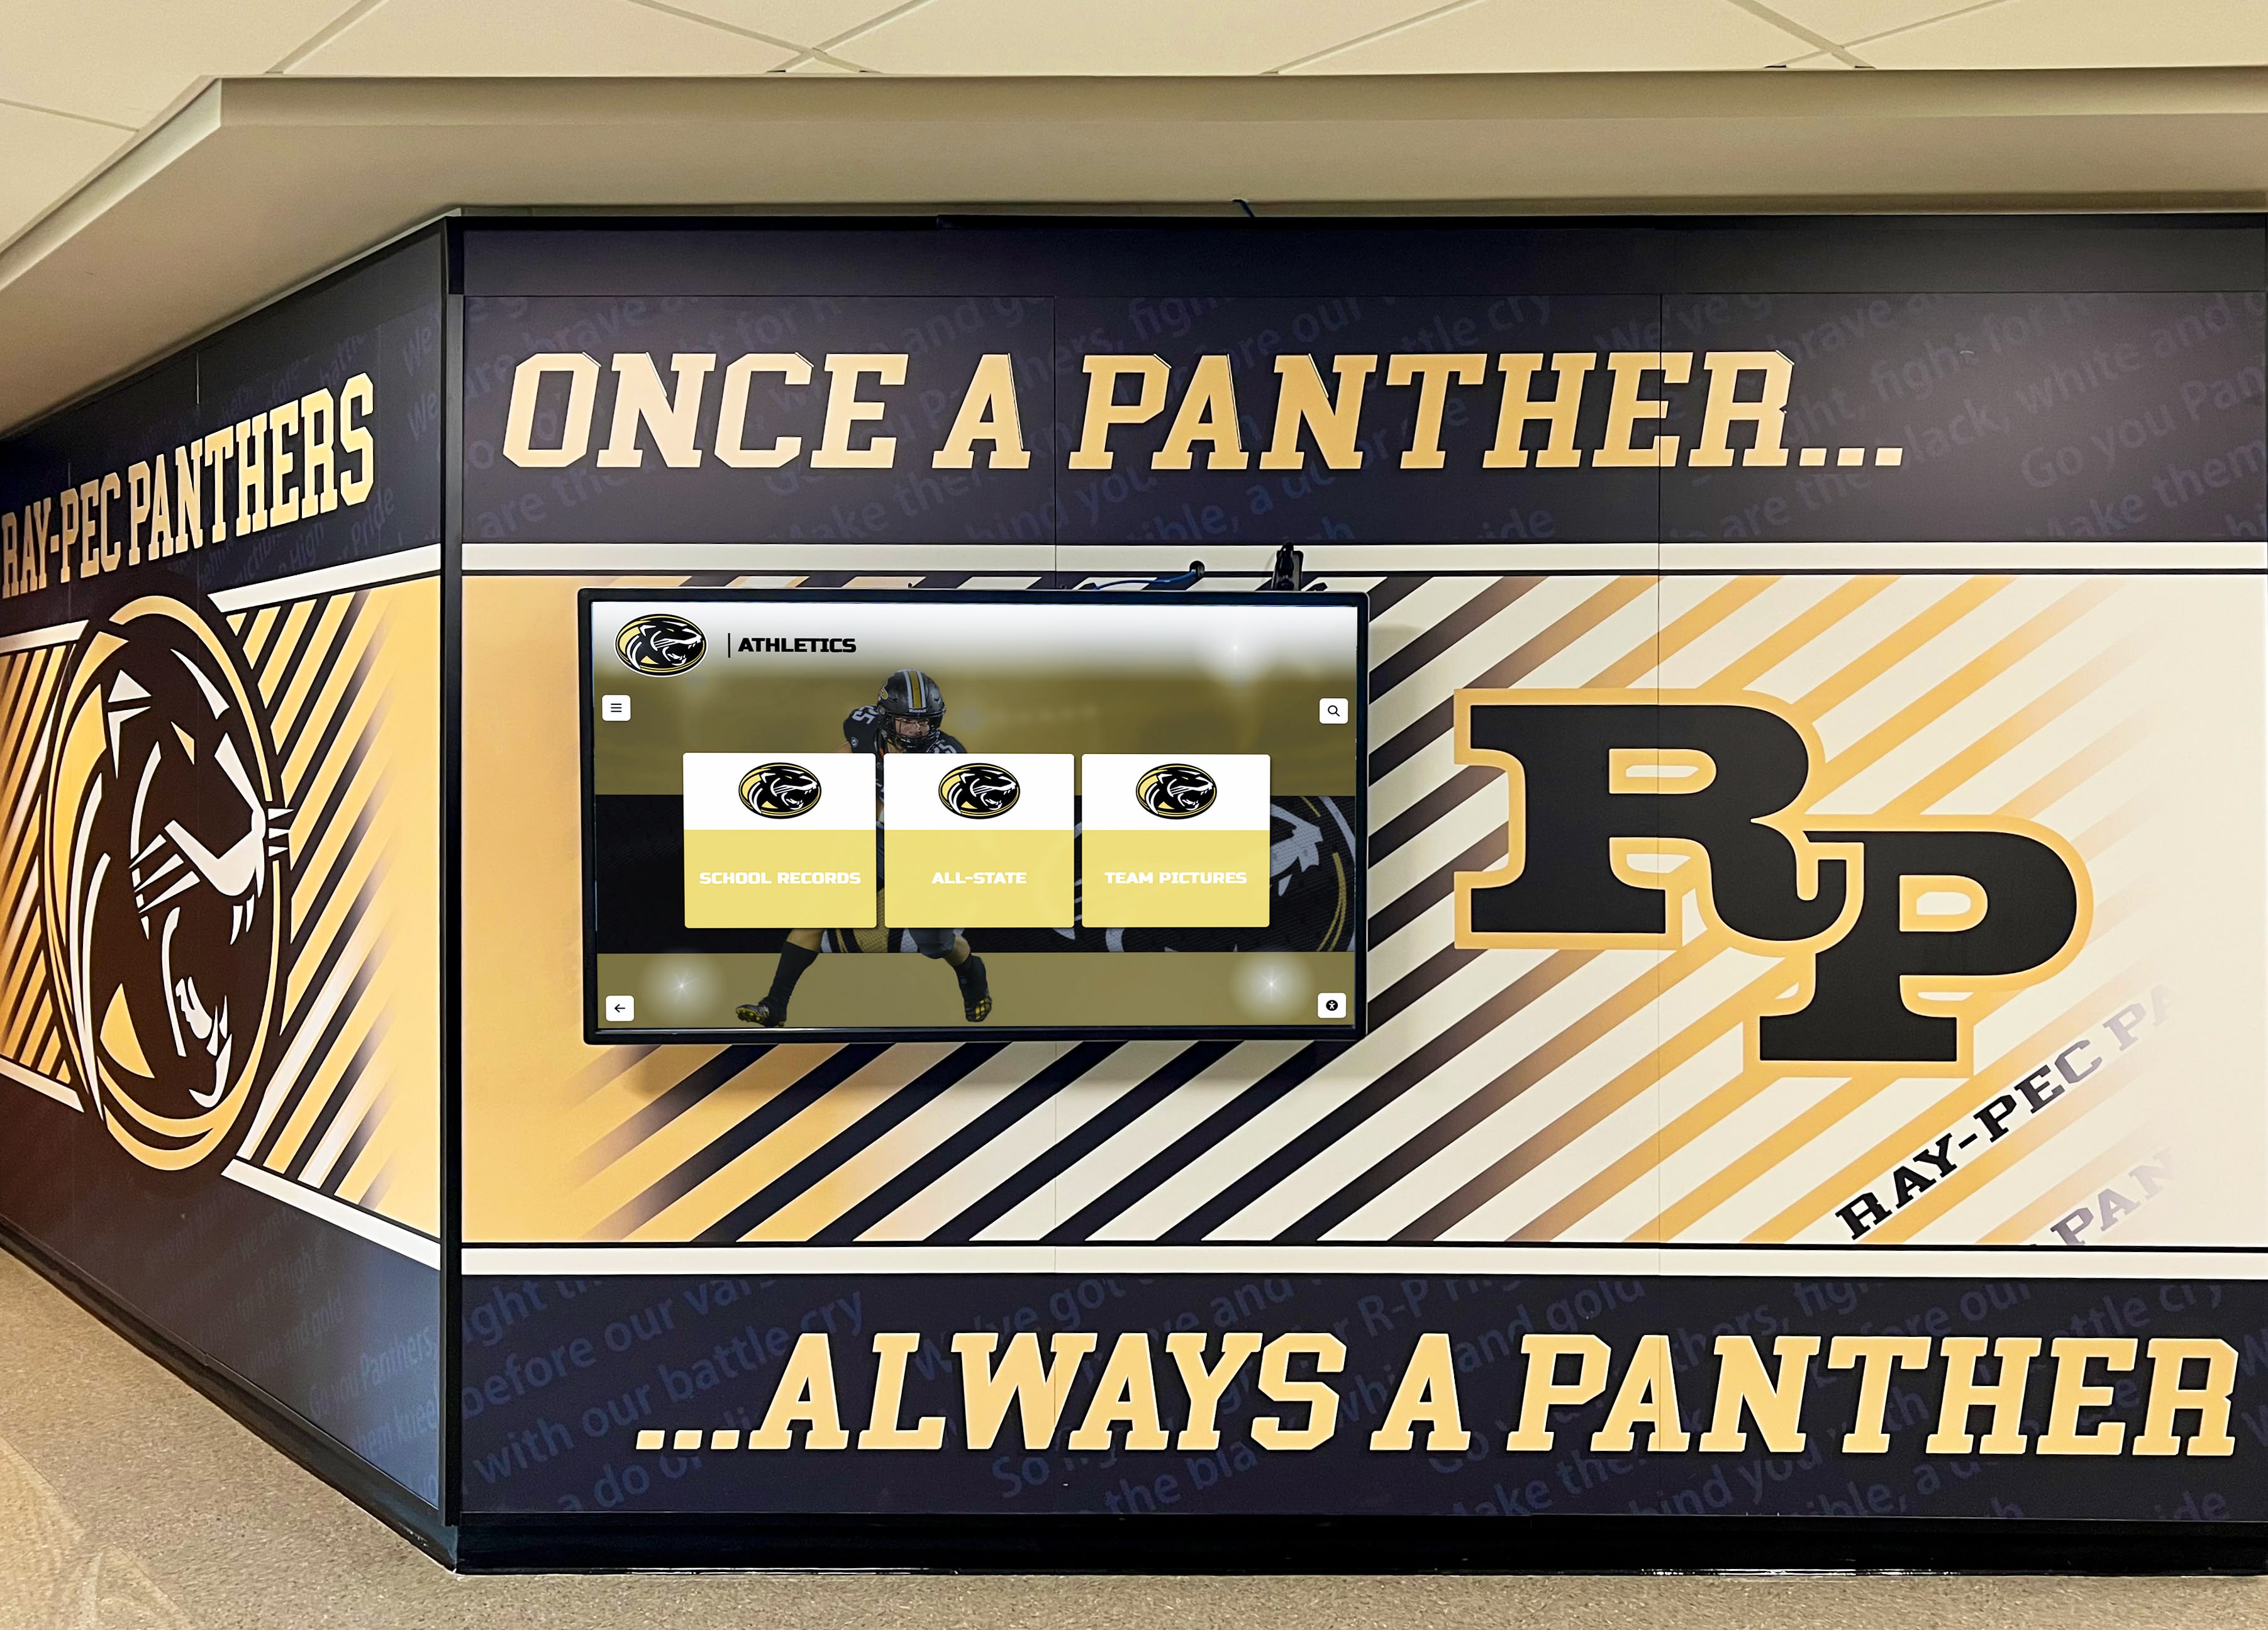
Acceptance testing should happen at the permanent installation location — panel behavior under installed lighting and mounting height may differ from showroom or warehouse conditions
When to Involve a Qualified Professional
The uniformity test described in this guide is designed for school staff to conduct without specialized equipment. However, situations exist where involving a qualified professional makes sense:
When your vendor disputes your observations. If the vendor claims observed defects fall within specification but your documentation suggests otherwise, a third-party display calibration technician can provide independent measurement using a colorimeter or spectrophotometer. These instruments produce numeric results — luminance values in nits, delta-E color difference values — that remove subjectivity from the dispute. For significant warranty claims, professional measurement documentation is worth the cost of the calibration visit.
When the display is used for formal recognition ceremonies or broadcast. Schools that stream recognition displays to video production during events may require luminance uniformity measurements that meet broadcast standards. A certified display calibrator should perform those measurements rather than the visual procedure described here.
When the display is rated for continuous 24-hour operation. Commercial displays in continuous-operation environments warrant calibration verification at installation, and periodic re-calibration is appropriate as panel aging affects brightness and color over time. Manufacturers of commercial-grade panels typically document their recommended calibration intervals in the product’s technical specification sheet.
Schools building systematic historical archives and recognition documentation programs — including display maintenance records — can find useful organizational frameworks in resources for building searchable school records and alumni athletic history.
Frequently Asked Questions
How long does the screen uniformity test take?
Allow 60 to 90 minutes for the complete procedure, including the warm-up period. Active observation across all seven test patterns takes roughly 20 to 30 minutes; the rest is setup, documentation, and moving between viewing positions.
Can I run this test after the protective shipping film has been removed?
Yes — the test should be run after the protective film has been removed and the display is in its final operational state. Protective film can mask some defects and introduce visual artifacts of its own that would confuse observations.
What if the vendor says minor defects are “within specification”?
Request the panel’s written specification document listing the manufacturer’s acceptable defect limits. Compare your observations to those limits. If the vendor cannot produce written specifications, note that gap in your documentation. For panels used in visible recognition applications, internal “within specification” tolerances are often wider than what is appropriate for a public-facing display running static content for hours at a time.
Should I run this test on a display that has been in service for several years?
A periodic version of this test is useful for aging displays — particularly the dead pixel check and the dark-background backlight test, since backlight degradation and clouding tend to worsen over time. Running the procedure now establishes a documentation baseline for warranty discussions if defects progress.
Who should be present for the acceptance test?
At minimum, the person responsible for signing acceptance paperwork and one additional staff member who can observe from the standard viewing distance while the first manipulates test patterns. For installations serving multiple departments — an athletic hall of fame serving both the athletic director and the alumni board — representatives from each stakeholder group should have the opportunity to observe before acceptance is signed.
Does this test apply to touchscreen kiosks as well as flat wall-mounted panels?
Yes, with one addition. For touchscreen kiosks, run the full uniformity test on the display surface, then verify that the touchscreen digitizer layer is not introducing visual artifacts of its own — some digitizer overlays create a slight haze or anti-glare texture that is distinct from panel uniformity issues. The digitizer artifact is typically uniform across the surface and does not represent a defect; uneven haze concentrated in a specific area does warrant documentation.
A school recognition display is a long-term investment visible to every visitor who enters your building. Running a structured screen uniformity test during the acceptance window is one of the lowest-cost, highest-value steps a facilities team can take — requiring no specialized equipment, only organized observation and documentation. Schools that record the condition of their display at acceptance hold a clear baseline for any future warranty discussions. Schools that skip the acceptance test accept whatever defects exist as the new normal, without recourse.
Planning a touchscreen recognition display for your school’s hall of fame, donor wall, or athletic record board? Rocket Alumni Solutions designs and installs interactive recognition platforms with installation teams that support a full acceptance process. Request a demo to see how their approach to display quality, content management, and long-term support compares to commodity display installations.