Every cable behind a school touchscreen recognition display carries a silent risk: the day the IT coordinator leaves and no one knows which gray cable powers the lobby display, which patch cord feeds the gymnasium screen, or where the HDMI signal originates. A touchscreen recognition display cable labeling standard eliminates that risk by giving every power, network, HDMI, USB, and audio connection a consistent, human-readable identity that survives staff turnover, summer renovations, and mid-event troubleshooting.
This guide delivers a ready-to-implement standard—type codes, color assignments, a full mapping table template, and a numbered setup process—designed for school AV and IT teams managing recognition displays in lobbies, gymnasium entrances, and athletic hallways.
School recognition displays represent significant investments. A single 65-inch commercial touchscreen installation commonly runs $5,000 to $10,000 once mounting, wiring, and software are included. Those investments lose value quickly when a misidentified cable causes a 90-minute outage during a championship ceremony, or when summer wiring work disconnects a display that no one can trace back to its source. A consistent cable labeling standard is the lowest-cost insurance policy available to any school AV or IT team.
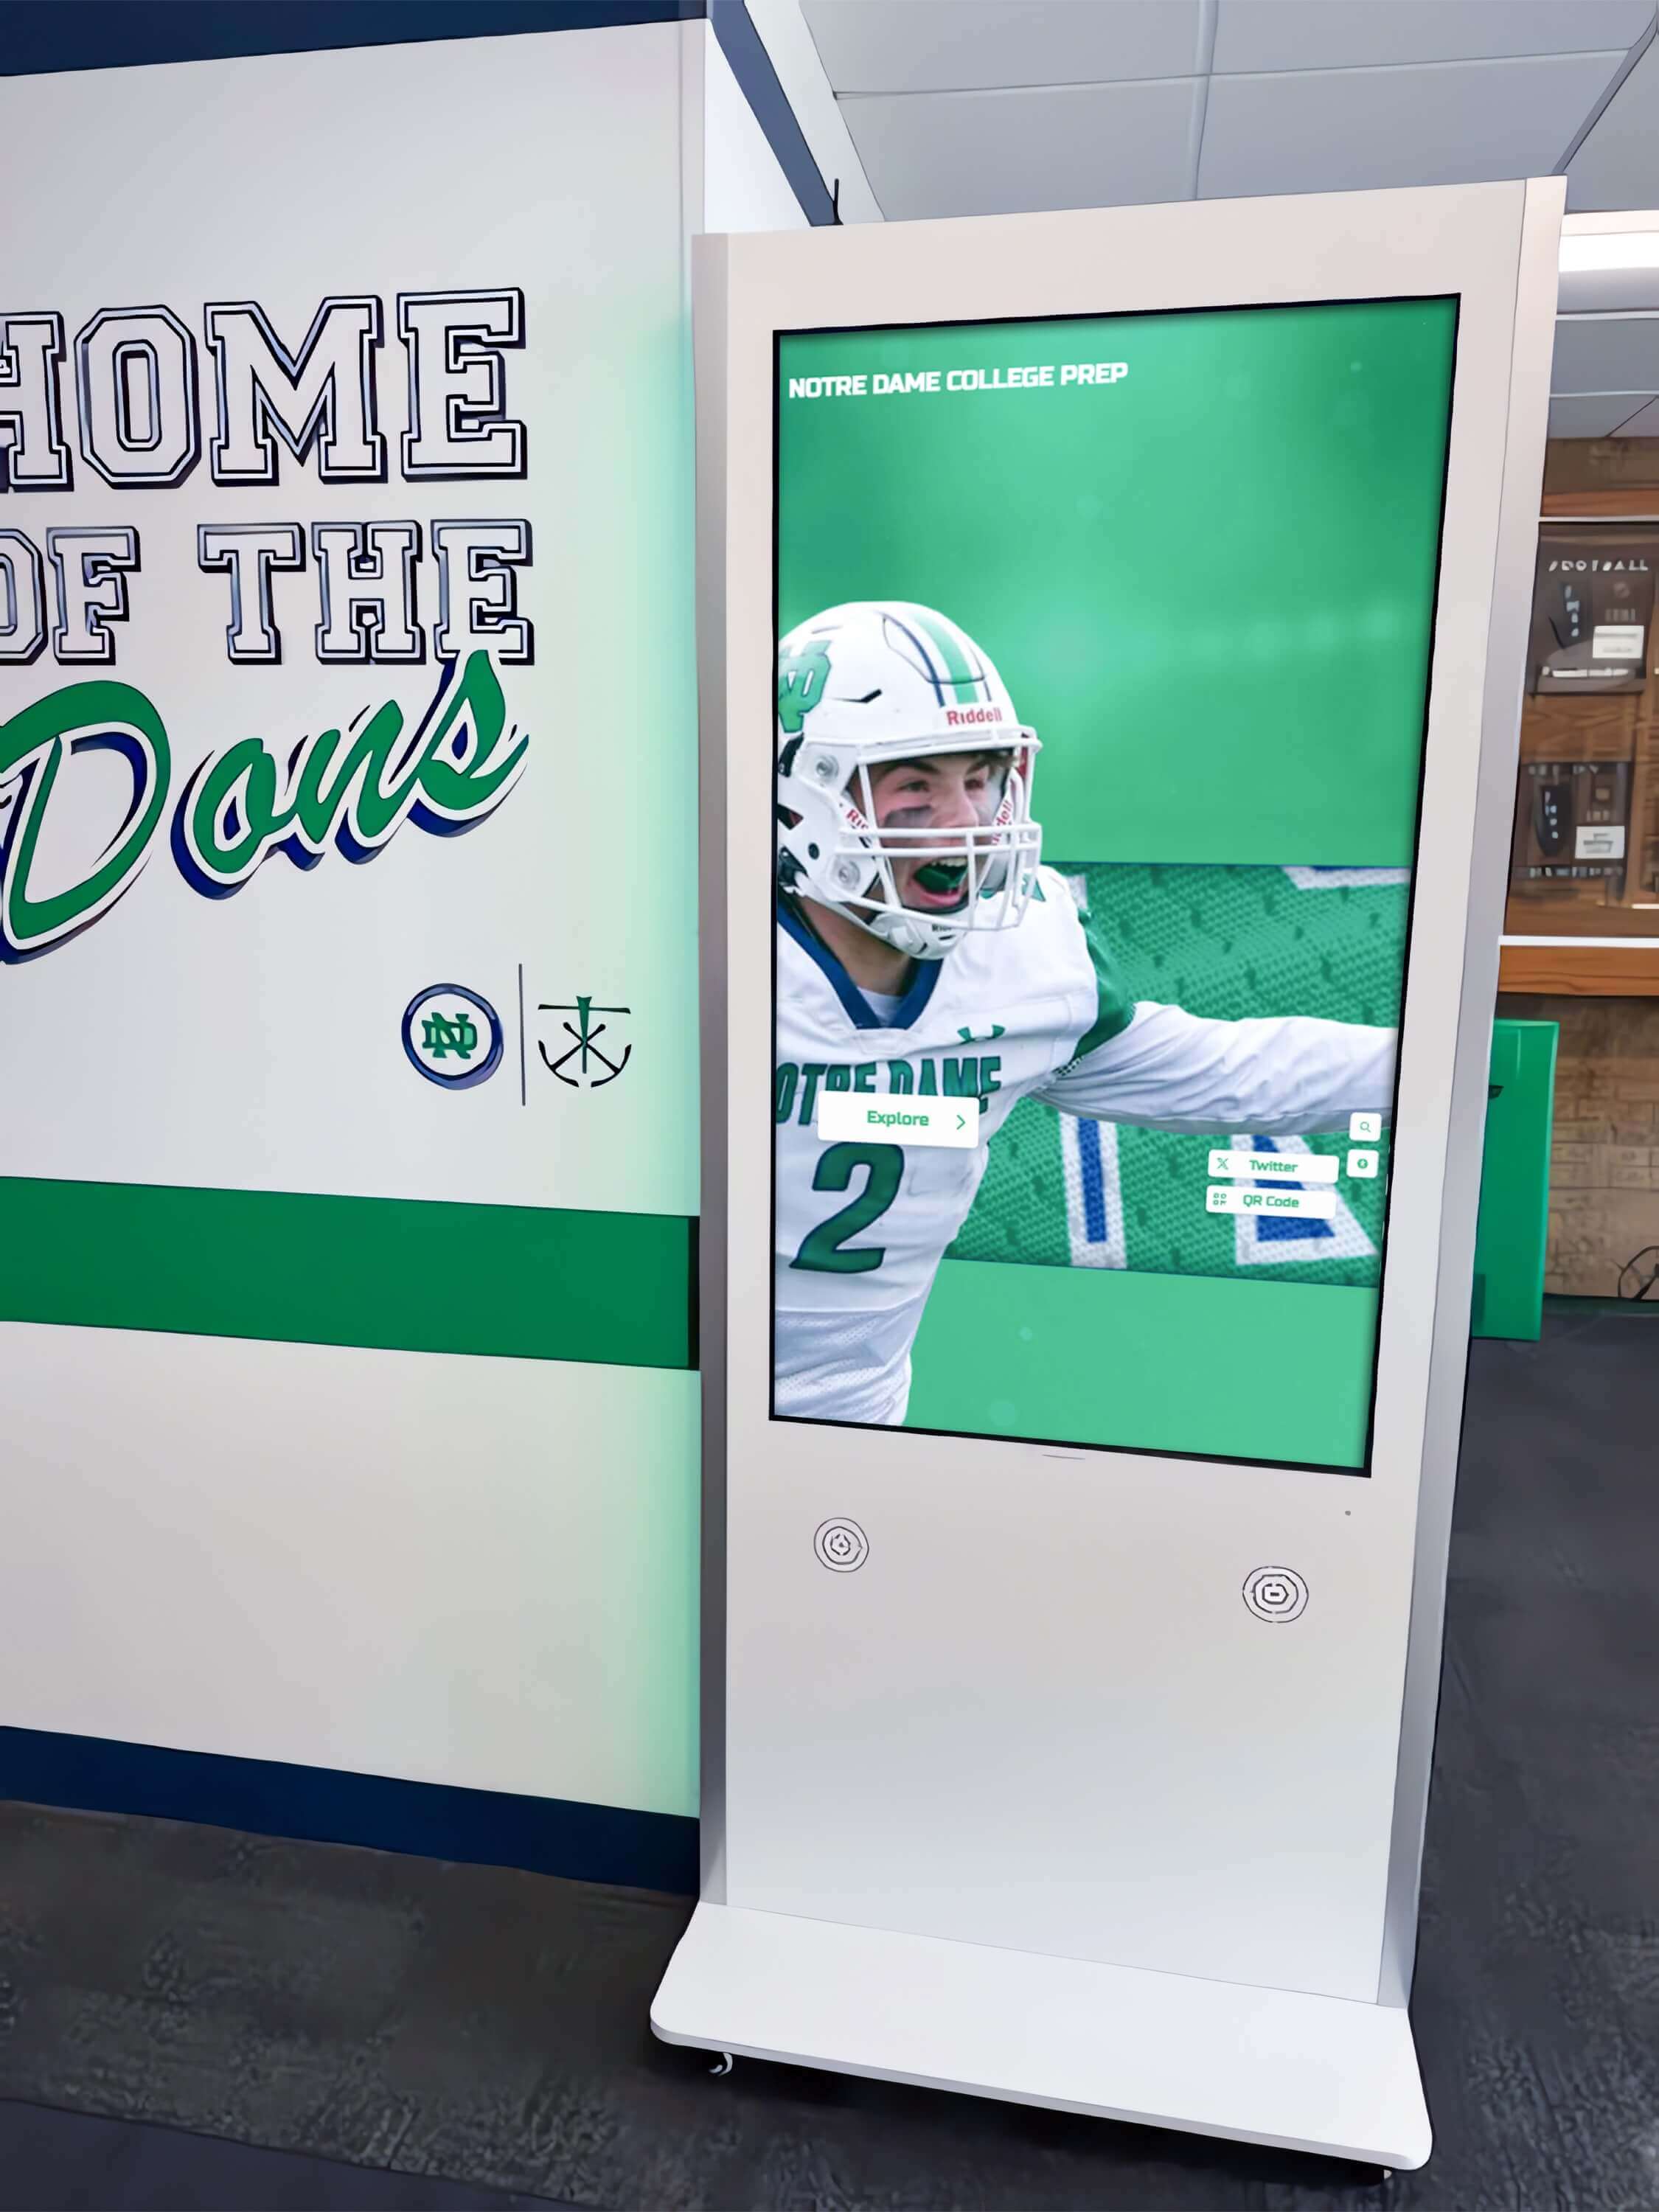
School hallway recognition kiosks combine power, network, HDMI, USB, and audio cables that must be individually identified for reliable maintenance
Why Touchscreen Recognition Displays Need Their Own Labeling Standard
Generic IT cable standards—designed for server rooms and patch panels—often fall short behind recognition displays for three reasons.
Multiple connection types converge in one location. A single wall-mounted touchscreen recognition display typically terminates five distinct cable types in a space roughly 18 inches square behind the screen: AC power, Ethernet, HDMI or DisplayPort, USB (for touch sensors or peripherals), and occasionally audio. Standard patch-panel labeling schemes account for network cables but ignore power and signal cables sharing the same conduit space.
High-visibility locations create pressure. Recognition displays live in lobbies, gymnasium entrances, and athletic hallways—places where a blank screen is immediately visible to families, donors, and visiting teams. The planning demands for awards events and recognition programs make clear how closely audiences notice when technology fails at high-profile moments.
Staff turnover breaks institutional knowledge. The IT coordinator who installed the display three years ago may no longer work at the school. The athletic director who oversaw the project may have retired. A labeling standard ensures that anyone—including a substitute facilities manager or a visiting AV contractor—can identify, trace, and restore any cable without calling someone who has already left the building.
The Five Cable Categories Behind a School Recognition Display
Before establishing label codes, teams should understand which cable types require labeling. A standard recognition display installation includes:
Power (PWR) — 120V AC supply from a dedicated wall outlet or in-wall conduit. This cable feeds the display’s internal power supply and, in some installations, an adjacent surge protector or uninterruptible power supply.
Ethernet / Network (ETH) — Cat5e, Cat6, or Cat6a patch cord connecting the display to a nearby wall jack or directly to a network switch. Cloud-based recognition software depends on this connection for content updates, remote management, and QR-code functionality.
Video Signal (VID) — HDMI 2.0, DisplayPort, or USB-C Alt Mode carrying the content signal from a media player, mini-PC, or the display’s built-in system to an input port. Some installations add a second VID cable for a backup source.
USB (USB) — One or more USB cables connecting a touchscreen overlay sensor, USB hub, keyboard, or external storage device. Displays with internal computers may have fewer external USB connections; stand-alone touchscreen frames always require at least one.
Audio (AUD) — 3.5mm, RCA, or balanced XLR cables routing line-level audio from the display to an external speaker or amplifier. Many recognition displays operate without external speakers, but gymnasium and lobby installations often add audio for multimedia tributes and award highlight reels.
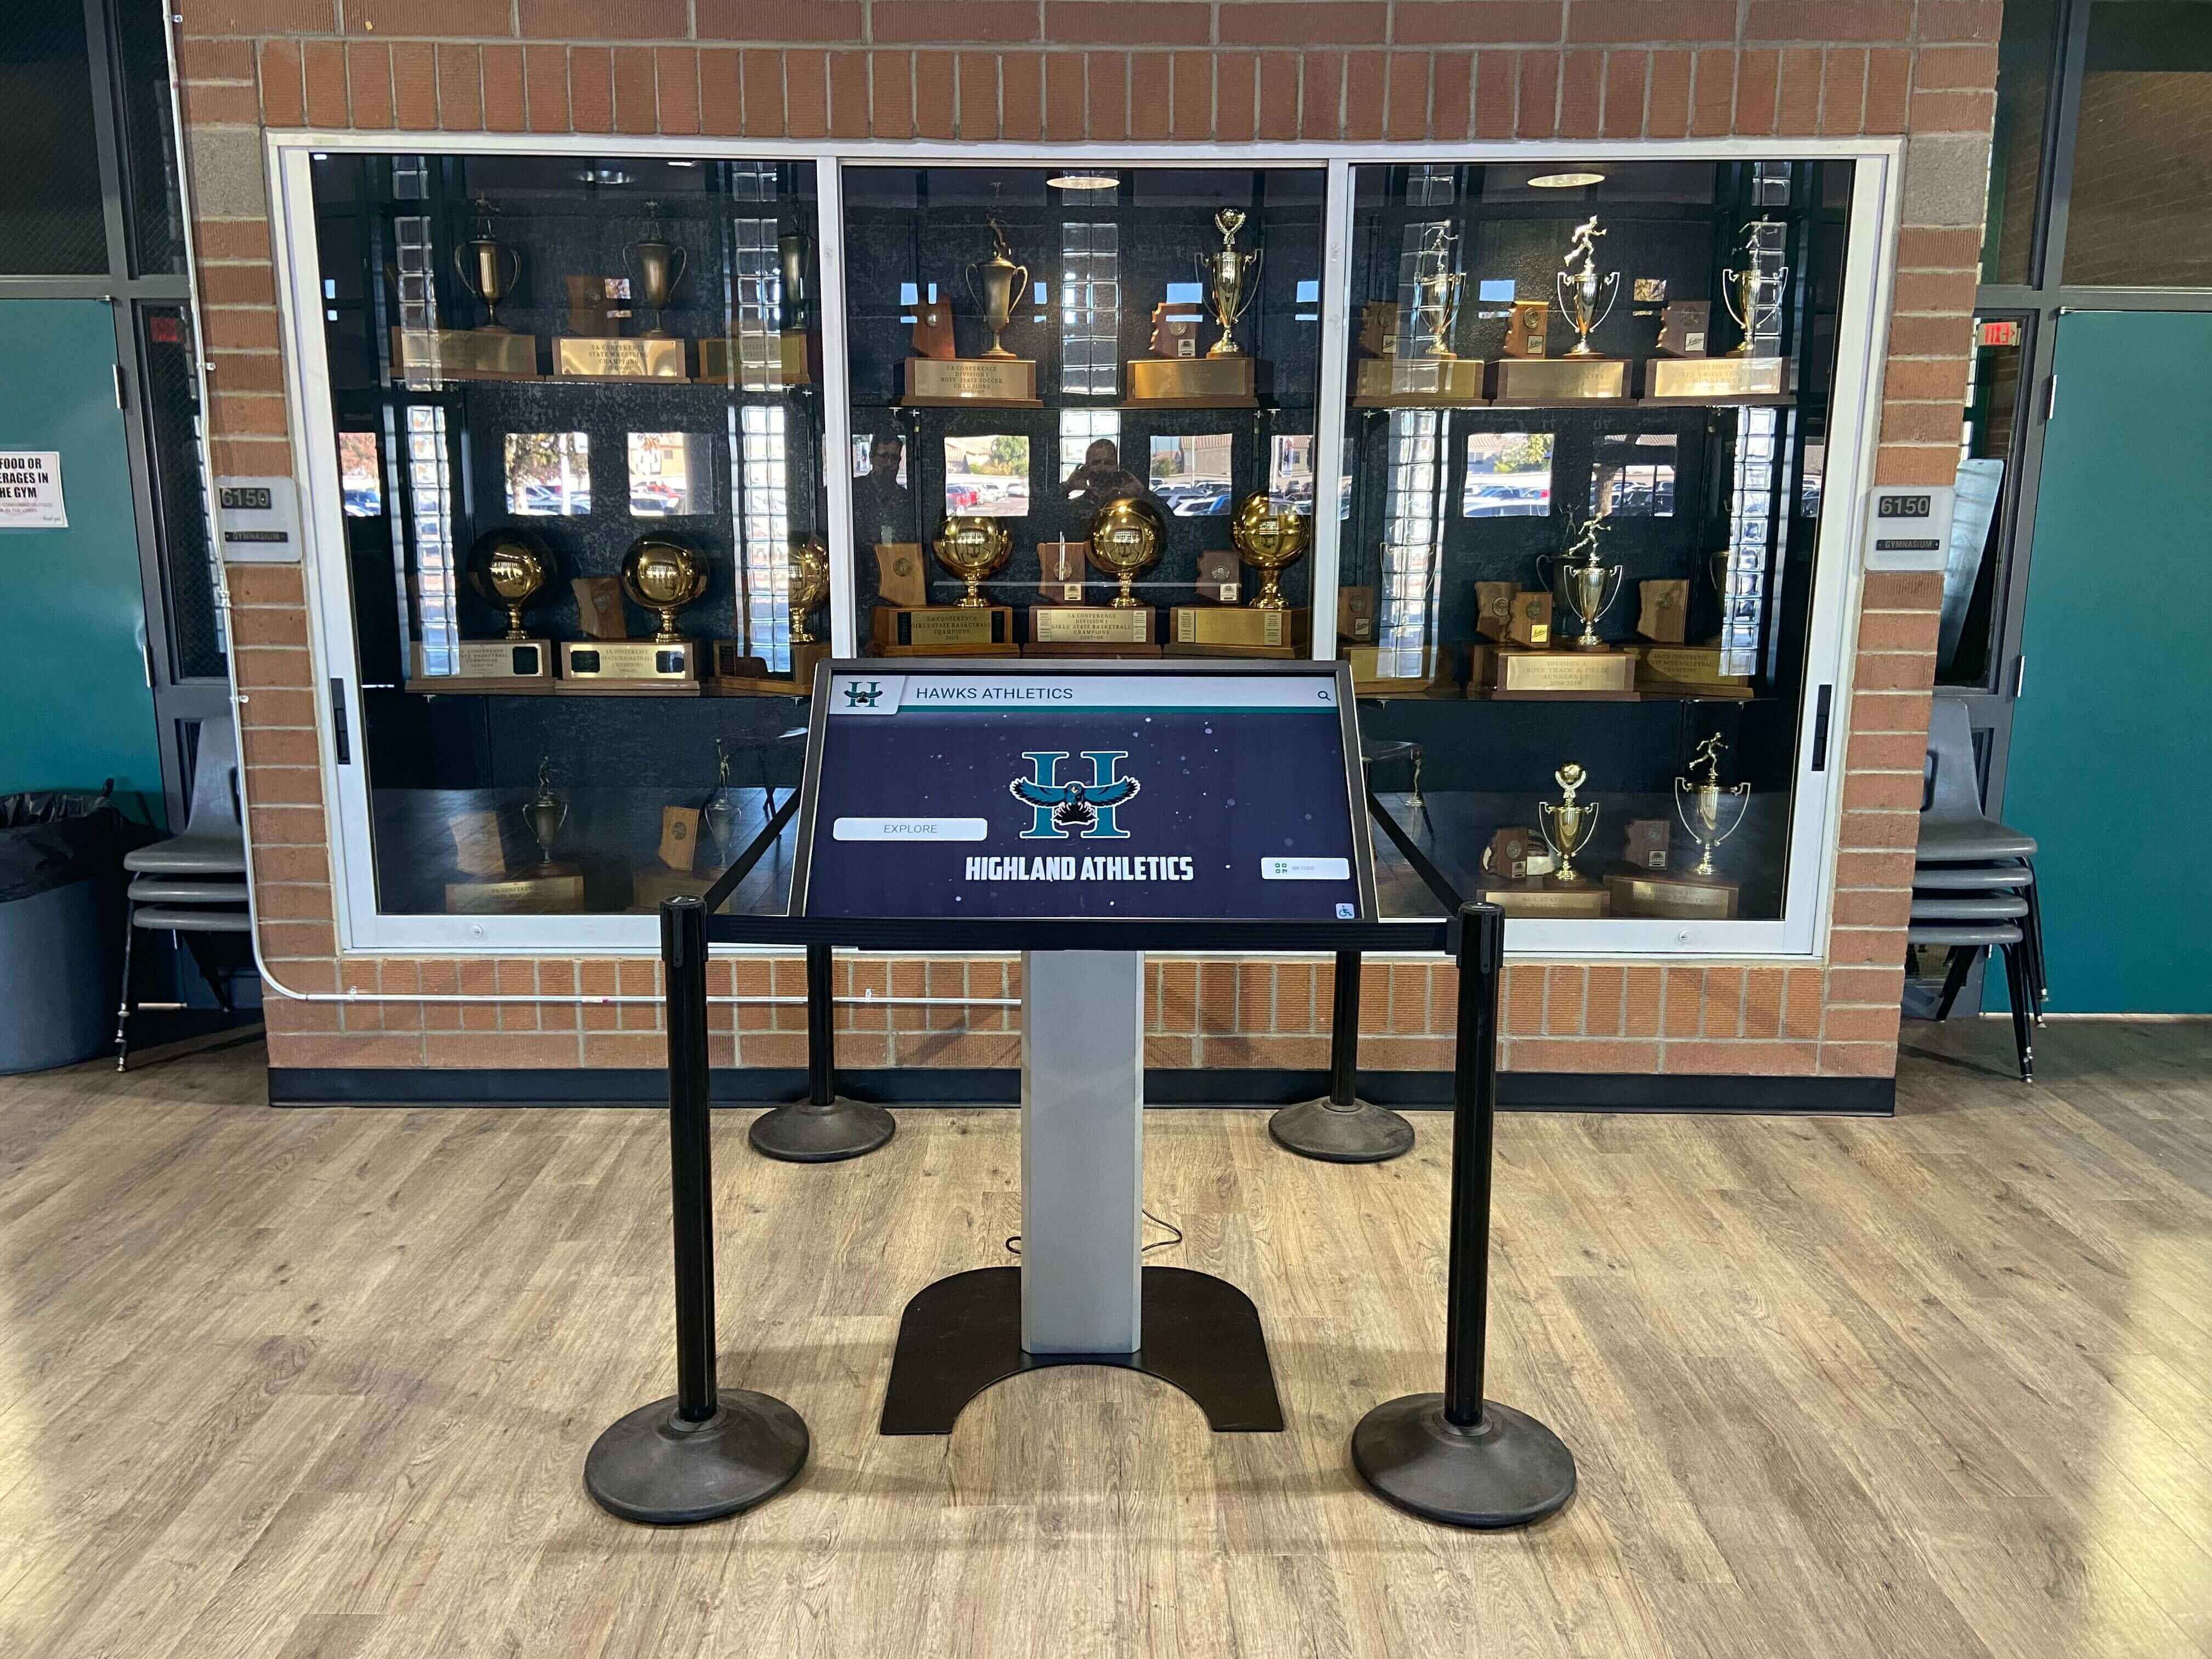
Trophy case installations concentrate multiple cable types in confined wall cavities where clear labeling is essential for any future maintenance visit
Connection Type Codes and Color Guide
Consistent type codes and color-coded labels allow technicians to identify cables by sight before reading a single character. The following table defines the standard:
| Code | Connection Type | Physical Label Color | Common Connector |
|---|---|---|---|
| PWR | AC Power (120V) | Red | NEMA 5-15 / IEC C13 |
| ETH | Ethernet (Cat5e / Cat6 / Cat6a) | Blue | RJ-45 |
| VID | Video Signal (HDMI / DisplayPort / USB-C Alt) | Yellow | HDMI Type A / DP / USB-C |
| USB | USB Data (Type A / Type B / Type C) | Green | USB-A / USB-B / USB-C |
| AUD | Audio (3.5mm / RCA / XLR) | Orange | 3.5mm TRS / RCA / XLR |
Sourcing color labels. Industrial label vendors such as Brady, HellermannTyton, and Panduit sell pre-printed or printable wrap-around cable markers in these colors. Colored cable ties applied at origin and destination serve as an affordable alternative when dedicated label stock is unavailable—use them at the connector end alongside any printed tag, not instead of it.
The Full Label Format
Each cable in the installation receives a label at both ends following this format:
[TYPE]-[LOCATION]-[DISPLAY-ID]-[PORT]
| Field | Purpose | Example Values |
|---|---|---|
| TYPE | Connection type code (from the table above) | PWR, ETH, VID, USB, AUD |
| LOCATION | Two- or three-character room/zone code | LBY, GYM, ATH, OFF |
| DISPLAY-ID | Sequential number for displays in the same location | 01, 02, 03 |
| PORT | Sequential port number on the device | 01 for primary, 02 for backup |
Example labels for a lobby recognition display:
PWR-LBY-01-01— AC power to Lobby Display 1ETH-LBY-01-01— Primary Ethernet feed to Lobby Display 1VID-LBY-01-01— HDMI input 1 on Lobby Display 1VID-LBY-01-02— HDMI input 2 (backup source) on Lobby Display 1USB-LBY-01-01— USB to touchscreen sensor, Lobby Display 1AUD-LBY-01-01— Audio out to lobby speaker, Lobby Display 1
This format remains readable without a reference sheet. A technician who has never seen the system before can decode ETH-GYM-02-01 as “primary Ethernet cable feeding Gymnasium Display 2.”
Cable Mapping Table Template
Every installation should maintain a cable mapping table stored in the school’s IT documentation system, shared drive, or a printed binder kept near the main IT office. Use this template—one copy per display:
| Label | Cable Type | Length | From | To | Notes |
|---|---|---|---|---|---|
| PWR-LBY-01-01 | 14 AWG AC power cord | 6 ft | Display power socket | Outlet J3, dedicated 15A circuit | Behind conduit cover |
| ETH-LBY-01-01 | Cat6 patch cord | 3 ft | Display ETH port | Wall jack J4 | Jack feeds IDF switch SW1, port 14 |
| VID-LBY-01-01 | HDMI 2.0 | 6 ft | Display HDMI-1 input | Media player HDMI out | Primary content source |
| VID-LBY-01-02 | HDMI 2.0 | 6 ft | Display HDMI-2 input | Laptop HDMI out | Emergency backup |
| USB-LBY-01-01 | USB-A to USB-B | 4 ft | Display USB-A port | Touch overlay controller | Required for touch input |
| AUD-LBY-01-01 | 3.5mm TRS | 8 ft | Display headphone out | Amplifier line in | Coiled behind mount plate |
Update this table immediately whenever any cable is replaced, extended, or rerouted.
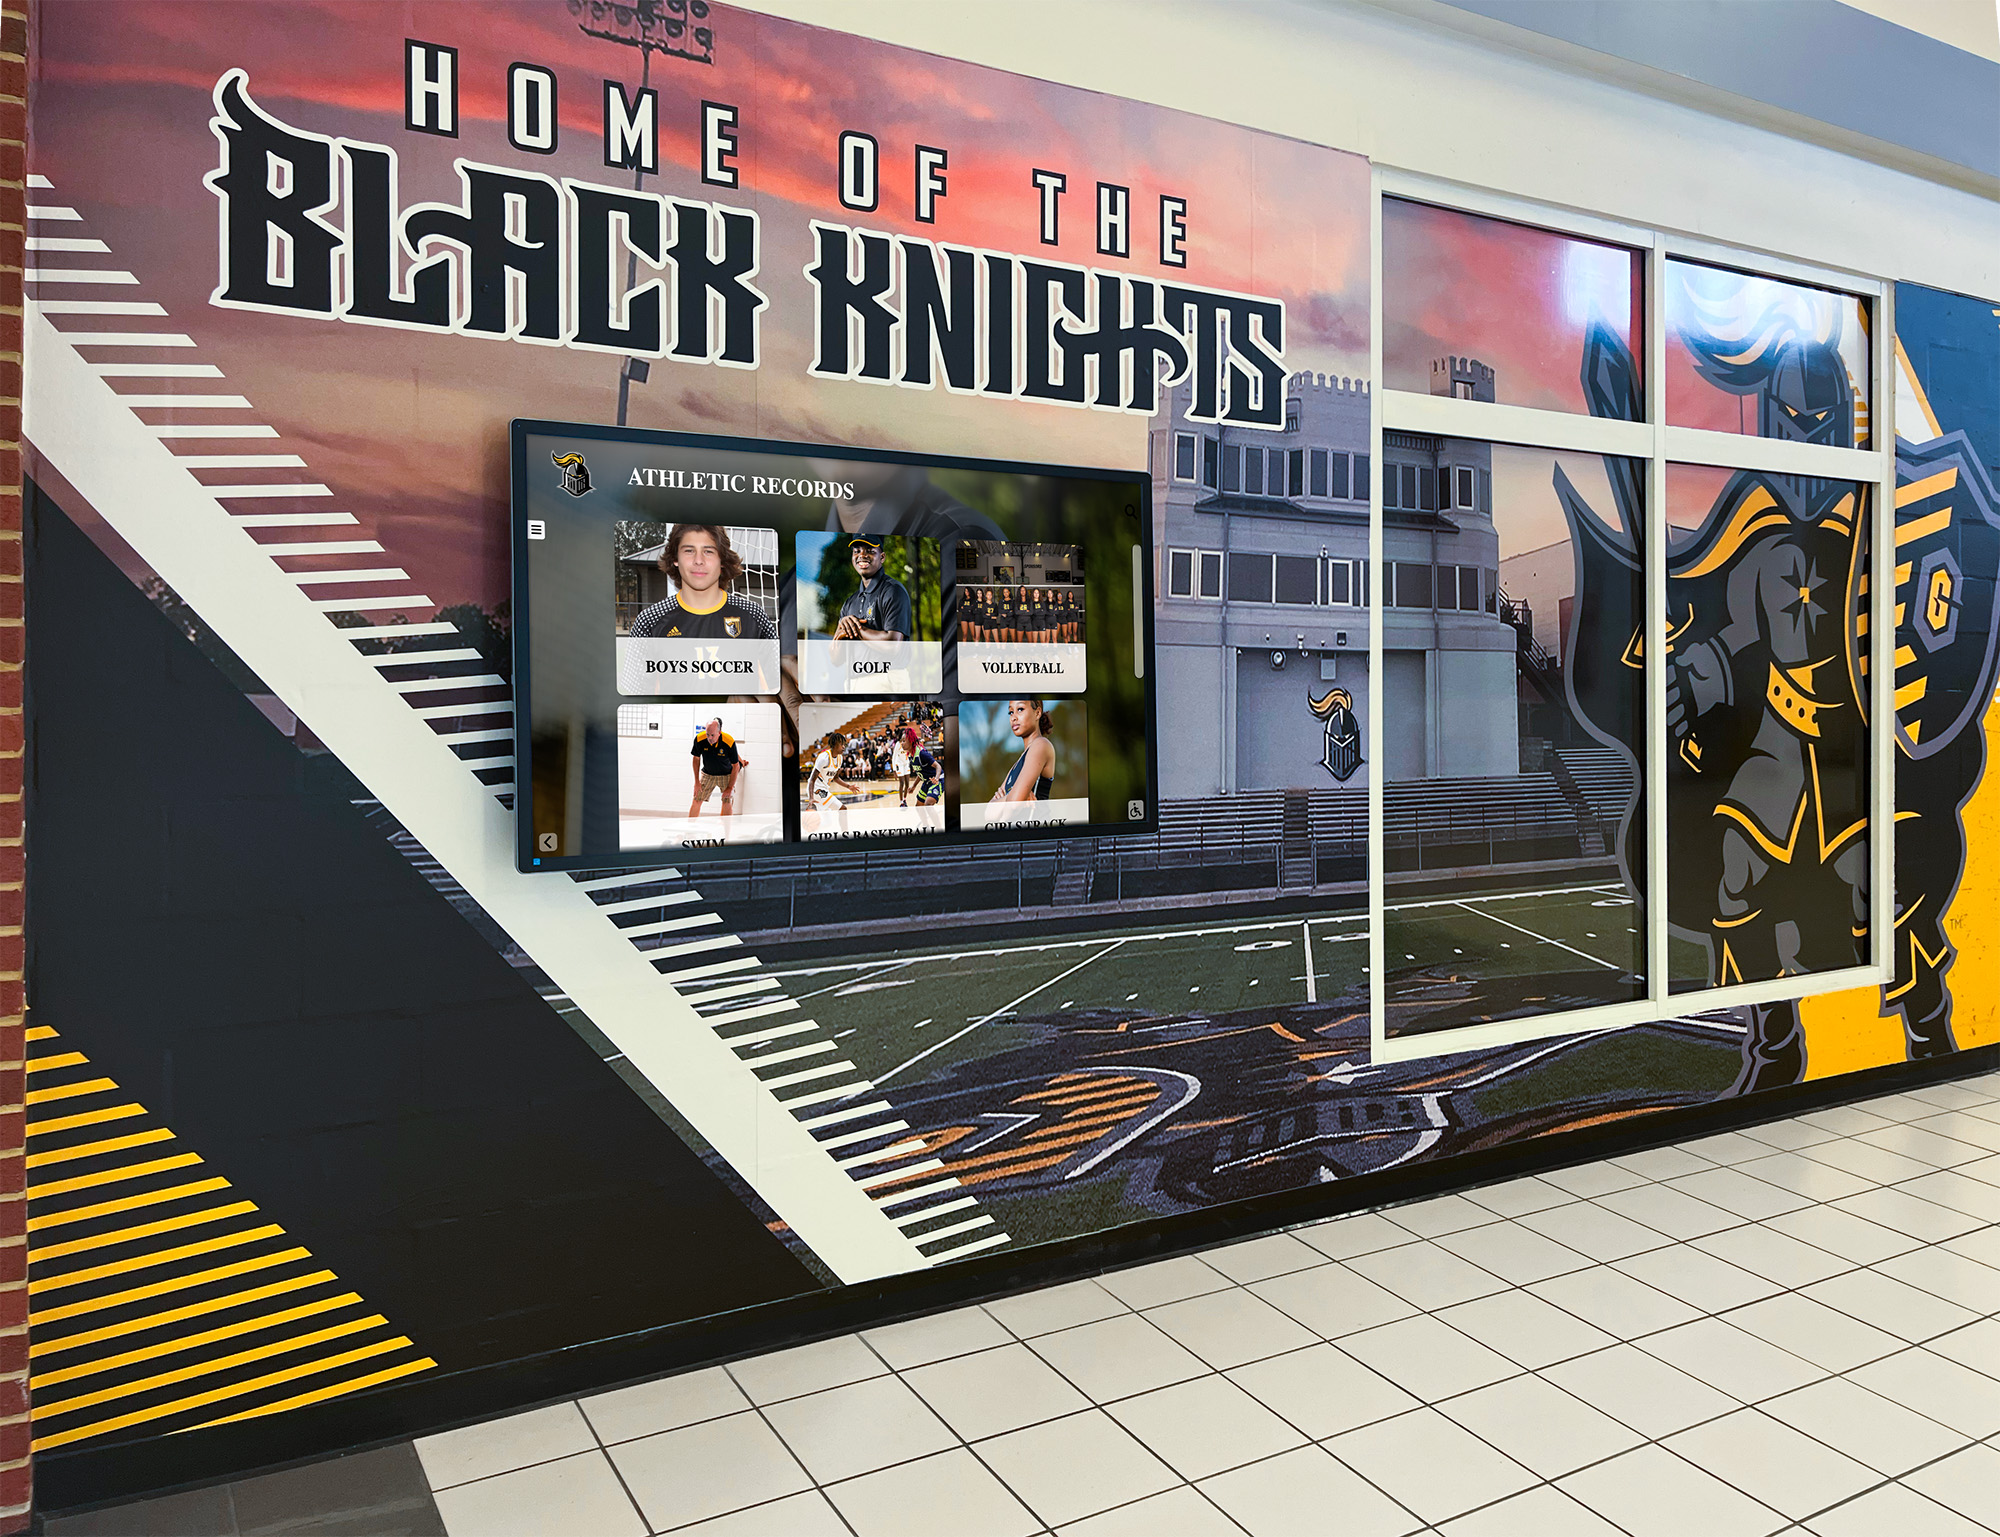
Hallway installations often share conduit runs with building network infrastructure, making cable mapping tables essential for future changes
Step-by-Step: Implementing the Standard
Step 1: Inventory every cable
Before applying labels, physically trace each cable from the display to its source. For wall-mounted displays, this often means removing the display temporarily or using an inspection camera for cables running through conduit. Record each cable in the mapping table as you trace it—do not rely on memory.
Step 2: Assign location codes
Decide on zone codes for every room that contains or will contain a recognition display. Keep codes consistent across all documentation. A school with displays in the lobby, gymnasium entrance, and athletic hallway might use LBY, GYM, and ATH respectively. Document the full location code glossary in the IT asset register.
Step 3: Number displays within each location
If a location has one display, it is always 01. If a gymnasium entrance has two displays—one for each wing—they become GYM-01 and GYM-02 in order from main entrance to secondary entrance. Document the numbering logic so future staff number additional displays consistently.
Step 4: Print or write labels
Use a handheld label printer (Brother P-touch, Brady BMP21, or equivalent) to print wrap-around labels for each cable end. For power cords, pair a red-background printed label with a red cable tie at both origin and destination as a redundant visual indicator. Apply labels 2–3 inches from each connector so the label is visible without fully pulling the cable free.
Step 5: Label both ends simultaneously
Affix the label at the display end first, then walk the cable to its source and apply the matching label there. Labeling both ends in sequence prevents the common error of tagging one end during installation and forgetting the other end six months later when memory of the run has faded.
Step 6: Photograph the labeled installation
After labeling, photograph the back of the display mount, the wall cavity, and the network switch port. Store photos alongside the mapping table in the IT documentation system. For recognition programs that include archival content—such as a game-day program archive or decades of athletic achievement records—the display itself is an archival asset, and its installation documentation deserves the same care as the content it shows.
Step 7: Update the IT asset register
Add each display as a managed asset with its cable map, serial numbers, IP address, network switch port, and electrical circuit number. Cross-reference entries so a search for any one of those attributes returns the full display record.
Step 8: Train at least two staff members
The labeling standard is only effective if staff know it exists and understand it. At minimum, the primary IT coordinator and one backup—often a facilities manager or AV technician—should walk the installation together and confirm they can trace any cable without assistance before the training session ends.
Location Code Reference
| Zone | Recommended Code | Notes |
|---|---|---|
| Main lobby / front entrance | LBY | Highest-visibility location; prioritize label quality |
| Gymnasium / athletic entrance | GYM | Shared with event foot traffic; label for quick access during games |
| Athletic hallway / trophy corridor | ATH | Narrow cable paths; photo documentation especially valuable |
| Main office suite | OFF | May share network infrastructure with administrative systems |
| Library / media center | LBR | Often shares switches with student device networks |
| Cafeteria / commons | CAF | Longer cable runs common; include cable length in the mapping table |
| Donor wall / development suite | DON | High-stakes uptime; flag circuit in panel for priority service |
| Auditorium / performing arts | ZAU | Use ZAU (not AUD) to avoid collision with the audio cable type code |
Note on the AUD collision. The audio cable type code (AUD) conflicts with an Auditorium zone code. Prefix auditorium zone codes with “Z” to differentiate: the zone becomes ZAU, while plain AUD remains reserved for audio cable type labels throughout the system.
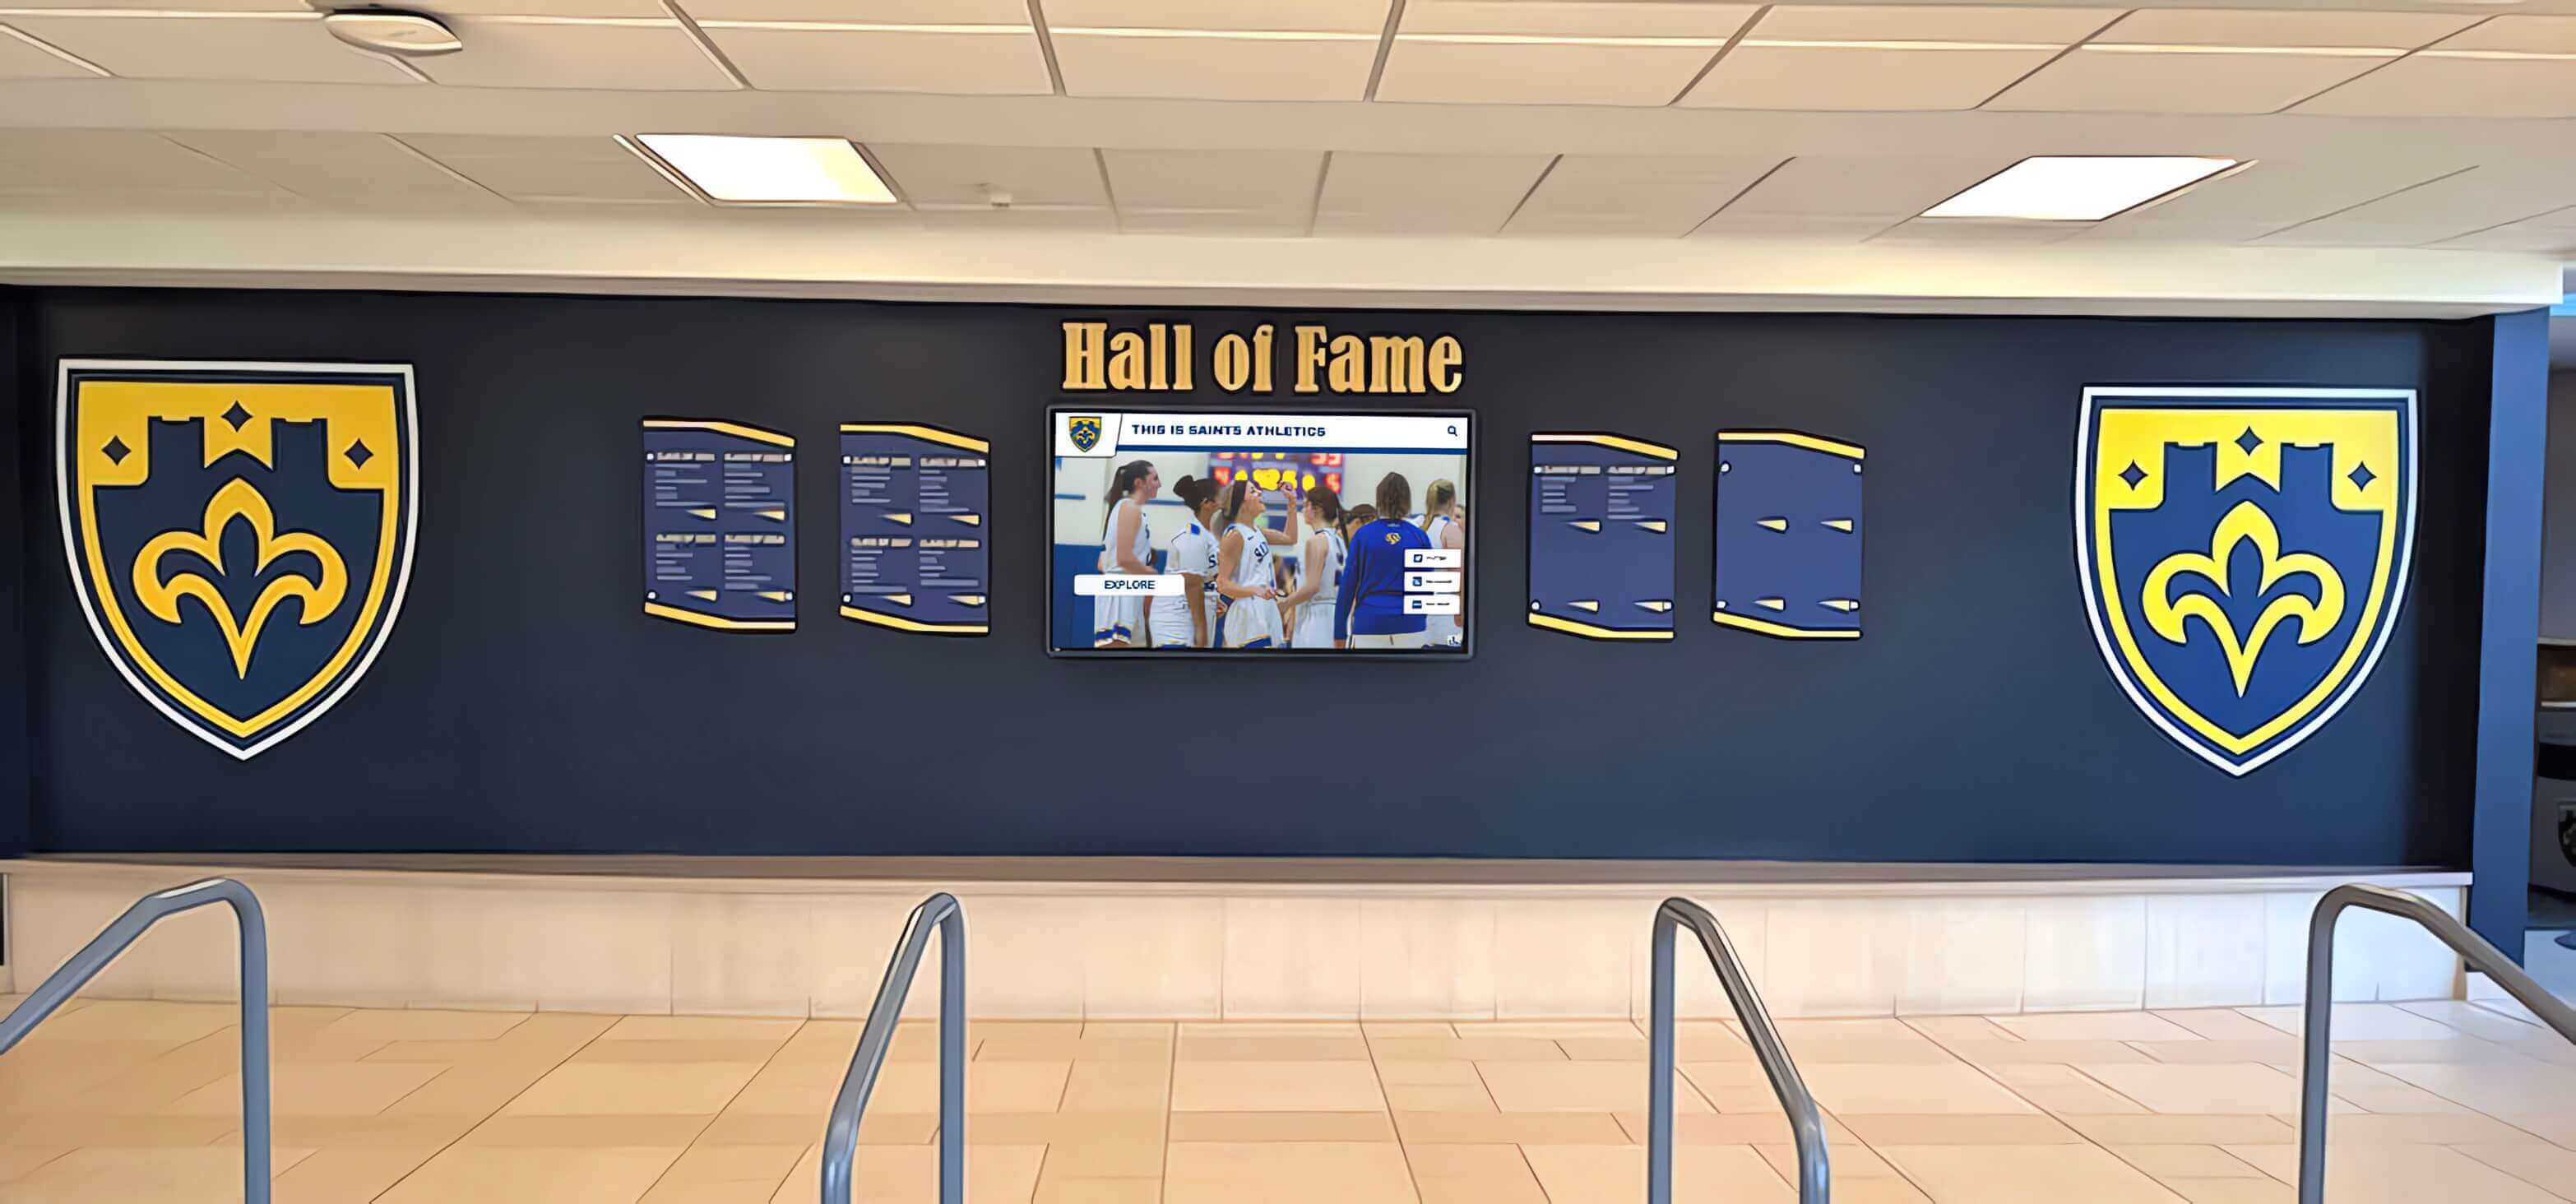
Lobby installations carry the highest uptime expectation—visitors, donors, and prospective families encounter them within seconds of entering the building
Connecting Cable Documentation to Recognition Program Workflows
A labeled, documented installation makes recognition program updates faster and less stressful. When an athletic director needs to add a new hall-of-fame inductee for a volleyball record board or a debate team achievement board before a ceremony, the last thing the IT team should spend time on is tracing unlabeled cables to restart a frozen display.
Clear labeling means a facilities manager responding to a “screen is blank” call can confirm within two minutes whether power, network, or signal is the culprit. That speed matters most during events when the display is visible to the full school community.
Schools building or expanding recognition programs—including those adding displays for cheerleading awards, spirit programs, or other extracurricular achievements—benefit from establishing the labeling standard before the first display goes up rather than retrofitting documentation years later. Thinking through recognition program logistics holistically—from content to hardware to cable documentation—makes every subsequent display installation faster and more consistent.
Staff Turnover and Handoff Documentation
The moment a labeling standard most often justifies itself is during staff transitions. When the IT coordinator who installed a display moves to another district, a complete cable map and labeled installation reduces the successor’s onboarding time for that asset from hours to minutes.
Build a display handoff packet for each recognition display that includes:
- A printed copy of the cable mapping table
- Photos of labeled cables behind the mount
- Network switch port number and VLAN assignment
- Electrical circuit number and panel location
- Hardware warranty registration numbers and expiration dates
- Vendor or installer contact information
- Software platform admin login method (stored securely, referenced by location rather than embedded in the packet)
Store this packet digitally in the school’s IT ticketing system or shared drive, with a printed backup in a binder at the main IT office. Organizations that invest in recognition and appreciation programs—including schools maintaining both athletic and staff recognition displays—benefit from structured documentation that outlasts personnel changes.
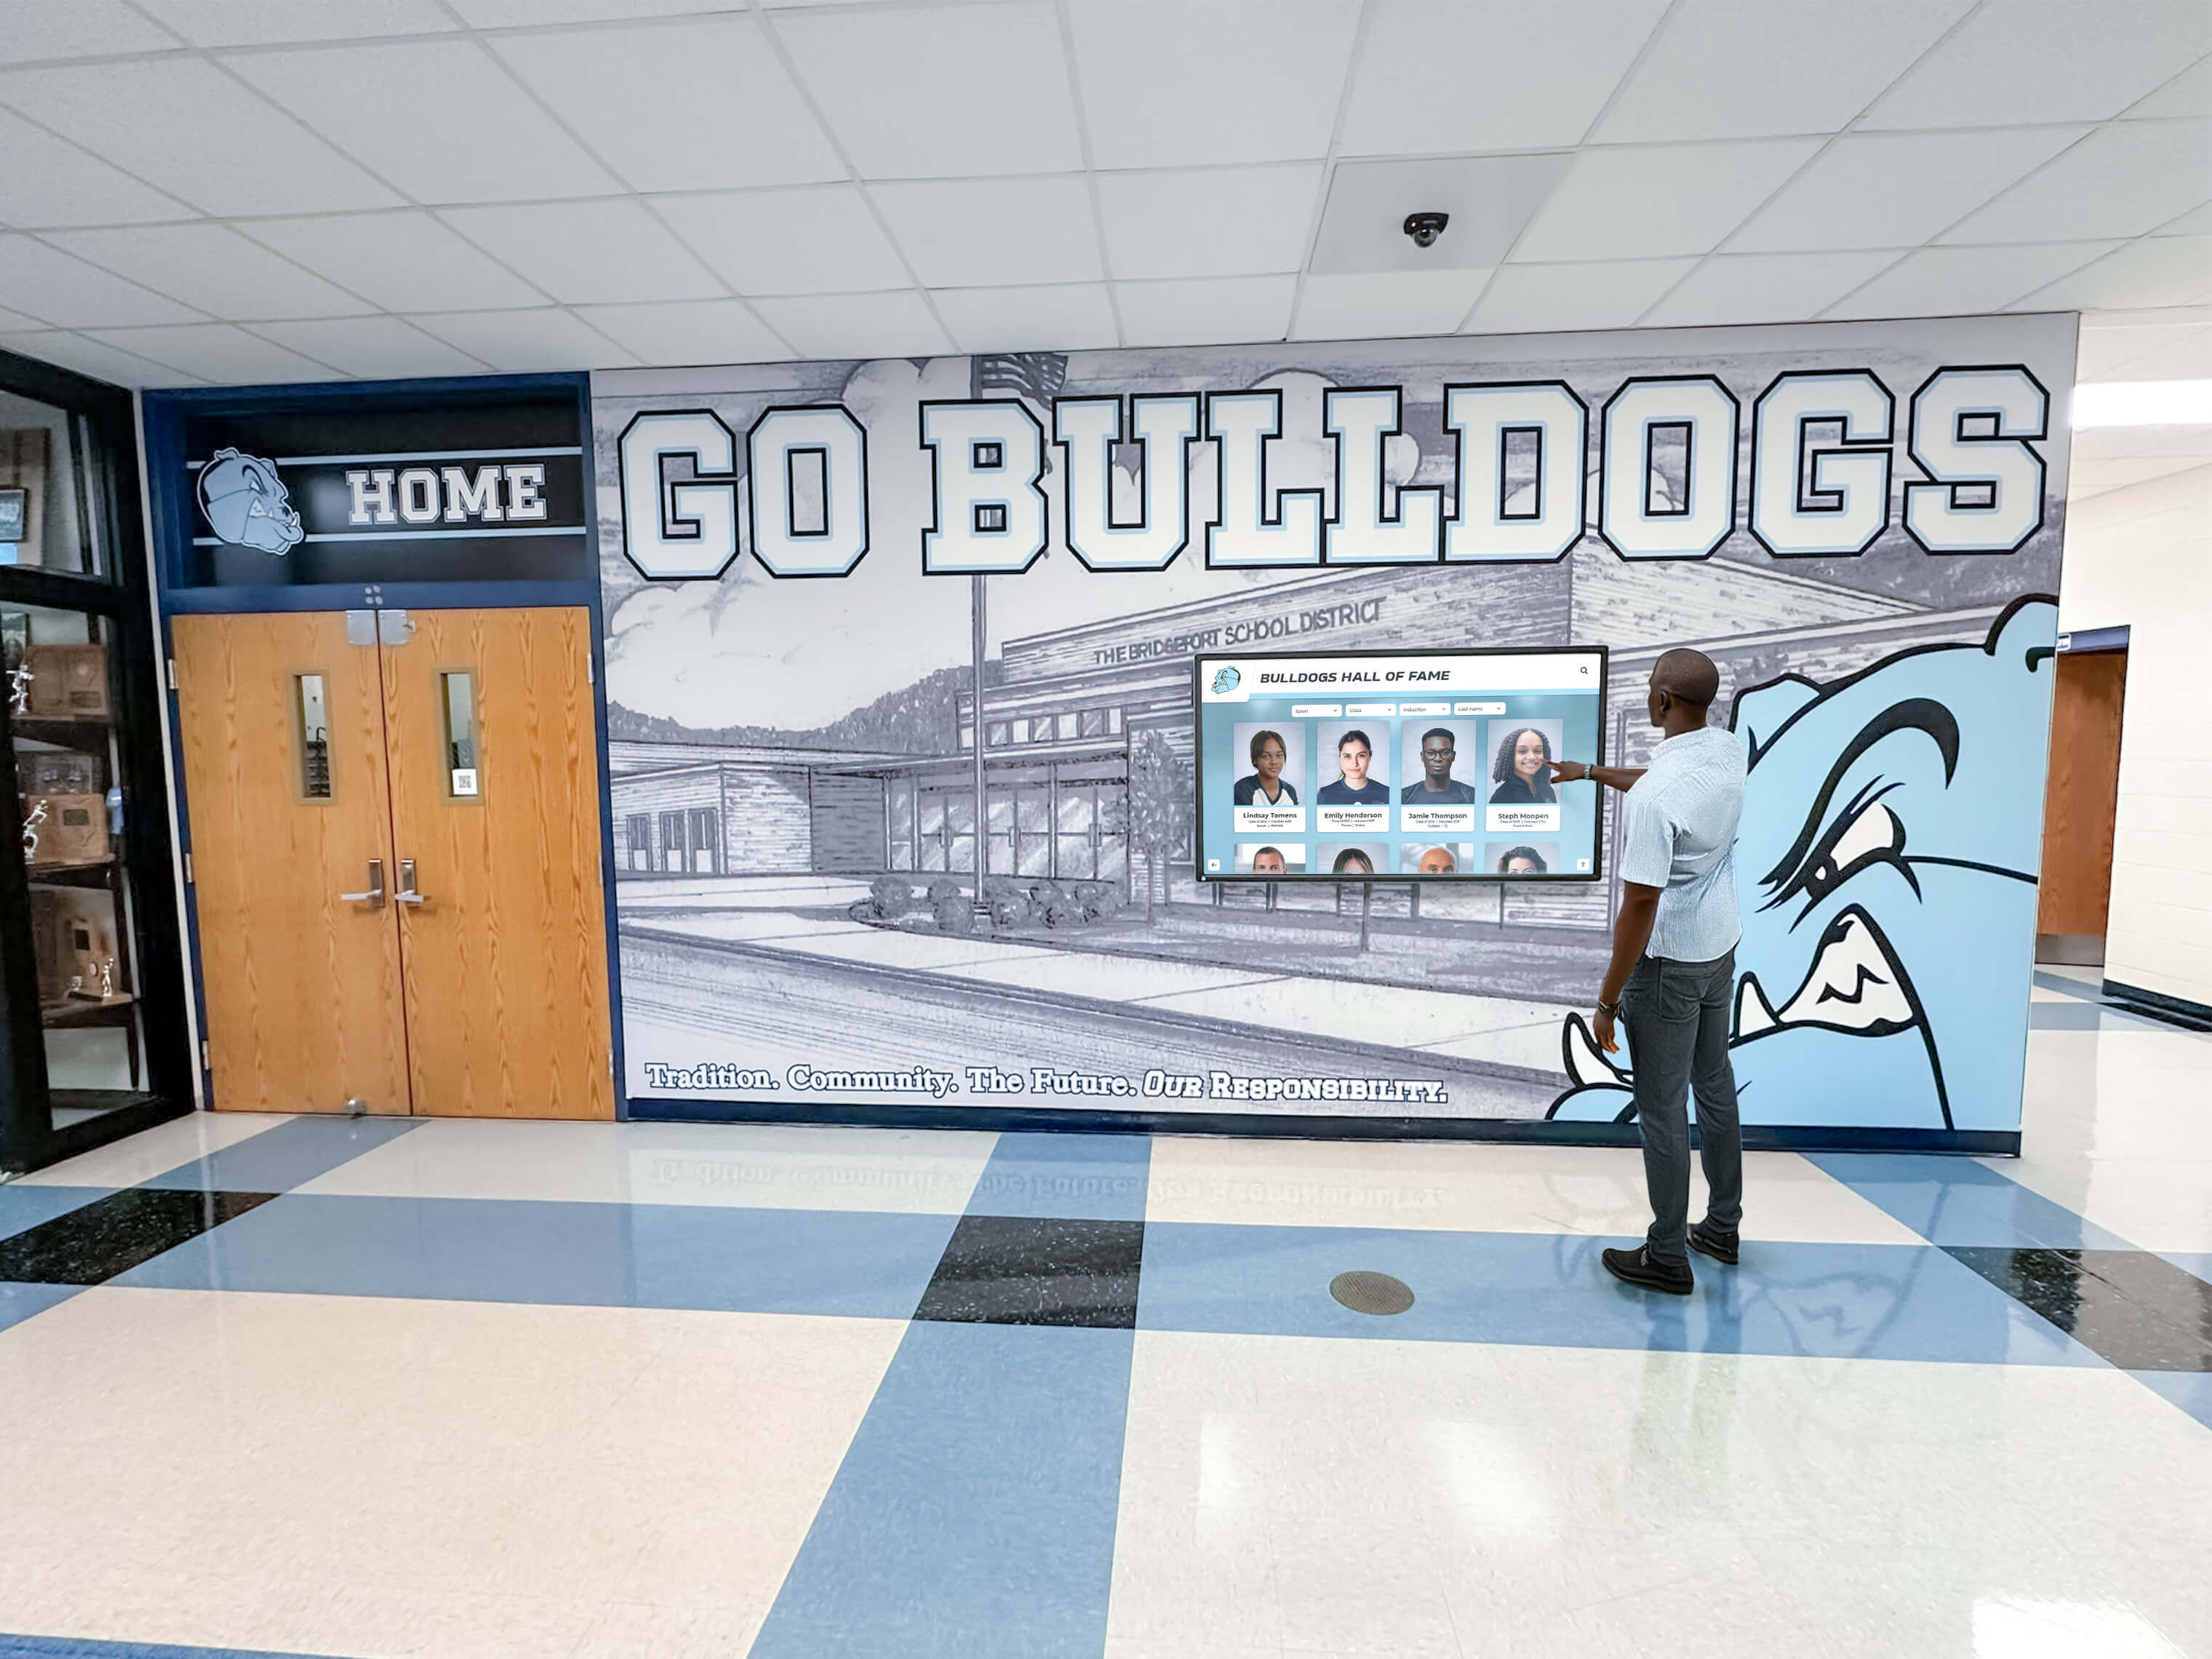
When cable labels and mapping tables are current, even staff unfamiliar with the installation can trace and restore connections without calling the original installer
Frequently Asked Questions
Does the labeling format change for floor-standing kiosk displays versus wall-mounted screens?
No. The same TYPE-LOCATION-DISPLAY-ID-PORT format applies to both. For kiosks, add a note in the mapping table identifying the unit as freestanding so future staff know cables route through the kiosk base rather than through the wall cavity.
How often should cable labels be inspected or replaced?
Inspect labels annually during routine hardware maintenance. Replace any label that is faded, illegible, or has adhesive failure. In gymnasium and cafeteria environments where cables experience more handling and heat cycling, semi-annual inspections are appropriate.
Our network uses VLAN segmentation for AV devices. Should that information go in the cable map?
Yes. Add a “Network Notes” column to the mapping table and record the VLAN ID, switch hostname, switch port, and any firewall or access-control rules relevant to the display. This is particularly valuable for schools whose IT teams manage recognition displays on a separate VLAN from student and administrative networks.
What happens when a cable is replaced with a different length or connector type?
Update the mapping table immediately and reprint both-end labels for the new cable. Archive the previous entry with a date and “replaced” notation rather than deleting it—historical cable records can surface useful context if a related issue appears weeks later.
Can student AV or IT club members be trained to apply this standard?
Yes, with staff oversight. Student AV teams can apply labels and maintain mapping tables as part of a structured program, with an advisor reviewing completed work before it is filed. The process builds real-world IT documentation skills while expanding the number of people who understand the school’s recognition display infrastructure.
How does cable labeling relate to selecting a recognition display vendor?
The standard is fully vendor-neutral—the same codes and format work regardless of which touchscreen platform the school chooses. When evaluating display software providers, ask whether they supply hardware installation records. Vendors operating at different scales vary in how much documentation they deliver at handoff; providers that include cable maps and network records reduce the burden on internal IT staff considerably.
Does this standard apply to multi-display installations with a central media player?
Yes, with one adjustment. When a single media player feeds multiple displays through a video splitter or distribution amplifier, label each VID cable with the display it feeds at the destination end, and label the media player output with a device-level tag (e.g., VID-SRC-01-OUT) at the source end. Cross-reference both labels in the mapping table so the full signal path is traceable in both directions.
The Standard at a Glance
| Element | Recommendation |
|---|---|
| Type codes | PWR, ETH, VID, USB, AUD |
| Label colors | Red (PWR), Blue (ETH), Yellow (VID), Green (USB), Orange (AUD) |
| Label format | [TYPE]-[LOCATION]-[DISPLAY-ID]-[PORT] |
| Label placement | Both ends of every cable, 2–3 inches from connector |
| Documentation | Cable mapping table per display plus installation photos |
| Storage | IT asset register (digital) plus printed binder backup |
| Update trigger | Any cable replacement, extension, or rerouting |
| Annual review | Full label inspection during routine hardware maintenance |
A consistent touchscreen recognition display cable labeling standard costs a few hours to implement and virtually nothing to maintain. It returns that investment every time a cable needs to be traced, a display needs to be restarted during an event, or a new IT staff member needs to understand the installation without calling the person who built it.
Ready to see how a managed recognition display platform handles installation documentation, remote management, and content updates in a single system? Request a demo from Rocket Alumni Solutions and ask about their installation handoff documentation for school touchscreen recognition displays.