Intent: research — this guide helps school IT coordinators, facilities teams, and athletic directors understand how to build and maintain a touchscreen recognition display ambient light sensor calibration log that keeps recognition screens readable in every location from sun-flooded lobbies to dim athletic corridors.
A touchscreen recognition display ambient light sensor calibration log is a dated record of ambient light readings, sensor behavior checks, and brightness adjustment verifications for each display in a school’s recognition system. Kept separately from general brightness scheduling notes, the log gives IT and AV staff a clear audit trail for diagnosing readability problems and proving that sensor checks happen on a defined cycle. This guide explains how the ambient light sensor (ALS) works on commercial recognition displays, what each log entry should contain, and how to run a calibration check step by step.
School recognition displays face a lighting challenge that office monitors and classroom projectors do not. A lobby panel may sit opposite floor-to-ceiling windows that pour direct sunlight onto the screen at midday. A hallway display outside the gymnasium may receive almost no natural light at all. An entrance kiosk may cycle between bright outdoor spill in the morning and fluorescent-only illumination by late afternoon. In each scenario, the display’s ambient light sensor is responsible for adjusting backlight brightness so that athlete profiles, hall of fame entries, donor names, and championship records remain legible without blinding visitors or washing out in glare.
When the sensor drifts, ages, or is misconfigured, the results are visible to everyone who walks past — a screen that looks washed out in afternoon sun, a recognition kiosk so dim in a hallway that students cannot read the text, or a lobby display that oscillates between brightness levels in a way that draws the eye for the wrong reason. A calibration log converts that reactive problem into a proactive maintenance item, giving the team documented evidence that sensor behavior was checked, when it was checked, and what was found.
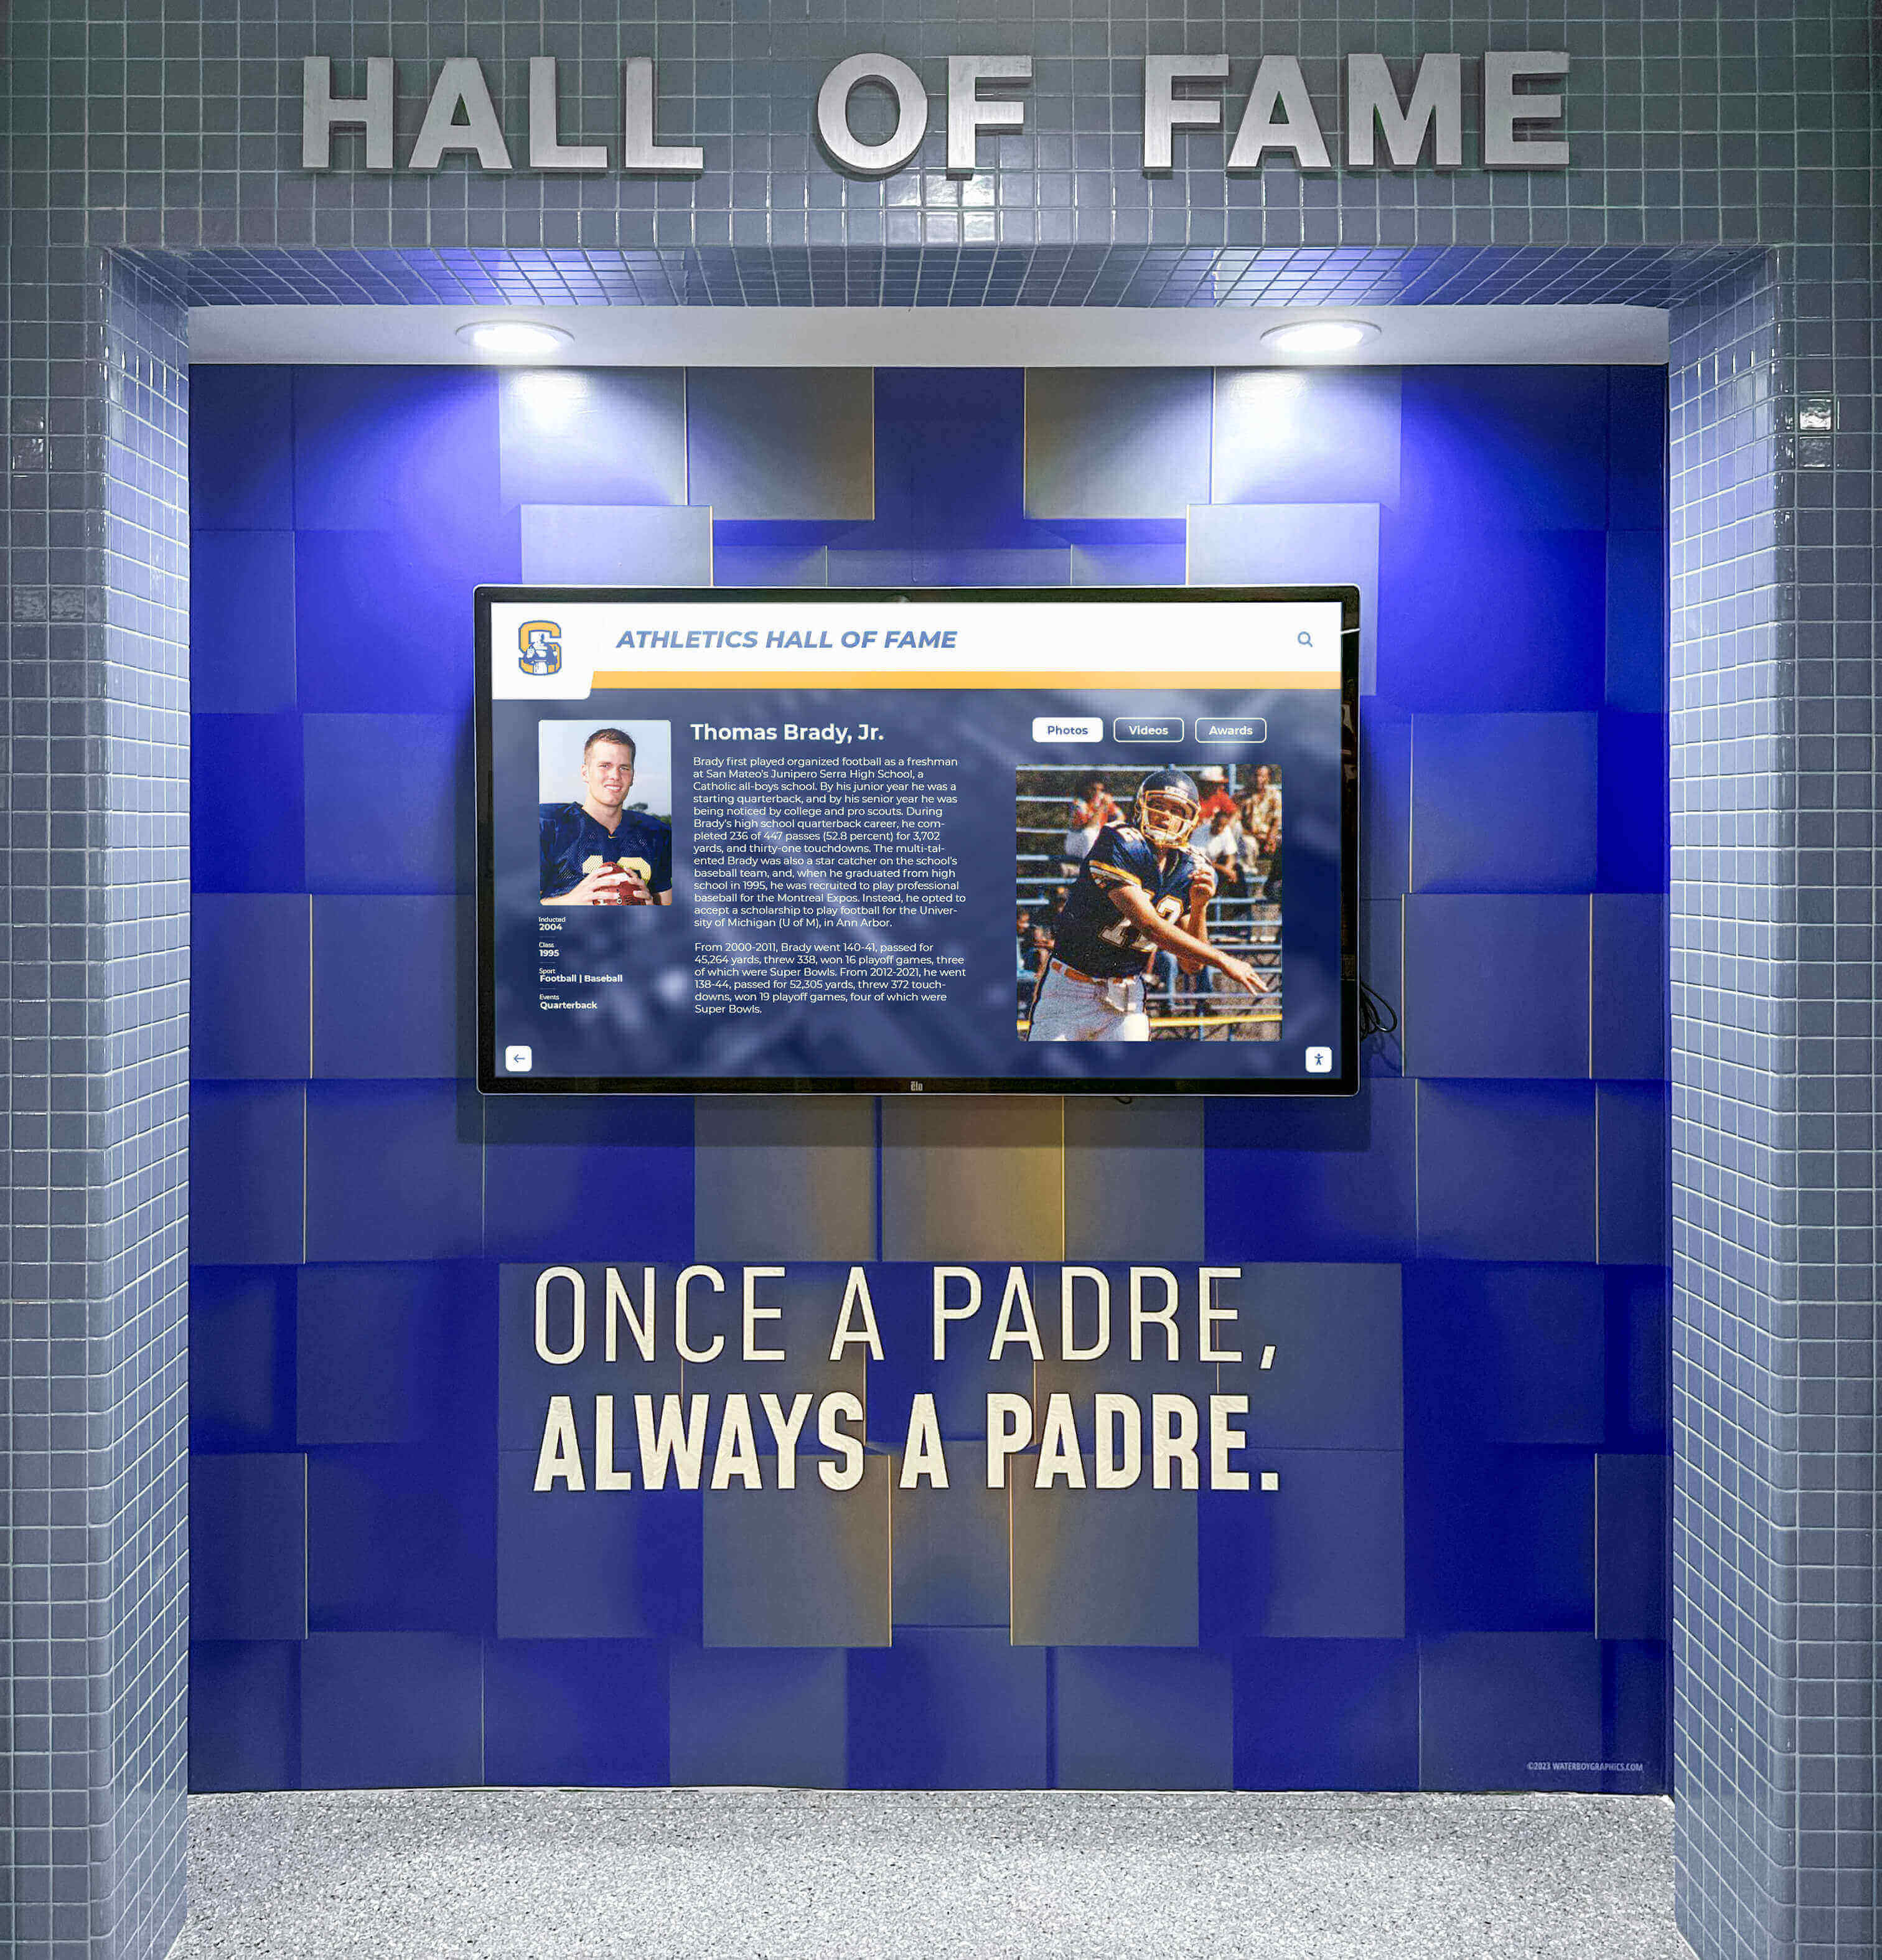
Recognition displays mounted in lobbies experience the widest ambient light swings — from direct window glare to evening fluorescent — making ALS calibration checks especially important
How the Ambient Light Sensor Works on Commercial Recognition Displays
Most commercial display panels intended for public-space use include an ambient light sensor as a standard feature. The sensor — typically a small photodetector positioned near the panel bezel — measures the luminous intensity of the surrounding environment and signals the display’s backlight controller to raise or lower output accordingly.
The relationship between sensor input and backlight output is governed by a response curve stored in the display’s firmware. This curve maps a range of lux readings (the unit of illuminance) to a corresponding range of backlight levels expressed as a percentage of maximum nit output. Manufacturers set a default curve, but many commercial panels allow IT staff to adjust the curve’s sensitivity, floor value (minimum backlight in low light), and ceiling value (maximum backlight in bright conditions) through the onscreen display (OSD) menu or a networked management interface.
For school recognition displays, three parameters matter most:
Sensor sensitivity threshold: How large a change in ambient light triggers a backlight adjustment. A low threshold causes the display to flicker as light levels shift from passing clouds or opening doors. A higher threshold creates a more stable image at the cost of slower adaptation.
Minimum backlight level (floor): The lowest brightness the display will reach in dark conditions. Set too low in a dim hallway, the display becomes unreadable. Set too high in a dim hallway, the display looks harsh and draws complaints about glare.
Maximum backlight level (ceiling): The highest brightness the display will reach in bright conditions. Commercial displays rated for lobby or near-window placement commonly support peaks in the range of 400 to 700 nits for consumer-grade units and higher for purpose-built high-brightness models. Capping the ceiling prevents unnecessary energy consumption in moderately lit spaces.
Understanding these parameters is the prerequisite for meaningful calibration logging — you cannot document drift or deviation if you have not first established what correct behavior looks like.
Why a Separate Calibration Log, Not Just Brightness Scheduling Notes
Many school IT teams manage display brightness through scheduled profiles: a morning preset, a daytime preset, and an evening preset that the content management system (CMS) or display management platform applies on a timer. This approach works well for predictable lighting patterns, but it does not capture whether the ambient light sensor itself is functioning accurately.
A brightness schedule tells the display what to do. The ALS tells the display what is actually happening in the room. When the sensor malfunctions — a blocked sensor aperture, a degraded photodetector, a firmware update that altered the response curve — the scheduled presets and the sensor output interact in ways that produce unexpected results. Staff who rely only on scheduling notes cannot distinguish between a correctly operating sensor that is producing the right output for the actual light level and a failing sensor that is producing incorrect output regardless of schedule.
Keeping a dedicated ambient light sensor calibration log separates the question “is the schedule correct?” from “is the sensor working as expected?” That distinction matters when troubleshooting readability complaints, preparing for events that draw community attention, or coordinating with a managed service provider on display performance.
Schools that document their recognition programs carefully — from athlete records to donor acknowledgments — often find that the same discipline applied to digital hall of fame donor wall programs extends naturally to the hardware documentation that keeps those programs visible.
Building the Calibration Log: What Each Entry Should Contain
A calibration log entry for a touchscreen recognition display ambient light sensor check does not need to be complex. The goal is a record that any qualified staff member can read and act on without needing to contact the person who made the previous entry.
Each log entry should include the following fields:
| Field | What to Record |
|---|---|
| Display ID | Location name and serial number (e.g., “Main Lobby — SN-2204183”) |
| Check date and time | Date, time of day, and day of week |
| Ambient conditions | Measured lux reading at the sensor aperture (see procedure below) |
| Reported backlight level | Percentage displayed in the OSD or management console |
| Expected backlight level | What the configured response curve predicts for the measured lux |
| Variance | Difference between reported and expected (in percentage points) |
| Sensor aperture status | Clear / Partially obstructed / Fully obstructed |
| Response curve version | Firmware version or profile name in effect |
| Adjustments made | Any OSD or management console changes, with before/after values |
| Technician | Name or initials |
| Next check due | Date of the next scheduled check |
The “Expected backlight level” column requires that the team has documented the display’s configured response curve in advance — either by recording the curve settings from the OSD menu during initial setup, or by requesting the default curve values from the manufacturer’s technical documentation. Without that baseline, the variance column cannot be populated meaningfully.
Schools that run year-round recognition events — from fall sports banquets to spring award ceremonies — may reference event planning resources such as school award ceremony decoration guides when planning display readiness checks ahead of high-visibility dates.
Step-by-Step Ambient Light Sensor Calibration Check Procedure
The following procedure applies to a single commercial touchscreen recognition display installation. Run it for each display in the school’s recognition system.
Before You Begin
Gather the following equipment and information:
- A digital lux meter (available from photography or electrical supply sources; accuracy to ±5% is sufficient for this purpose)
- Access to the display’s OSD menu or networked management console
- The display’s documented response curve (from initial setup documentation or manufacturer’s technical specifications)
- The calibration log for this display
- A flashlight or portable work light for sensor aperture inspection
Allow at least 15 minutes after the display powers on before taking readings — backlight behavior stabilizes after the initial warm-up period.
Step 1 — Record the ambient conditions at the sensor aperture
Hold the lux meter sensor at the location of the display’s ALS aperture (usually a small window on the bezel, often near the bottom center or top edge of the frame). Take three readings spaced 10 seconds apart and record the average. Note the time and the primary light sources present in the room (natural light through windows, overhead fluorescent, LED downlights, etc.).
Step 2 — Inspect the sensor aperture
Visually examine the ALS aperture for obstructions. Dust accumulation, adhesive residue from incorrectly applied screen protectors, or physical damage to the aperture window can attenuate the sensor’s reading independently of actual room brightness. Clean the aperture with a dry microfiber cloth if any dust or residue is present. Note the pre-cleaning condition in the log.
Step 3 — Read the current backlight level from the display management interface
Access the OSD menu or the networked management console. Record the current backlight level as reported by the display. Some panels report this as a percentage; others report an absolute nit value. Record whichever unit the display uses and note the unit in the log for consistency.
Step 4 — Compare the reported backlight level to the expected value
Using the documented response curve, identify what backlight level the display should be producing for the lux reading recorded in Step 1. Calculate the variance between reported and expected. A variance of less than five percentage points is typically within normal operating range for consumer-grade ALS hardware. A variance greater than ten percentage points warrants investigation and adjustment.
Step 5 — Check the sensor response to a deliberate light change
Using the portable work light, briefly illuminate the area directly in front of the ALS aperture and observe whether the display’s backlight level increases within the panel’s configured response delay (typically two to five seconds for most commercial displays). Then shade the aperture with your hand and observe whether the backlight decreases. If the backlight does not respond to either change, the sensor may have failed or the auto-brightness feature may have been disabled in a previous OSD session.
Note: do not perform this test if the display is currently visible to visitors or students — the brightness changes are briefly visible and may be distracting during live recognition program use.
Step 6 — Make adjustments if needed
If the variance from Step 4 exceeds the acceptable threshold, adjust the response curve parameters through the OSD menu. Document the pre-adjustment and post-adjustment curve values in the log. If the sensor failed to respond in Step 5, document the failure and escalate to the hardware support contact identified in the display’s service record.
Step 7 — Complete the log entry
Fill in all fields for this check. Set the next check date according to the calibration schedule (see the scheduling section below). File the log where IT and AV staff can both access it.
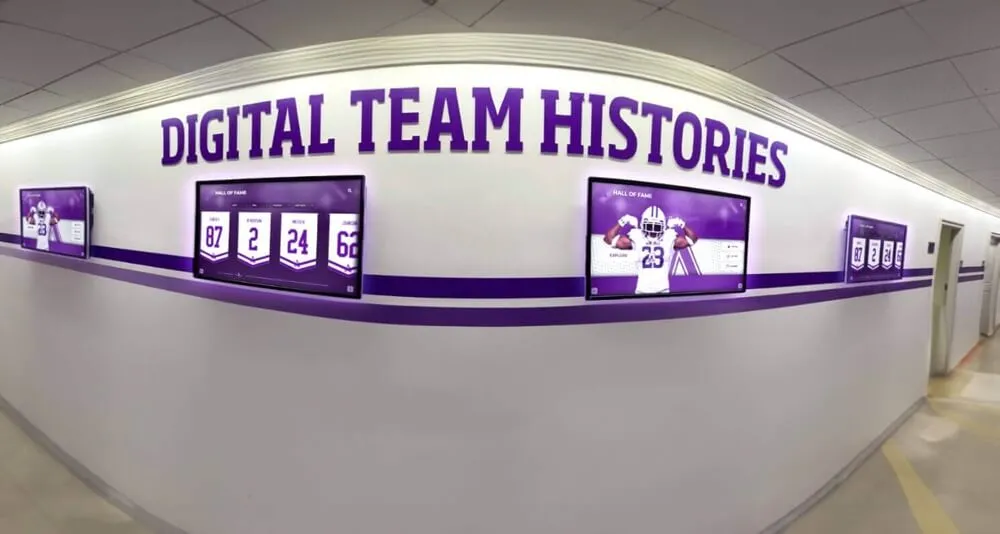
Hallway displays often receive lower ambient light than lobby panels — establishing separate calibration baselines for each installation location prevents uniform settings from producing uneven results
Calibration Schedule: When to Check and Why
One of the most common questions school IT teams ask is how frequently ambient light sensor calibration checks should run. The answer depends on the installation environment and the check findings over time, but a practical starting framework covers four trigger categories:
Scheduled Checks
| Trigger | Recommended Frequency |
|---|---|
| Routine maintenance | Twice per year (start of fall semester, start of spring semester) |
| After a firmware update to the display panel | Within 72 hours of update confirmation |
| After a content management system brightness profile change | Within one week |
| At the start of a high-visibility period (homecoming, banquet season) | One week before the event |
Event-Driven Checks
| Trigger | Action |
|---|---|
| Readability complaint from staff or visitors | Same-day check |
| Visible brightness oscillation observed on display | Immediate check |
| Physical relocation of the display | Full calibration before and after move |
| Addition of new overhead lighting in the installation area | Establish new baseline within two weeks |
| Display powered off for more than two weeks | Check on next power-on |
Schools in regions with pronounced seasonal lighting variation — where the angle and intensity of natural light through lobby windows changes significantly between winter and summer — may benefit from adding a third scheduled check at the seasonal midpoints.
Recognition programs that run athletic season-end events often involve multi-sport programs where displays serve varied audiences across the year. Resources like high school lacrosse season timing guides illustrate the range of school year events that bring different community members to hallways and lobbies where recognition displays are mounted — each group potentially encountering the display under different lighting conditions than the last.
Maintaining the Log Across Multiple Displays and Locations
Schools with more than one recognition display — a common configuration as programs expand from a single lobby kiosk to hallway panels, gymnasium entrance displays, and trophy alcove installations — need a log structure that covers all units without becoming difficult to manage.
A practical approach organizes the calibration log as a shared document with one tab or section per display. Each section carries the display’s identifier, its installation location and date, the manufacturer’s model and serial number, the current firmware version, and the documented response curve baseline. Calibration check entries are added chronologically within each section.
This structure allows staff to compare behavior across displays — useful when a firmware update that affected sensor response was applied to all units simultaneously, or when a common configuration change produced different results across lobby and hallway environments.
A quarterly review of the full log takes roughly 15 to 20 minutes per display and surfaces patterns: a specific panel generation that consistently drifts toward the high end of variance, a hallway installation where seasonal lighting changes require curve adjustments twice a year, or a lobby display that has maintained stable sensor performance across two full years of operation. That pattern data guides future calibration schedules and informs procurement decisions when new displays are evaluated.
Schools building or expanding recognition programs — including capital campaigns that fund new display installations — may find useful context in resources on successful school fundraising and capital campaign planning that address how recognition display investments are scoped and justified to stakeholders.
Connecting Ambient Light Calibration to Recognition Program Quality
The operational purpose of an ambient light sensor calibration log is display readability. But in the context of a school’s recognition program, readability directly affects program outcomes. A hall of fame display that cannot be read in afternoon lobby light fails its core function: celebrating athletes, honoring donors, and preserving institutional history for the community members who walk past it.
Athletic programs that invest in athletic hall of fame display software and hardware often find that content quality — the athletes honored, the records documented, the photographs and video clips featured — receives extensive attention during setup, while hardware maintenance receives less. The calibration log addresses that gap on the sensor and backlight side, ensuring the display performs as well in its fifth year as it did in its first.
The same principle applies to donor recognition displays, academic honor walls, and program archive kiosks. A class reunion recognition program that brings alumni back to the building may be the first time in years that graduates see the recognition display — and the ambient light conditions during that evening event may differ significantly from the daytime conditions under which the display was last checked.
Calibration logs provide the documentation that the display was verified and adjusted before that visit, not discovered to be dim or washed-out during it.
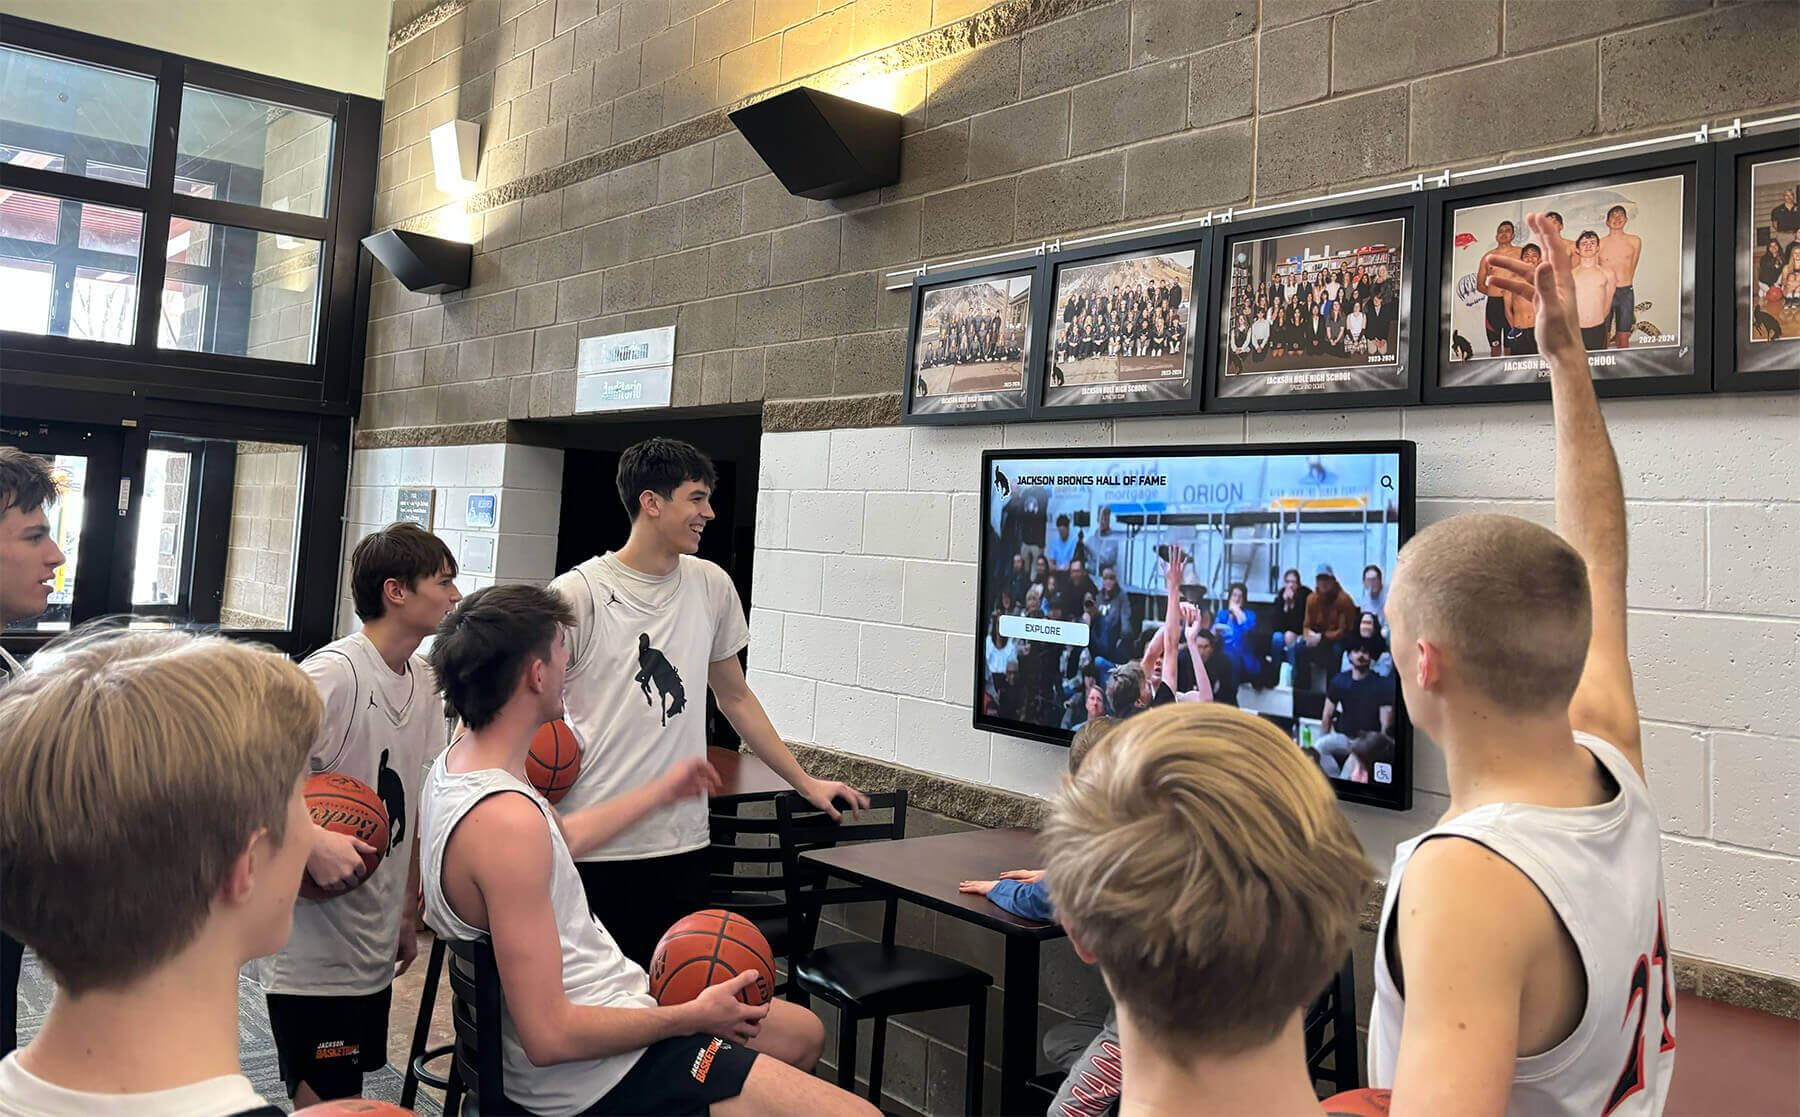
Students, parents, and community visitors are the audience for recognition displays — sensor calibration directly affects whether program content is legible for every visitor, not just staff who know where to stand
Integrating the Calibration Log with Broader Display Documentation
The ambient light sensor calibration log works most effectively when it is part of a broader display documentation system rather than an isolated record. For school recognition displays, that broader system typically includes:
Firmware change log: Documents every firmware update applied to the display panel, media player, and peripheral hardware. When a sensor calibration check follows a firmware update, cross-referencing the firmware log identifies whether the update changed ALS behavior — a common side effect of panel firmware updates that alter backlight controller parameters.
Content management change log: Documents changes to scheduled brightness profiles in the CMS. If a CMS profile change and an ALS recalibration happen in the same week, both records together explain what changed and why readability improved or degraded.
Service and repair record: Documents any hardware interventions — replaced backlight components, display panel swaps, bezel cleaning, or physical damage incidents — that affect sensor behavior as a secondary consequence.
Storing all three logs in the same shared folder or ticketing system allows any staff member involved in display maintenance to see the complete history of a unit without reconstructing it from memory or email chains.
Schools that prioritize archival documentation for recognition programs — particularly those that treat digital recognition as a long-term institutional record — may find alignment with the documentation practices explored in digital hall of fame canonical content policy guides that address how recognition content is preserved and organized for long-term access.
For schools expanding recognition programs into academic society chapters and honor organizations beyond athletics, guides to organizing and documenting honor society chapters reflect similar institutional documentation needs — and recognition displays that serve those programs benefit from the same calibration discipline as athletic hall of fame installations.
Managing recognition display maintenance across multiple locations? A managed recognition platform handles brightness profiles, CMS maintenance, and hardware monitoring as part of the service — reducing the in-house burden on IT and AV teams while keeping recognition screens readable year-round.
Frequently Asked Questions
What is an ambient light sensor on a recognition display and how does it affect what visitors see?
An ambient light sensor (ALS) is a small photodetector built into the display panel bezel that measures the brightness of the surrounding environment. The sensor signals the display’s backlight controller to increase or decrease brightness in response to changing light conditions — brighter in a sunlit lobby, dimmer in a dark hallway. When the sensor is accurately calibrated, visitor-facing content such as athlete profiles, donor names, and championship records remains legible across the full range of conditions the display encounters. When the sensor drifts or fails, the display may appear washed out in bright conditions or unreadably dim in low light.
How is an ambient light sensor calibration check different from adjusting the brightness schedule in the CMS?
A CMS brightness schedule tells the display what backlight level to use at a given time of day, regardless of actual room conditions. An ALS calibration check verifies that the sensor is accurately reading actual room brightness and producing the correct backlight output for that reading. A school might have a well-configured CMS schedule and still have a miscalibrated sensor — the two systems operate independently, and the calibration log tracks the sensor performance specifically.
How often should a school run ambient light sensor calibration checks on recognition displays?
A practical baseline is twice per year, aligned with the start of fall and spring semesters. Additional checks are warranted within 72 hours of any panel firmware update, within one week of any CMS brightness profile change, one week before high-visibility events such as athletic banquets or community open houses, and immediately in response to readability complaints or visible brightness oscillation. Schools in regions with pronounced seasonal lighting variation may add a third scheduled check.
What lux reading should trigger a calibration adjustment?
There is no universal lux threshold that triggers an adjustment, because the acceptable range depends on the display’s configured response curve and the installation environment. The meaningful metric is the variance between the backlight level the display is actually producing and the level the configured response curve predicts for the measured ambient lux. A variance of fewer than five percentage points is typically within normal operating range. A variance of more than ten percentage points warrants investigation of sensor aperture condition, response curve configuration, and — if those check out — the sensor hardware itself.
Can a blocked sensor aperture cause the same symptoms as a failed sensor?
Yes. Dust accumulation, fingerprints, adhesive residue from incorrectly applied screen protectors, and physical damage to the aperture window all attenuate the sensor’s reading independently of actual room brightness. A fully blocked aperture may cause the display to behave as though the room is permanently dim, holding the backlight at or near the floor value regardless of actual ambient light. Aperture inspection and cleaning is the first step in any calibration troubleshooting procedure before concluding that the sensor hardware has failed.
Does the ambient light sensor calibration log need to be separate from the general maintenance log?
Keeping it separate is recommended, though not technically required. The purpose of a dedicated ALS calibration log is to make sensor-specific records easy to retrieve without searching through general maintenance notes for a specific display unit. When a readability complaint arrives, having a dedicated log that shows the last sensor check date, the measured variance, and whether any adjustments were made answers the immediate question quickly. If general maintenance logs are well-organized by display and date, a dedicated section within the general log can serve the same function.
What happens to ambient light sensor behavior after a display panel firmware update?
Panel firmware updates sometimes alter the backlight controller parameters that govern how the ALS input is translated into backlight output. The response curve’s sensitivity, floor value, or ceiling value may shift from their pre-update configuration — either because the update explicitly changed the defaults or because the update reset OSD settings to factory values. Running an ALS calibration check within 72 hours of any panel firmware update detects these changes before they produce readability complaints and documents the pre-update and post-update curve settings in the calibration log.
Practical Starting Point for Schools Without an Existing Log
If no ambient light sensor calibration log currently exists for a school’s recognition displays, building one does not require reconstructing historical data. The most effective approach is to start the log with a baseline check:
- Run the seven-step calibration procedure described in this guide for each display.
- Document the current sensor behavior — lux reading, backlight level, response curve version, aperture condition — as the established baseline.
- Set the next check date based on the scheduling framework above.
- Store the log in a location accessible to both IT and AV staff.
That first entry converts an unmanaged system into a managed one. Subsequent entries build the pattern data that makes the log genuinely useful for troubleshooting and maintenance planning.
Recognition displays are long-cycle capital investments — routinely expected to serve school programs for seven to ten years. An ambient light sensor calibration log started today will still be providing diagnostic value when that display is mid-life, helping staff distinguish between a sensor that has gradually drifted and a panel whose backlight hardware is approaching end of life. The log does not require sophisticated tools or significant time investment: a lux meter, a shared document, and consistent execution of a straightforward procedure are enough to keep recognition screens readable for every student, athlete, parent, and donor who walks through the door.