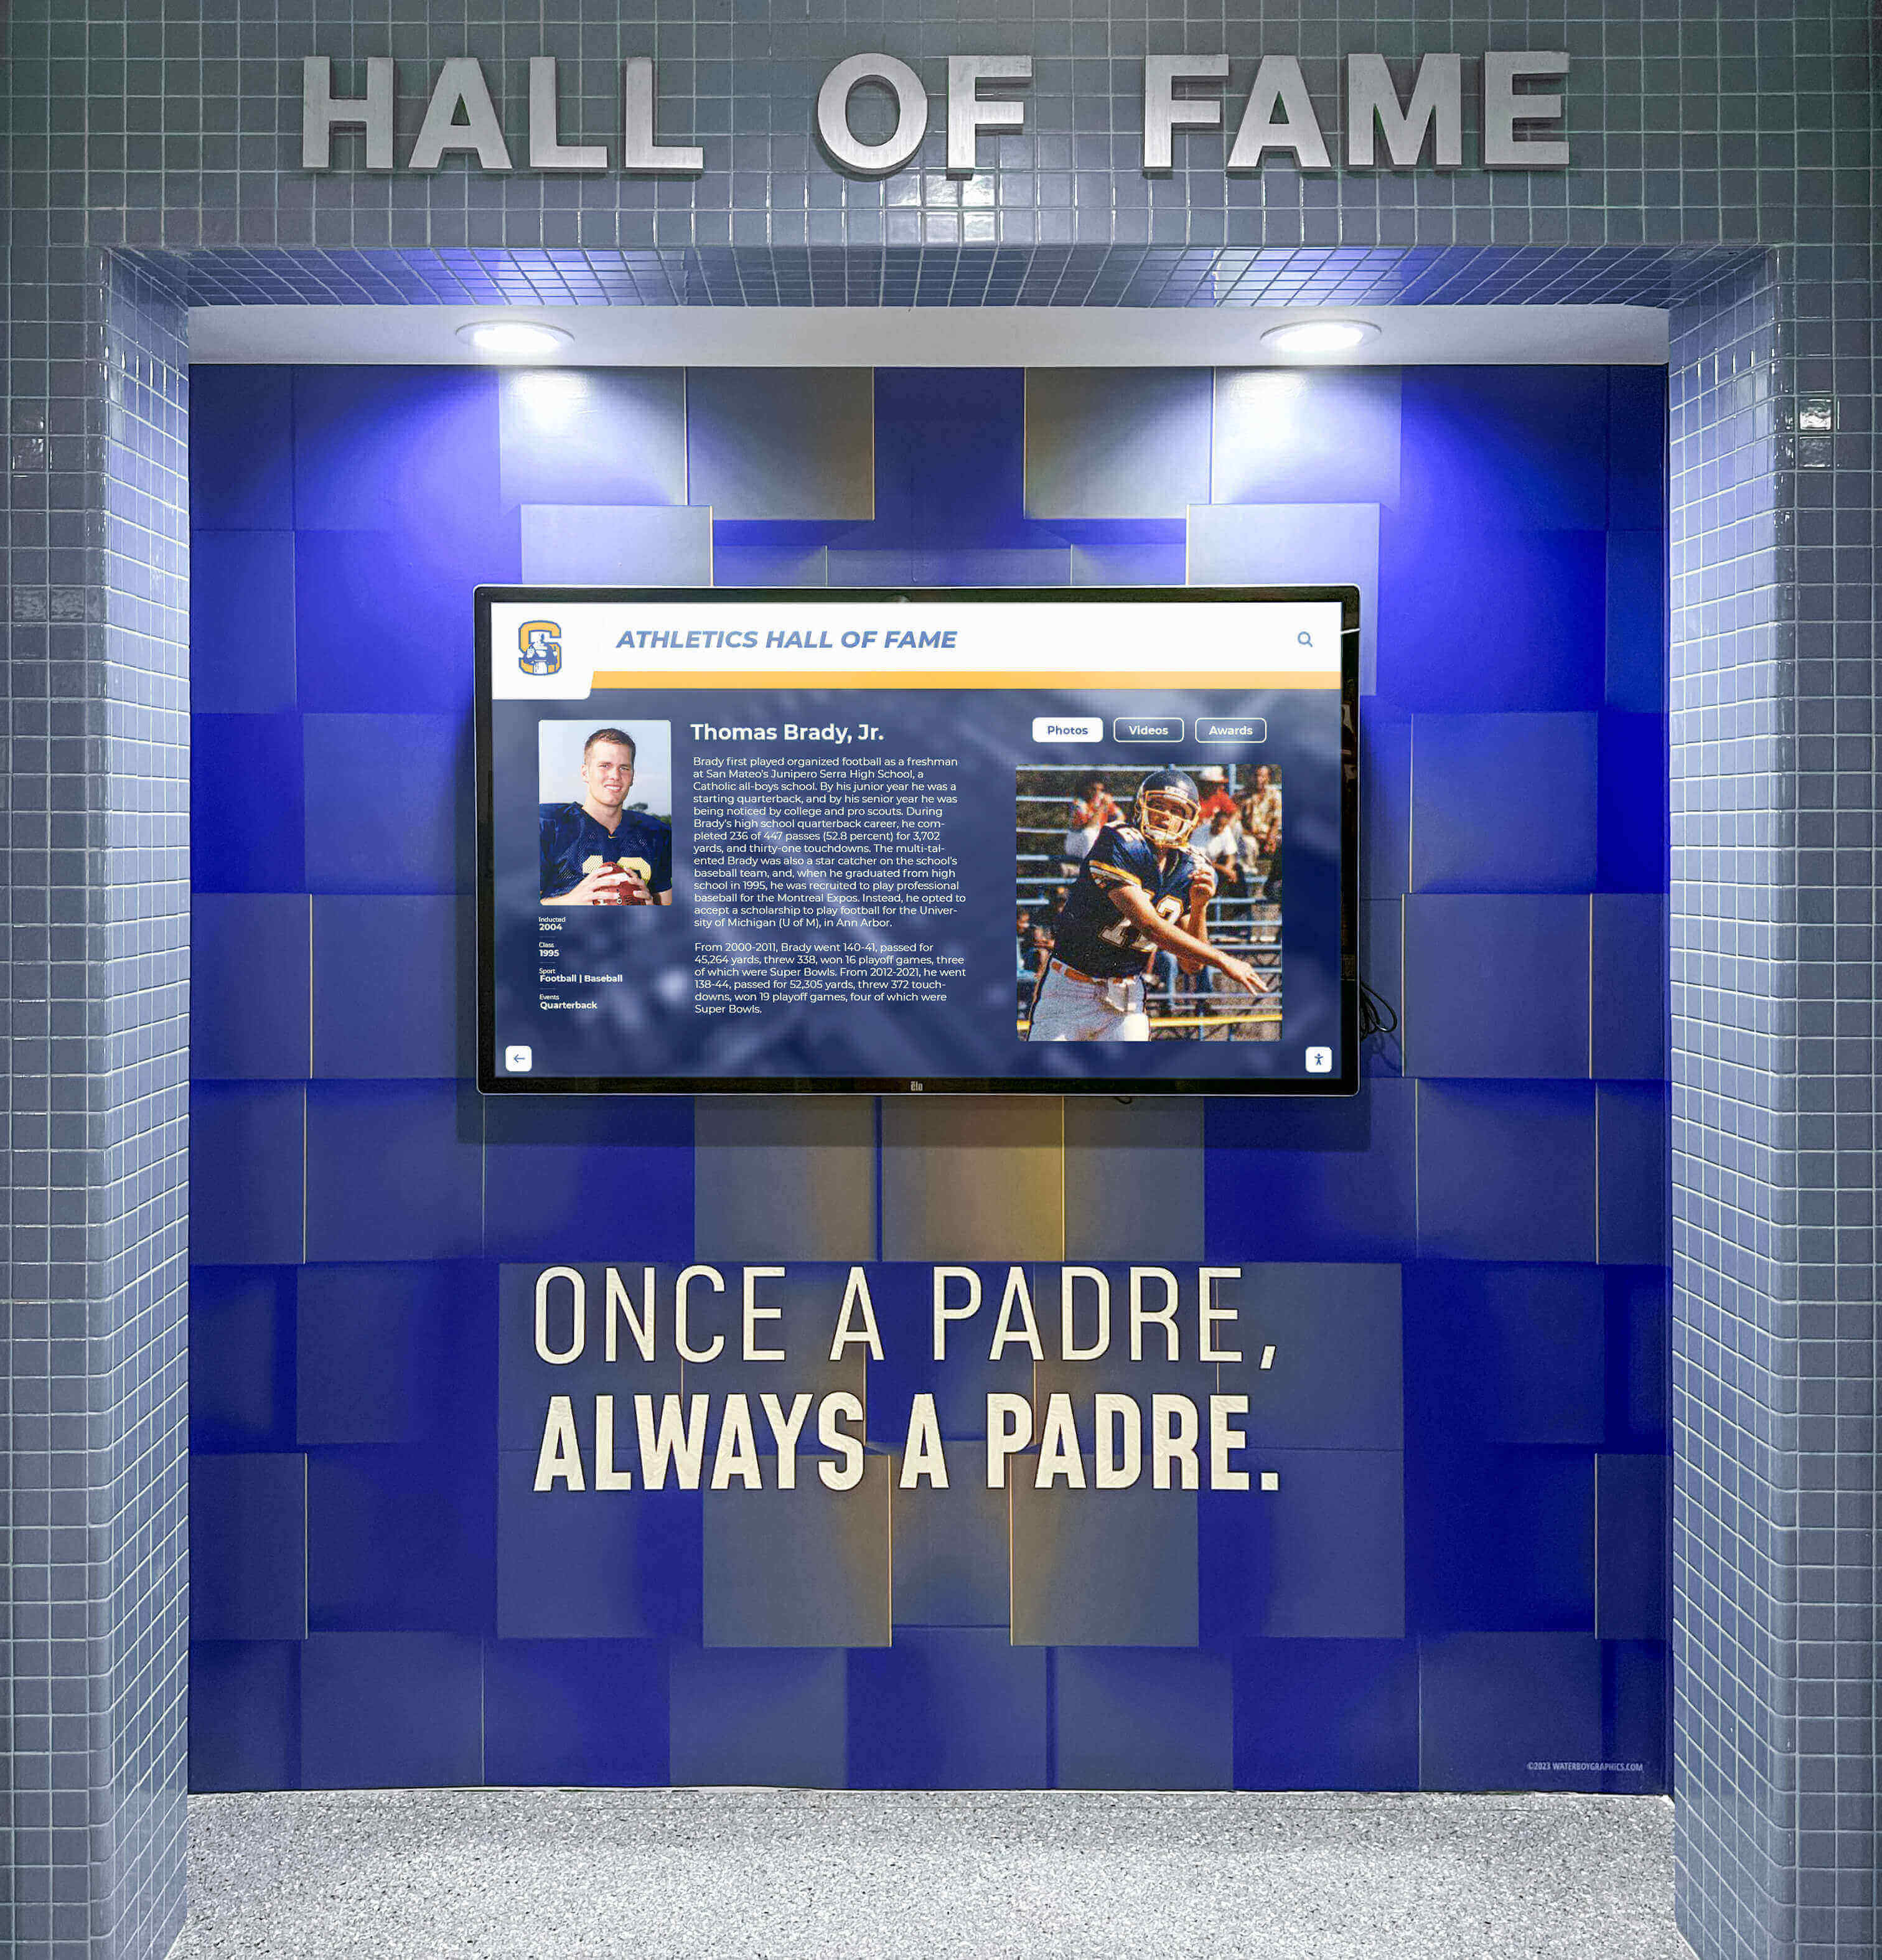
Intent: research — this checklist helps facilities teams, athletic directors, and IT coordinators verify that every VESA mount supporting a school recognition display is compatible, structurally sound, and ready for long-term public use.
A properly inspected VESA mount is the difference between a recognition display that runs reliably for a decade and one that fails at a ribbon-cutting ceremony. Before any school recognition display goes live—whether it showcases an athletic hall of fame, donor wall, academic honor board, or alumni archive—the mount holding it to the wall deserves the same scrutiny as the software running on the screen.
This checklist walks through compatibility verification, hardware inspection, structural assessment, clearance checks, and the periodic re-inspection schedule facilities teams should build into their maintenance calendar.
What Is a VESA Mount and Why Does It Matter for School Displays?
VESA (Video Electronics Standards Association) mounts follow a standardized hole-pattern specification that allows any compliant bracket to attach to any compliant display. The pattern is measured in millimeters—common sizes for school recognition displays range from VESA 200×200 up to VESA 800×400 for large-format panels.
For public-facing school environments, standardization is both an asset and a liability. It simplifies hardware procurement—virtually every commercial display sold today is VESA compliant—but it also means that a wrong bracket choice or an improperly torqued bolt can go unnoticed until the display shifts, tilts, or, in a worst case, falls. School lobbies, athletic corridors, and trophy-case alcoves are high-traffic areas. A 65-inch touchscreen panel can weigh 80–100 pounds. Structural integrity is not optional.
Schools investing in interactive recognition experiences—touchscreen hall-of-fame kiosks, donor walls, or athletic record boards—need mounting that keeps those experiences accessible and safe every day.
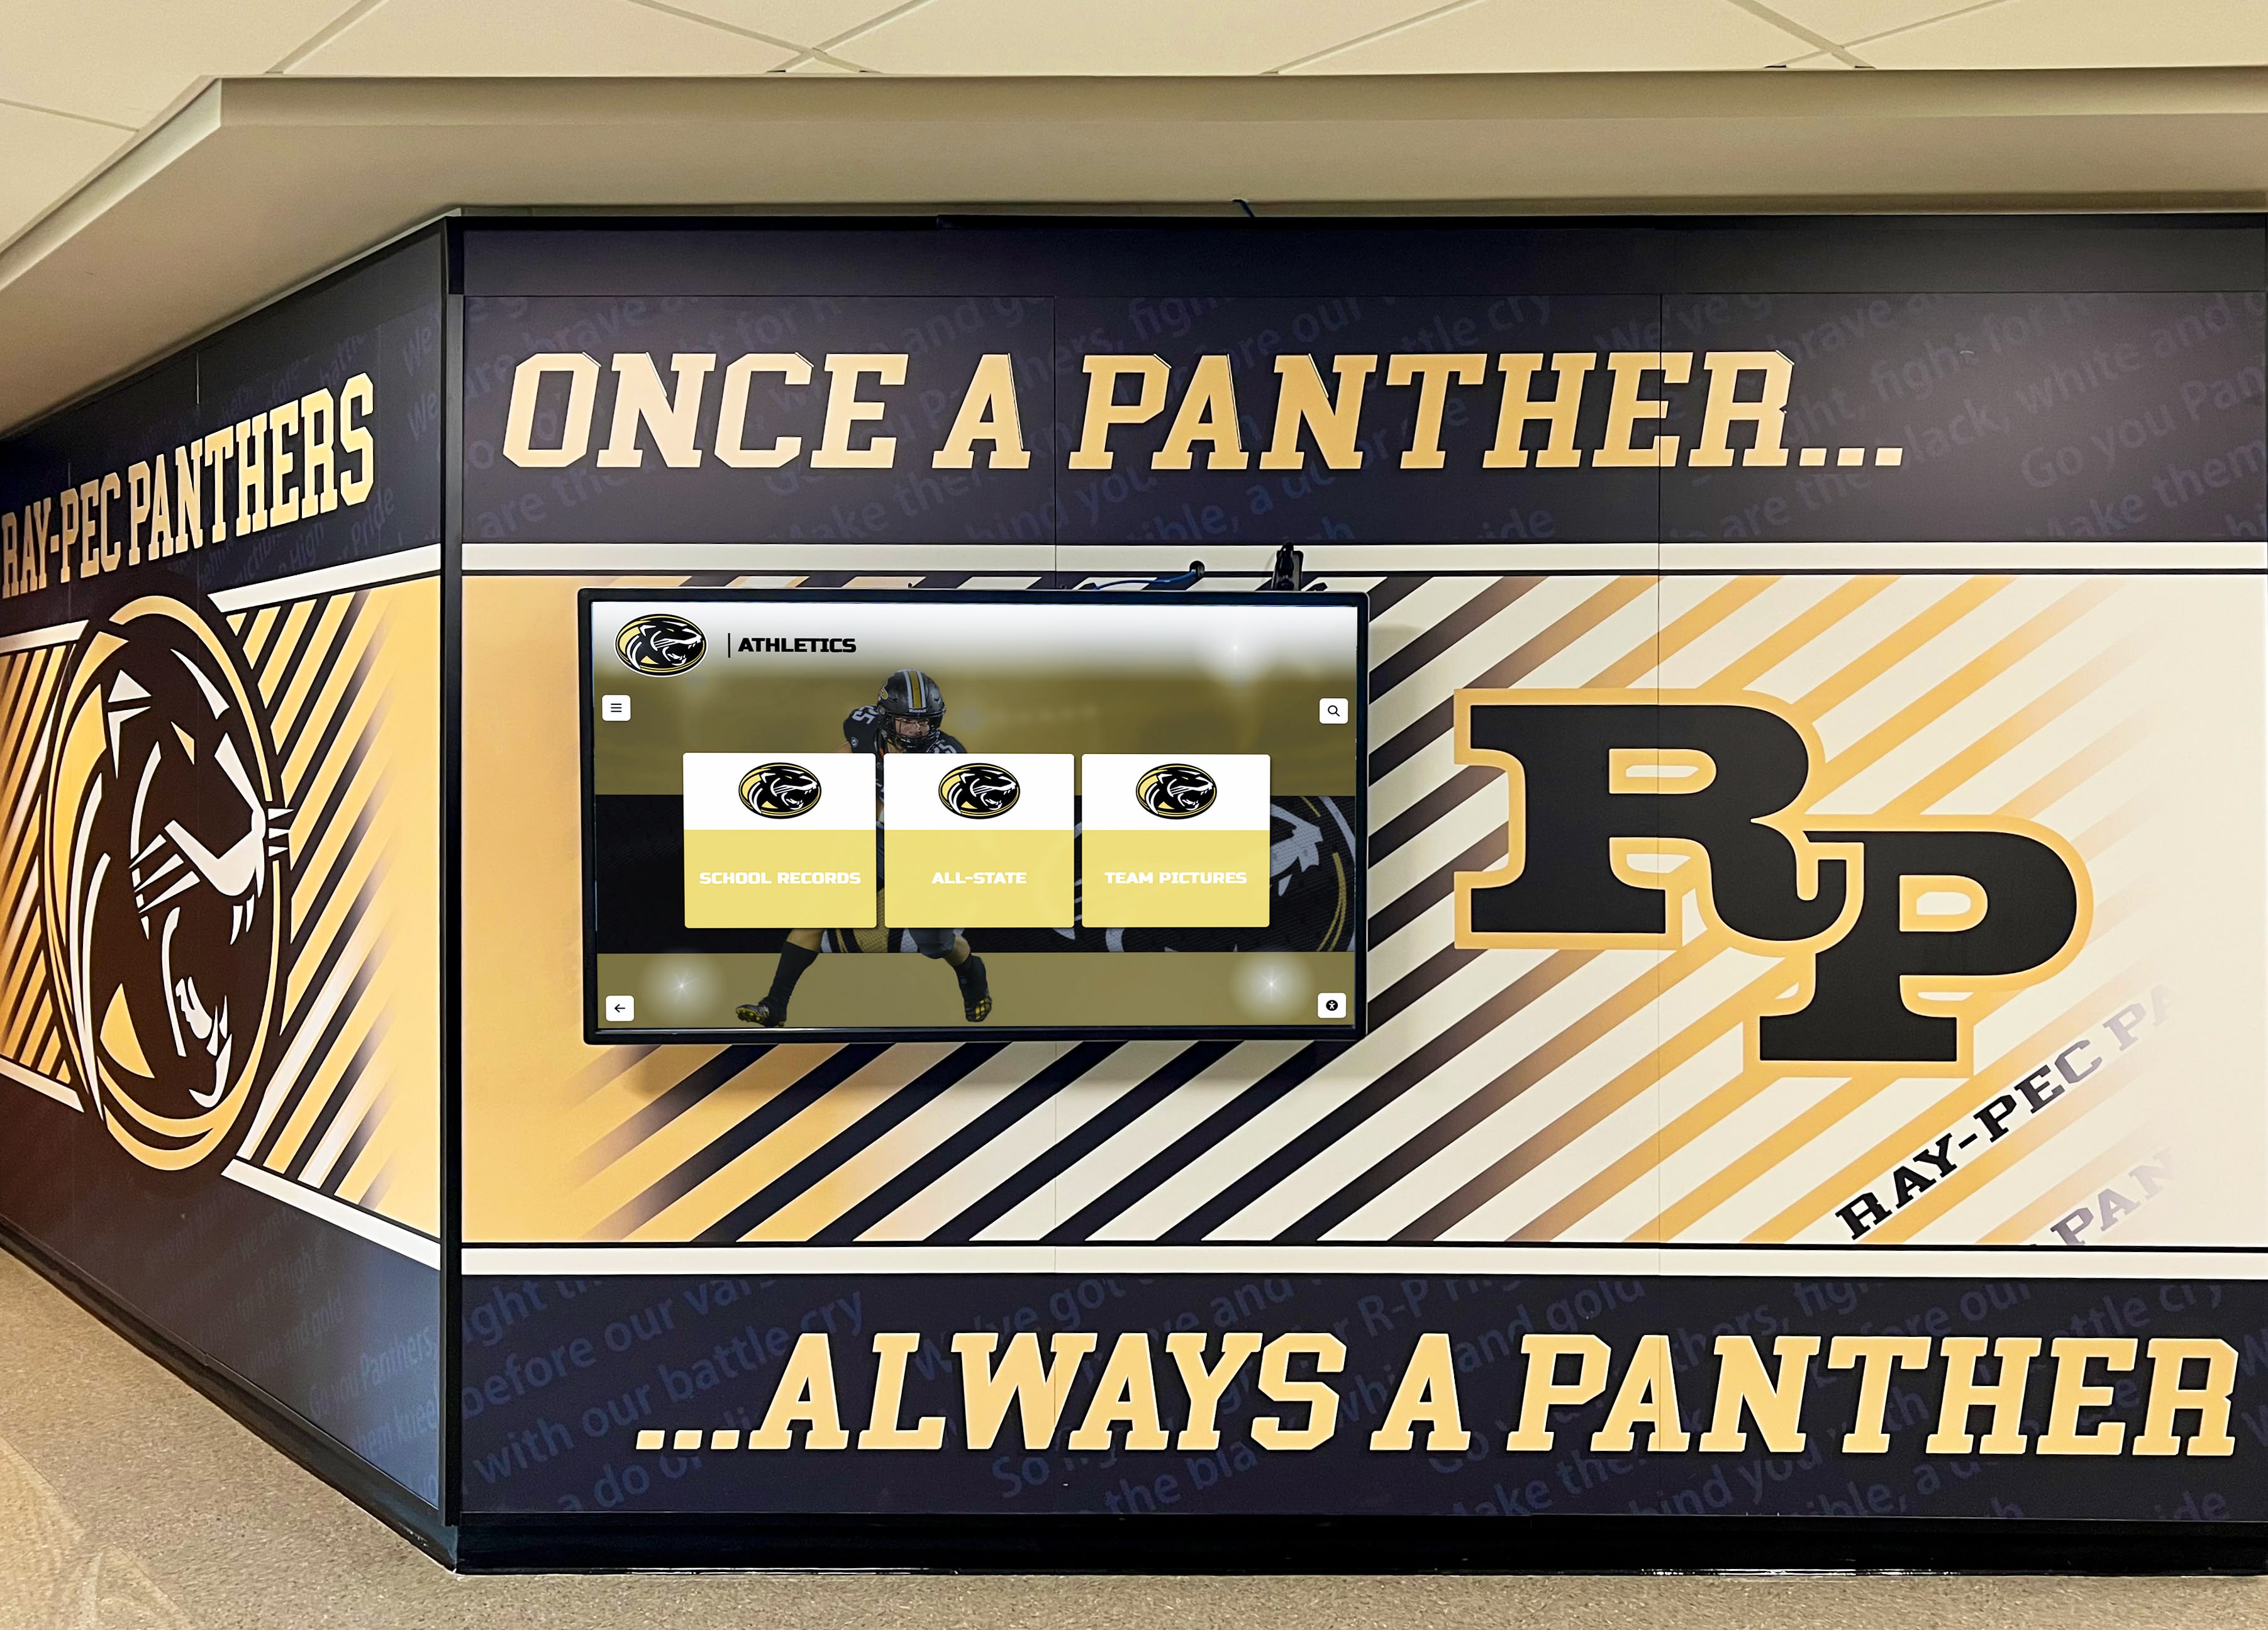
Recognition displays in high-traffic school corridors require mounts rated for the full panel weight with appropriate safety margins
Pre-Installation Compatibility Checklist
Complete this section before purchasing a mount or scheduling installation labor.
Step 1 — Confirm the Display’s VESA Pattern
- Locate the display model number on the back panel or in the manufacturer’s specification sheet.
- Download or request the full product datasheet; do not rely on retailer listings, which sometimes omit VESA details.
- Record the VESA hole pattern in millimeters (width × height). Common patterns for school-sized panels:
| Panel Size | Typical VESA Pattern |
|---|---|
| 32–43 inch | 200×200 or 300×300 |
| 49–55 inch | 400×300 or 400×400 |
| 65 inch | 600×400 or 400×400 |
| 75–86 inch | 600×400 or 800×400 |
| 98 inch+ | 900×600 or 800×600 |
- Confirm the thread size in the VESA holes (M6, M8, or M10 are most common for commercial displays).
- Note the maximum bolt-insertion depth specified by the display manufacturer—over-length bolts can damage internal components.
Step 2 — Select and Verify the Mount
- Match the mount’s stated VESA compatibility to the pattern confirmed in Step 1 (exact match required—adapters introduce risk unless rated for the load).
- Verify the mount’s weight capacity exceeds the display’s gross weight by at least 1.5×. For a 90 lb panel, the mount should be rated for 135 lb minimum.
- Check the mount’s UL or equivalent listing. For public school environments, a UL-Listed or ETL-Listed mount provides documented independent verification of load ratings. The Consumer Product Safety Commission publishes guidance on display and furniture tip-over hazards that applies directly to wall-mounted screens.
- Confirm the mount supports the orientation required—landscape or portrait. Many portrait-orientation recognition displays use mounts not rated for that rotation.
- Record the mount manufacturer, model number, and rated weight capacity in your facilities log before proceeding.
Structural Wall Assessment Checklist
Step 3 — Identify Wall Construction
| Wall Type | Recommended Approach |
|---|---|
| Wood stud (16" OC) | Lag bolts into ≥2 studs; stud finder required |
| Wood stud (24" OC) | Mounting plate spanning ≥2 studs recommended |
| Metal stud (25–20 gauge) | Toggle or snap-toggle anchors; verify gauge load rating |
| Concrete or CMU block | Hammer-set or sleeve anchors; verify minimum embedment depth |
| Brick | Sleeve anchors; avoid mortar joints for primary load |
| Drywall only (no stud) | Not acceptable for displays >20 lb; add backing or blocking |
- Use a stud finder (or magnet for metal studs) to map framing behind the planned mount location.
- Mark stud centers with painter’s tape before drilling.
- If the VESA pattern does not align with available studs, install a plywood or steel backing plate that spans two or more studs and distributes load—do not shift the display location to chase studs if that compromises viewing height or ADA reach requirements.
Step 4 — Assess Wall Condition
- Inspect the wall surface for prior water damage, bubbling paint, or soft spots that indicate compromised substrate.
- Check for existing conduit, junction boxes, or plumbing behind the planned location using a borescope or by consulting as-built drawings. Many school lobby walls conceal HVAC or electrical runs.
- Confirm there is no asbestos-containing material (ACM) in older construction before drilling. Schools built before 1980 should consult a licensed inspector per EPA guidance before any wall penetration.
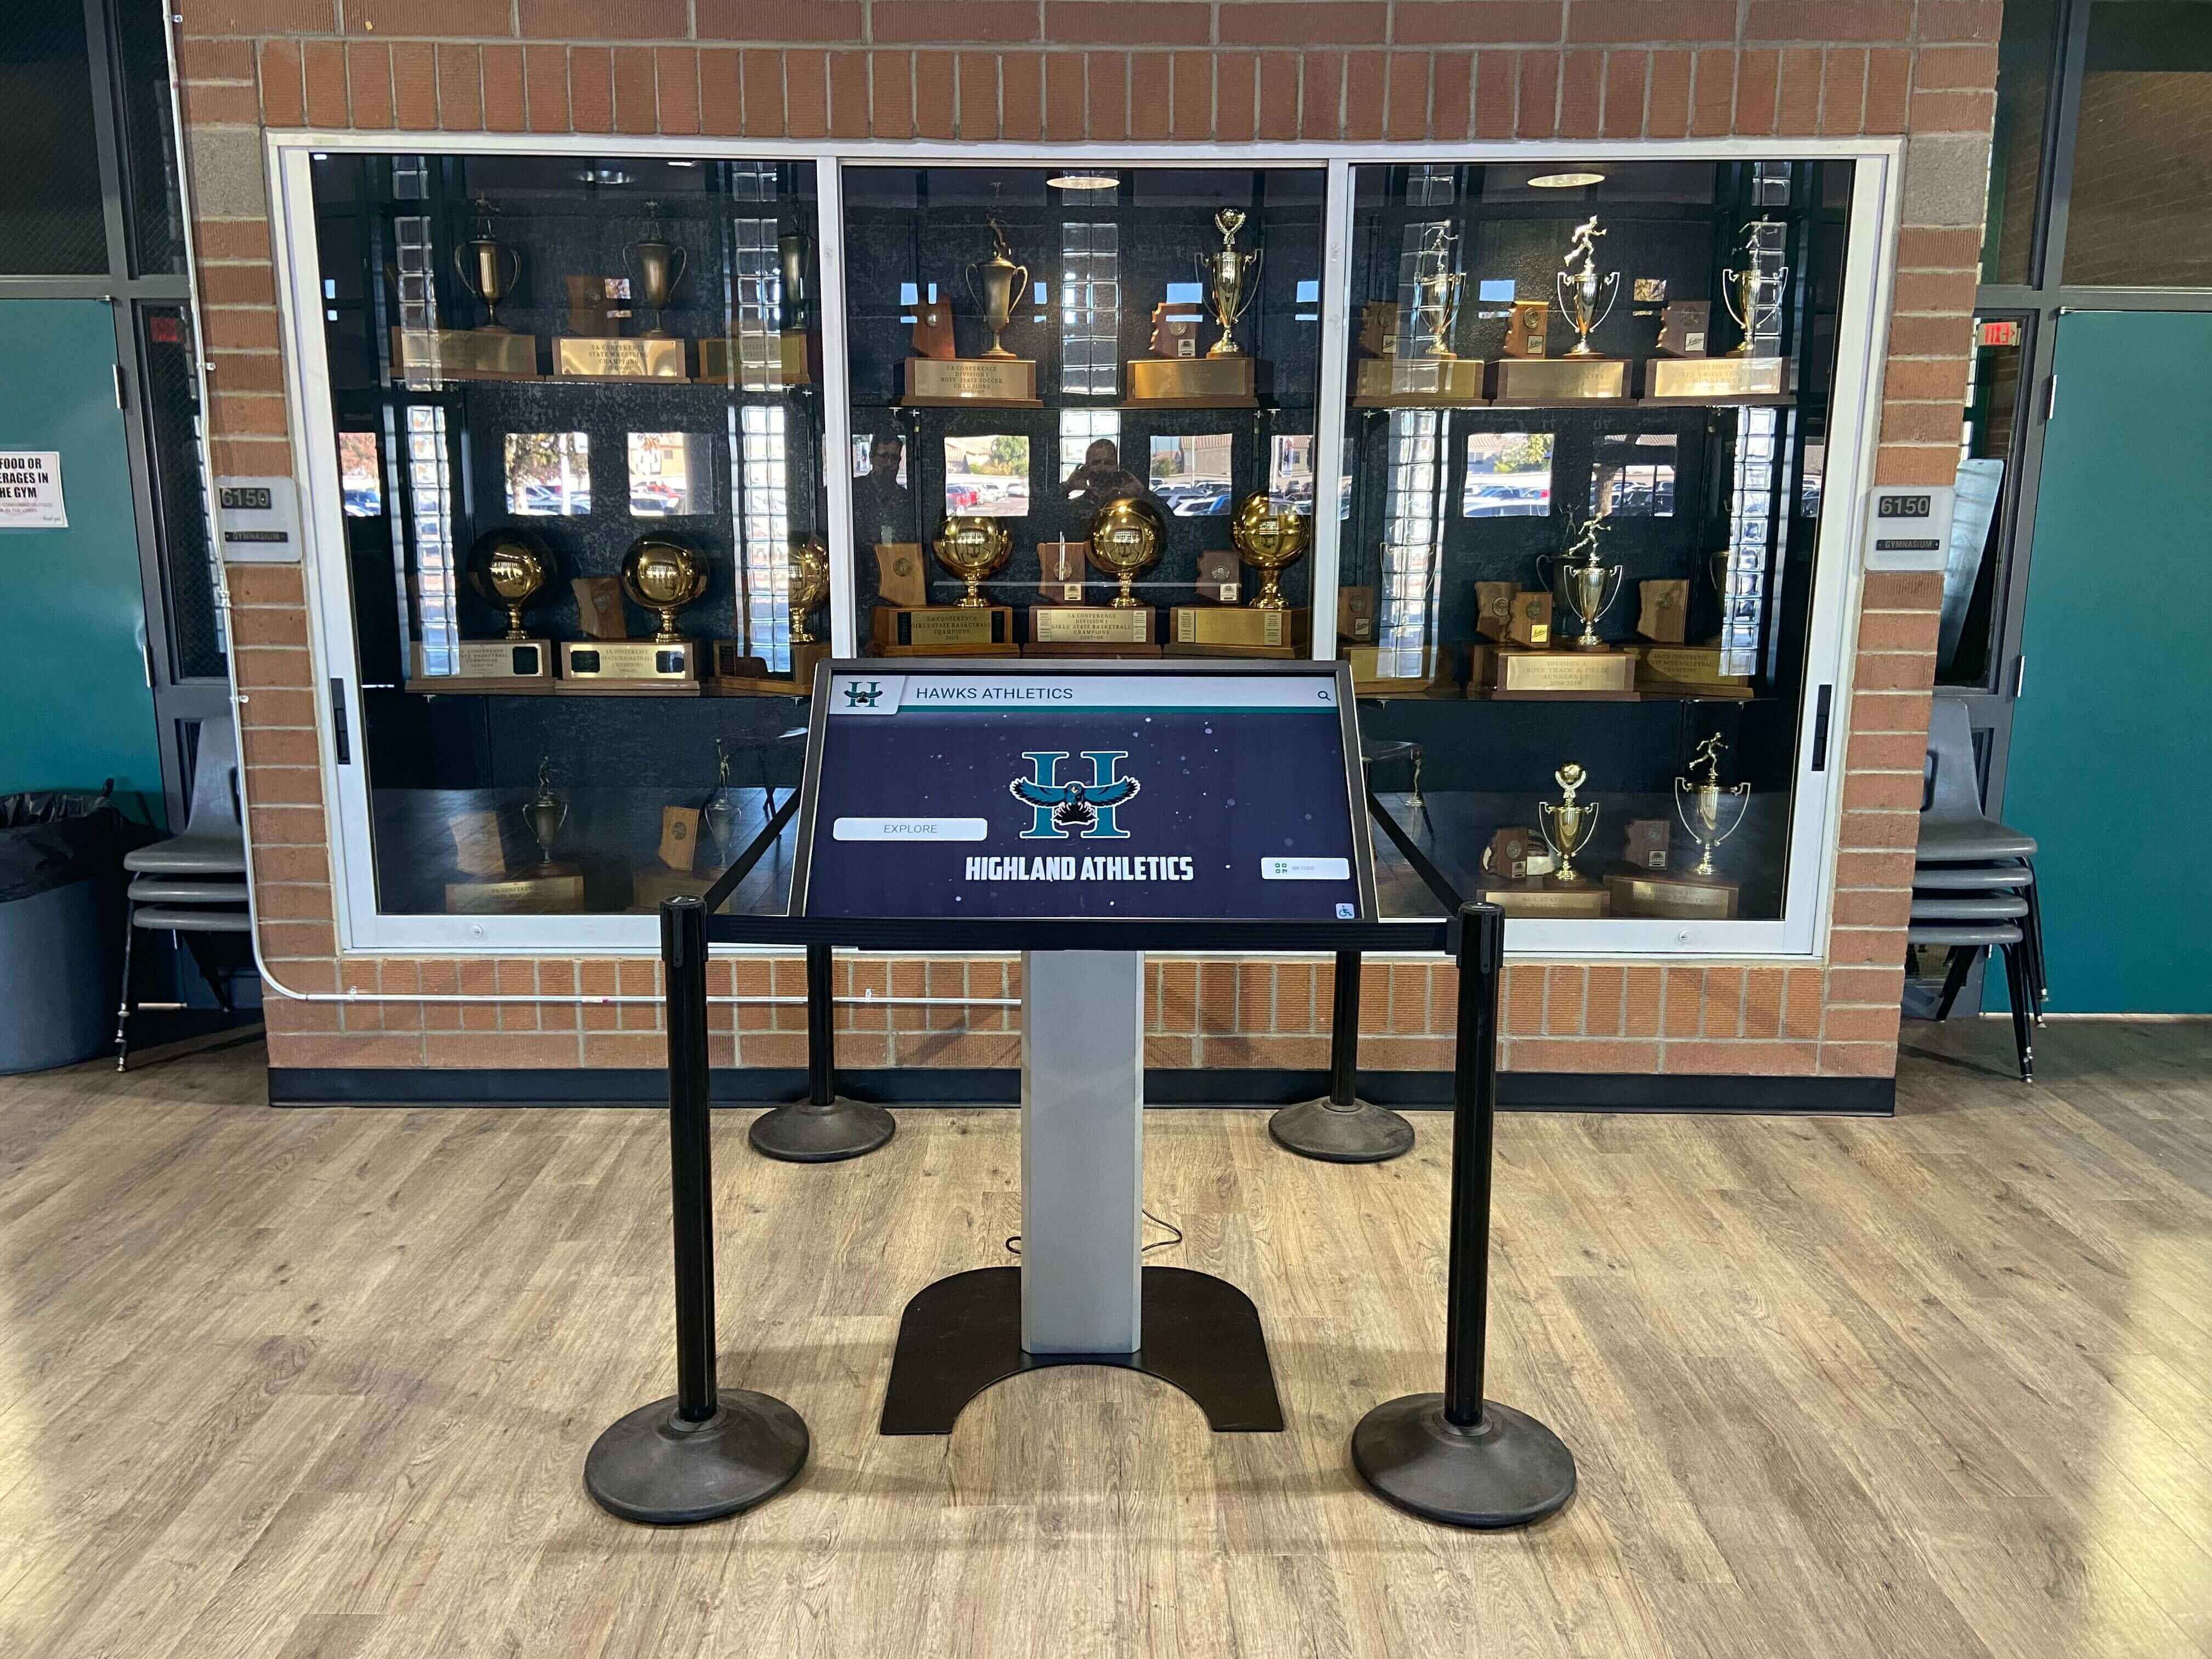
Trophy-case and alcove installations require wall-type assessment before selecting anchor hardware
Hardware Installation Inspection Checklist
Step 5 — Fastener Inspection at Time of Installation
Perform this inspection immediately after mounting hardware is set and before the display is hung.
- Anchor seating — all wall anchors are fully seated with no visible gap between anchor flange and wall surface.
- Torque verification — lag bolts or machine screws are torqued to the mount manufacturer’s specification. Do not estimate by feel; use a calibrated torque wrench.
- Thread engagement — VESA bolts engage at least 8 mm into display threads (or the manufacturer-specified minimum). Back each bolt out one-half turn and re-seat to confirm thread condition.
- Lock hardware — verify that all locking washers, nylon-insert nuts, or thread-locking compound specified by the mount manufacturer are in place. Vibration from HVAC, foot traffic, and touchscreen interaction can loosen unsecured fasteners over time.
- Mount articulation (tilt/swivel mounts only) — tighten all articulation locks to the specification; confirm the display holds position without drift after being set.
- Cable pass-through — cables are routed through designated openings, not pinched between the mount and wall. Pinched cables create short-circuit risk and accelerate cable jacket degradation.
Step 6 — Display Hang and Initial Load Check
- Attach the display to the mount bracket with a minimum of two people (three for panels 65 inches and larger).
- Confirm all four VESA bolt positions are engaged before releasing full display weight.
- With the display hanging under full load, check that the mount has not shifted, that wall anchors have not pulled, and that the display is plumb and level.
- Apply a lateral load test: with one hand, push the display sideways with approximately 20 lb of force. The display should deflect no more than 1/4 inch and return to center when force is released. Excessive movement indicates loose anchors or a mis-sized mount.
Clearance and Accessibility Checklist
Step 7 — Physical Clearance Requirements
| Clearance Zone | Minimum Requirement | Notes |
|---|---|---|
| Rear ventilation gap | Per manufacturer spec (typically 2–4 inches) | Required for thermal management; blocking causes premature panel failure |
| Side clearance | 6 inches minimum | Allows access to display ports, power button, and service labels |
| Top clearance from ceiling | 12 inches minimum | Facilitates cable service and prevents heat accumulation |
| Floor clearance (bottom of panel) | Varies by mounting height | See ADA reach requirements below |
Step 8 — ADA and Ergonomic Reach Requirements
For recognition displays intended for interactive use (touchscreen), the ADA Standards for Accessible Design specify:
- Forward reach: operable controls no higher than 48 inches from finished floor.
- Side reach: operable controls no higher than 46 inches from finished floor if a side approach applies.
- Touch target height for interactive displays: the interactive zone of the touchscreen (the lowest interactive element) should fall within the accessible reach range.
- Knee clearance: if a forward-approach kiosk, provide knee clearance per Section 306 of the ADA Standards.
- Clear floor space: 30 × 48 inches of clear floor space must be available at the display for wheelchair approach.
For athletic halls of fame and all-time record boards, consider that alumni, boosters, and community visitors of all mobility levels will interact with the display. Mounting height that satisfies ADA reach requirements also improves usability for younger students. Resources like the athlete record-keeping guides at touchscreenwebsite.com discuss how display height and interface design interact with recognition content planning.
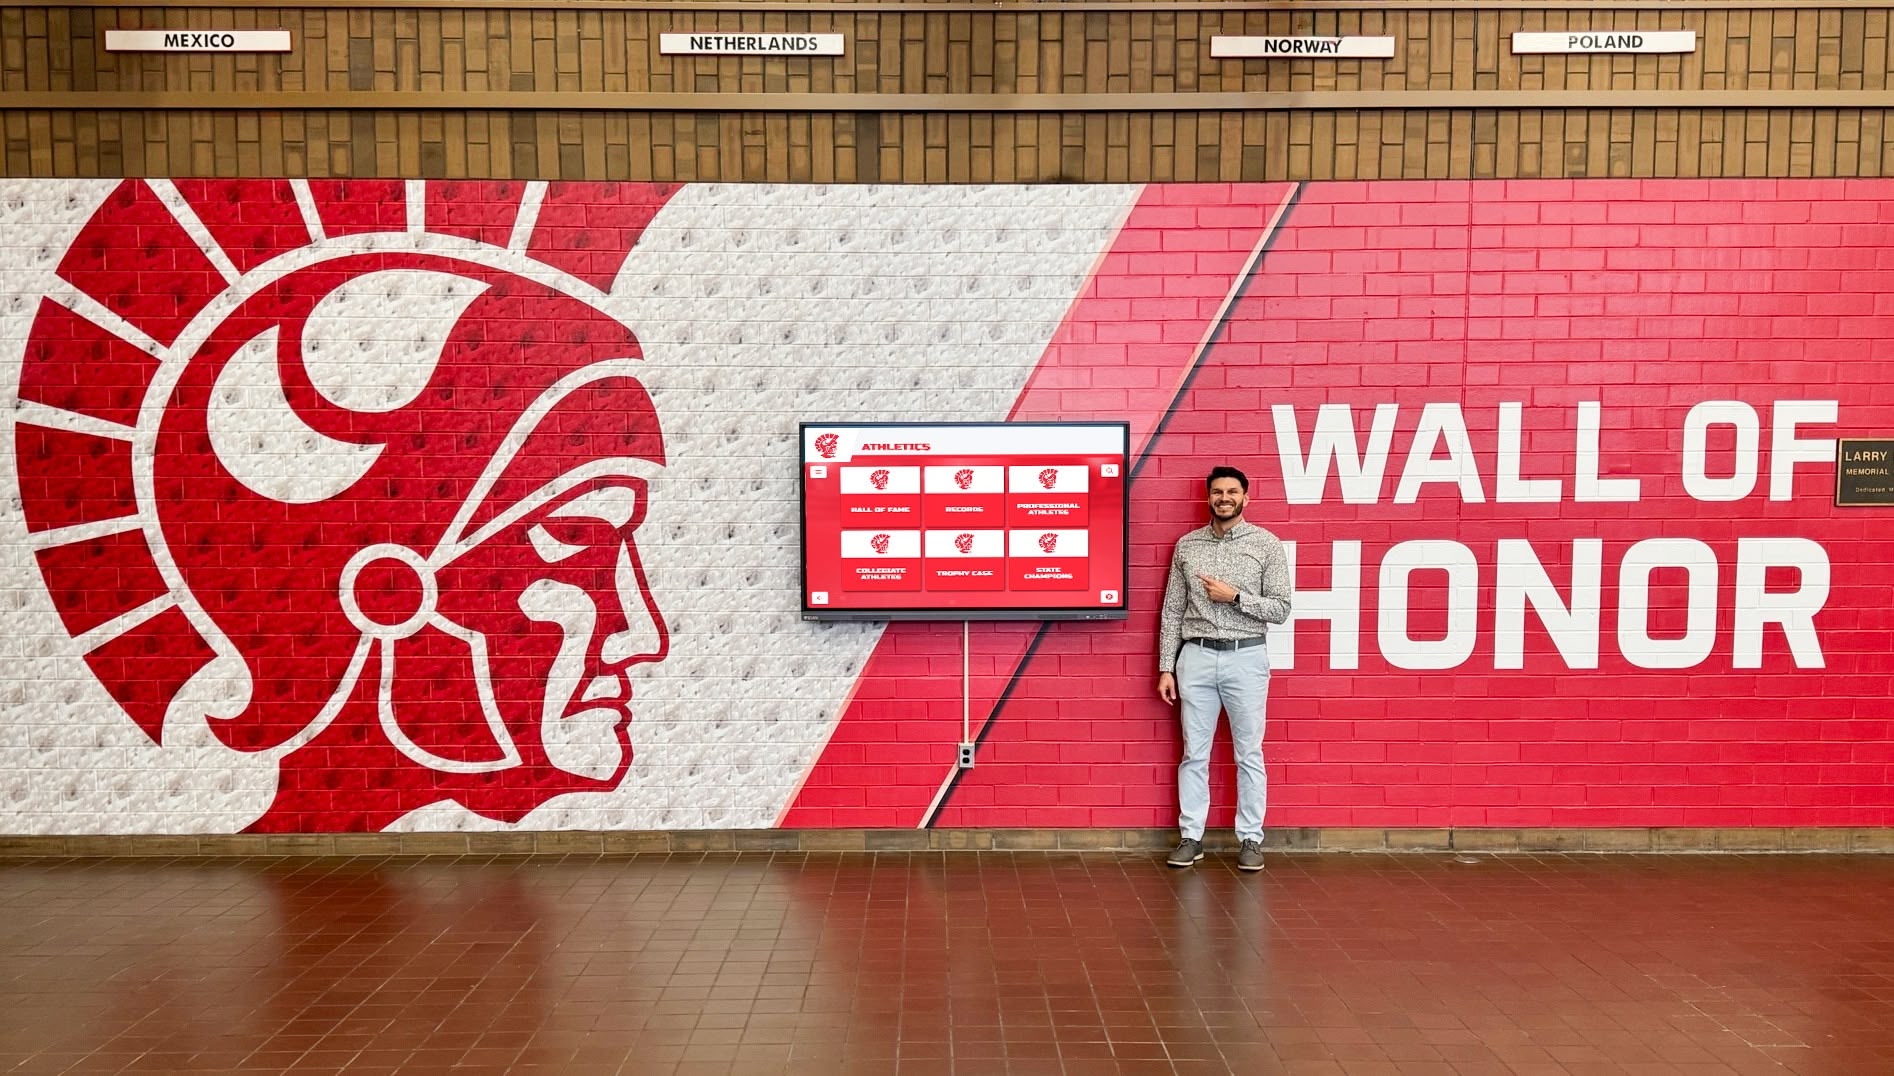
Recognition displays must be mounted at heights that allow all visitors—including wheelchair users—to interact with athletic history and honor-roll content
Thermal and Environmental Checklist
Step 9 — Environmental Conditions Verification
- Ambient temperature range — confirm the installation location stays within the display manufacturer’s operating temperature range (typically 32°F–104°F / 0°C–40°C). Mechanical rooms, exterior-adjacent walls, and poorly HVAC-regulated corridors may fall outside this range during winter or summer.
- Humidity — commercial displays in school environments typically specify operating humidity below 80% non-condensing. Natatorium corridors, locker-room adjacencies, and exterior-facing lobbies with high thermal differential can cause condensation on cold panels.
- Direct sunlight — confirm the display location avoids prolonged direct sunlight exposure. UV exposure degrades display panels and creates extreme glare that renders recognition content unreadable. Standard brightness displays (300–450 nits) are not rated for direct sunlight; high-brightness displays (700+ nits) are required if sunlight cannot be mitigated architecturally.
- Dust and particulates — gymnasium lobbies near exterior entrances accumulate particulate that clogs rear ventilation slots. If the installation is near a high-dust zone, schedule quarterly cleaning of ventilation openings.
Periodic Inspection Schedule
Step 10 — Recommended Re-Inspection Intervals
Facilities teams should build VESA mount re-inspection into the school’s preventive maintenance calendar. A school recognition display typically runs 10–14 hours per day, 180–220 school days per year. That operational load—combined with touchscreen interaction forces—gradually works fasteners loose.
| Inspection Task | Frequency | Responsible Party |
|---|---|---|
| Visual check for tilt or shift | Monthly | Custodial or facilities staff |
| Torque verification of all VESA bolts | Annually (before school year) | Facilities technician or AV vendor |
| Full hardware re-inspection (anchors, lock hardware, cables) | Every 3 years | Licensed installer or AV integrator |
| Thermal imaging of mount and wall anchors | Every 5 years (or after seismic event) | Structural inspector |
| ADA compliance re-verification | Whenever display is repositioned | Facilities coordinator + ADA consultant |
Document every inspection in a log keyed to the display’s asset tag. This record is valuable for insurance purposes, capital planning, and demonstrating due diligence if a mount failure ever results in a claim. Schools maintaining organized digital archives of athletic history apply the same disciplined record-keeping logic to physical infrastructure.
Common VESA Mount Failures in School Recognition Displays
Understanding failure modes helps facilities teams catch problems early.
1. Bolt Backing Out Over Time The most common failure. Touchscreen interaction transmits repeated small force pulses directly through the panel into the mount. Without thread-locking compound or nylon-insert hardware, VESA bolts gradually back out. Prevention: use blue (medium-strength) thread-locking compound on VESA bolts at installation.
2. Toggle Anchor Pull-Through When toggle anchors are installed in drywall without a stud and the display is heavier than anticipated, the toggle wings can pull through drywall over months of use. Prevention: always verify anchor pull-out rating exceeds display weight × 3 before installing in drywall.
3. Mount-to-Wall Fastener Corrosion In humid environments (natatoriums, exterior lobbies), galvanic corrosion degrades zinc-plated lag bolts where they contact dissimilar metals or wet substrates. Prevention: specify stainless steel or hot-dipped galvanized fasteners in high-humidity locations.
4. Tilting Under Uneven Load Large-format displays with uneven internal weight distribution (power supply banks on one side) can cause gradual tilt even when mounted level initially. Prevention: re-check level every six months for the first two years of installation.
5. Cable Pull Stress Heavy power and data cables hanging from the display’s rear ports exert downward torque on the panel-to-mount connection. Prevention: secure all cables to wall or mount arm within 12 inches of the display connection point.
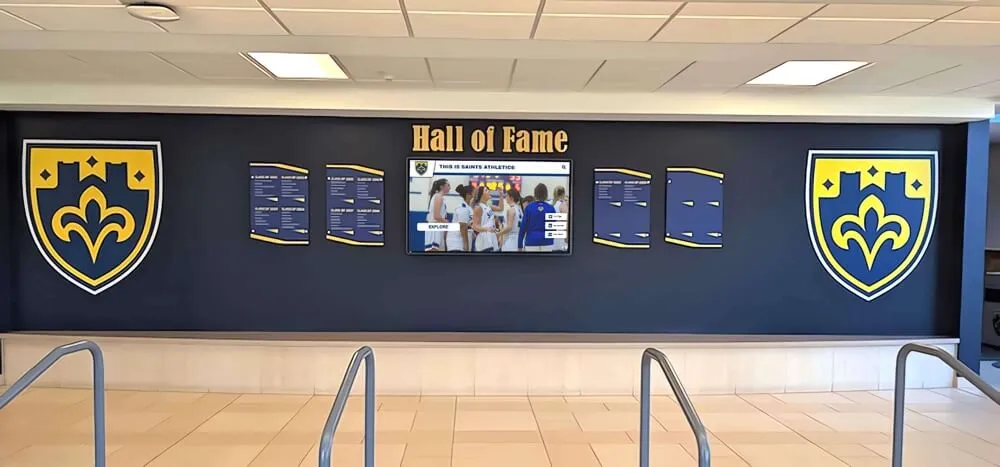
Properly mounted displays integrate with trophy shields, murals, and recognition hardware to create durable public-facing installations
VESA Mount Inspection for Specific School Recognition Contexts
Athletic Halls of Fame
Athletic hall-of-fame displays often occupy prominent lobby or corridor positions where visitor traffic is highest. These locations experience the most touchscreen interaction—alumni reliving championship seasons, students browsing all-time records, parents exploring program history. Higher interaction frequency means more cumulative load on the mount. For sports recognition installations that catalog all-time leaders and historic achievements, schedule torque verification twice per year rather than annually.
Donor Walls and Capital Campaign Displays
Donor recognition displays are frequently installed during or immediately after capital campaigns when construction activity is ongoing. Vibration from nearby construction can loosen anchors before the display even goes live. If a donor wall display is being installed during a renovation project, schedule a full fastener re-inspection within 90 days of construction completion. Capital campaign planning resources note that long-term donor relationships depend on recognition displays that remain operational and well-maintained—a leaning or damaged display reflects poorly on campaign stewardship.
Alumni and Career Recognition Displays
Alumni recognition boards near admissions offices and career centers serve dual purposes: honoring graduates and impressing prospective students and families. These displays are often in formal architectural spaces where aesthetics matter as much as function. Cable management and mount concealment are priorities; surface-mounted conduit or visible bracket arms undermine the professional appearance. Alumni engagement programming works best when the physical display reinforces institutional pride rather than revealing sloppy installation.
Archive and Digital Records Displays
Schools building comprehensive born-digital records policies for athletic or academic archives often deploy displays to make those records publicly accessible. These displays may sit in library, archive, or museum-style settings where environmental stability is critical—temperature fluctuations and humidity swings that damage paper records will also stress display components. Thermal inspection should be part of the annual archive facility review. Coordinating with athletic department software stacks ensures content remains current on displays that have passed their physical inspection.
Frequently Asked Questions
What VESA pattern do most school recognition displays use? Most 65-inch commercial displays—the most common size for school recognition installations—use a 600×400 mm or 400×400 mm VESA pattern. Always verify against the manufacturer’s datasheet before ordering a mount, since even panels from the same brand vary by model year.
Do I need a licensed contractor to install a VESA mount in a school? Requirements vary by jurisdiction, but schools should generally use a licensed contractor for any installation that requires new wall penetrations, electrical work, or mounting panels heavier than 50 lb in public areas. Insurance and liability considerations favor documented professional installation regardless of local code requirements.
How do I find the VESA pattern if I’ve lost the documentation? Measure the center-to-center distance between the mounting holes on the display’s rear panel in millimeters. The horizontal measurement is listed first (width), then vertical (height). Many manufacturers also list VESA patterns in the product registration portal using the display’s serial number.
Can I use a full-motion (articulating) mount for a school touchscreen recognition display? Articulating mounts allow repositioning but introduce more points of mechanical failure and more fastener surfaces that can loosen. For fixed-location public recognition displays, a low-profile or tilting fixed mount is generally more appropriate than a full-motion arm. If articulation is necessary (multi-use spaces), specify a mount with positive-locking joints.
How often should we inspect VESA mounts on school recognition displays? Visual checks monthly, torque verification annually, and a full hardware re-inspection every three years is a practical maintenance schedule for most school environments. Increase frequency for displays in high-humidity areas or locations with high daily touchscreen interaction.
What documentation should we keep for mount inspections? Record the mount manufacturer and model, rated weight capacity, installation date, installer name and license number, anchor type and location, torque values applied, and the date and findings of each re-inspection. Attach documentation to the display’s fixed-asset record in your facilities management system.
Does VESA mounting affect ADA compliance for touchscreen displays? Mounting height directly affects ADA compliance. The mount determines where the interactive surface sits relative to the floor. Plan mounting height before selecting the mount type; a fixed mount installed at the wrong height cannot be adjusted without re-drilling. Coordinate with an accessibility consultant when VESA mounting decisions affect interactive touchscreen reach zones.
Quick-Reference Inspection Checklist
Use this summary at each inspection event:
Before Installation
- VESA pattern confirmed from manufacturer datasheet
- Mount rated ≥ 1.5× display weight
- Mount UL-Listed or ETL-Listed
- Wall type identified and anchor hardware selected accordingly
- Stud locations mapped and marked
- ACM inspection completed (pre-1980 buildings)
At Installation
- All anchors fully seated
- All bolts torqued to specification
- Thread engagement ≥ 8 mm (or manufacturer minimum)
- Lock hardware or thread-locking compound applied
- Cables secured within 12 inches of display connection point
- Display plumb and level under full load
- Lateral load test passed (< 1/4 inch deflection)
Clearance and Accessibility
- Rear ventilation gap meets manufacturer specification
- Top clearance ≥ 12 inches from ceiling
- ADA reach range verified for interactive content
- 30 × 48 inch clear floor space confirmed
Periodic Re-Inspection
- Visual tilt/shift check (monthly)
- Torque verification (annually)
- Full hardware re-inspection (every 3 years)
- Inspection documented in facilities asset record
A school recognition display that honors athletic achievements, academic excellence, or alumni contributions deserves hardware that keeps it safe, stable, and accessible for every student, parent, and visitor who stops to look. Treating the VESA mount inspection as a one-time event at installation leaves ongoing risk unmanaged. Building it into a regular maintenance cycle protects both the investment and the people who interact with it.
Thinking about a touchscreen recognition display for your school? Rocket Alumni Solutions helps schools create interactive hall-of-fame experiences with hardware guidance, content management, and ongoing support. Request a demo to see how their platform handles everything from display selection through long-term maintenance.