Intent: demonstrate — this guide walks school IT coordinators, AV teams, athletic directors, and facilities staff through configuring and verifying recognition display palm rejection settings so that accidental palm contact never interrupts a visitor browsing a hall of fame, trophy case, or donor wall touchscreen.
Palm rejection is a touch-processing feature that prevents incidental contact from a user’s palm or wrist from registering as an intentional tap. On a school recognition display—a kiosk in the main lobby, a wall-mounted panel outside the gymnasium, or an athletic hall of fame screen—palm rejection failures appear as uninvited navigation: pages scroll without being touched, selections fire when a visitor steadies a hand against the frame, or a content loop resets mid-browse because the display interpreted a resting forearm as a gesture. Running a structured acceptance test before go-live catches these problems while the installer is still on site.
The quick answer: access the display’s touch controller settings via the device’s operating system or the manufacturer’s on-screen menu, confirm palm rejection is enabled at the recommended sensitivity level, then run the four test scenarios in this plan—resting palm, pinch-zoom false positive, wrist drag, and multi-finger hold—from the actual visitor viewing position. Document each result before accepting the installation.
This test plan applies to capacitive-touch commercial panels used as school recognition displays, running any cloud-based content management system (CMS) or local media player. It is hardware-neutral and works for both kiosk-form displays and wall-mounted installations.

Recognition displays in high-traffic school lobbies and gym entrances are used by visitors of all ages — palm rejection settings determine whether casual contact disrupts the browsing experience
Why Palm Rejection Matters on School Recognition Displays
Most consumer-grade touchscreens are tuned for single-finger or stylus use at a desk. School recognition displays face a different use pattern. Visitors stand in front of a vertical panel—sometimes 65, 75, or 86 inches tall—and reach across the screen to tap athlete profiles, donor names, or championship records. Children lean forward with open palms. Older visitors steady themselves against the bezel or lower glass while reading. Cleaning staff wipe the surface with a cloth that registers as dozens of simultaneous touches.
Each of those interactions is a potential false positive if recognition display palm rejection settings are not configured correctly.
On a touchscreen hall of fame or athletic record board, a palm rejection failure does more than annoy the visitor. It can:
- Reset active browsing sessions. If a visitor is partway through reading a class of 1988 inductees and a child’s palm swipe resets the content loop, the visitor must start over. Repeat failures discourage browsing.
- Trigger unintended navigation. A palm resting near the bezel while a finger taps a name can register as a two-point gesture—pinch-to-zoom or a swipe—sending the display to an unexpected content state.
- Create a perception of hardware failure. When a display appears to “move by itself,” visitors assume it is broken, not misconfigured. This reflects directly on the recognition program and the institution.
- Generate false analytics events. Schools that use engagement analytics from their CMS to measure how visitors interact with the recognition content will see inflated touch counts and distorted navigation patterns if palm contacts are logging as taps.
Understanding these failure modes is the first step. Configuring and verifying recognition display palm rejection settings before go-live is the second.
How Capacitive Touch Palm Rejection Works
Commercial capacitive touchscreens detect multiple simultaneous contact points. Palm rejection logic uses contact area, contact duration, and relative position to classify each input as intentional or incidental.
A fingertip contact point is small—typically 7 to 12 millimeters in diameter. A palm contact point is much larger—often 40 to 100 millimeters—and spans the lower portion of the screen when a visitor leans forward. Palm rejection firmware identifies large-area contacts and excludes them from the input event stream, allowing the smaller fingertip contacts to register normally.
Three parameters in most commercial display touch controllers govern this behavior:
| Parameter | What It Controls | Common Default |
|---|---|---|
| Contact area threshold | Minimum contact size treated as palm vs. finger | Set at factory; often tunable 20–80 mm |
| Multi-touch palm exclusion zone | Region near screen edge where large contacts are suppressed | Configurable width in pixels or mm |
| Hold-and-touch logic | Whether the system ignores new taps near an existing large contact | Usually enabled by default |
The key insight for school IT teams: factory defaults are tuned for general commercial use, not for the specific interaction pattern of a vertical recognition display in a school lobby. Running the acceptance test below surfaces whether those defaults are appropriate for the installation, and gives the team documented evidence to request a firmware or settings adjustment from the display vendor if they are not.
For a broader view of how touch input quality affects recognition display performance across multiple parameters, the touchscreen display screen response time test guide covers the related latency factors that interact with palm rejection behavior.
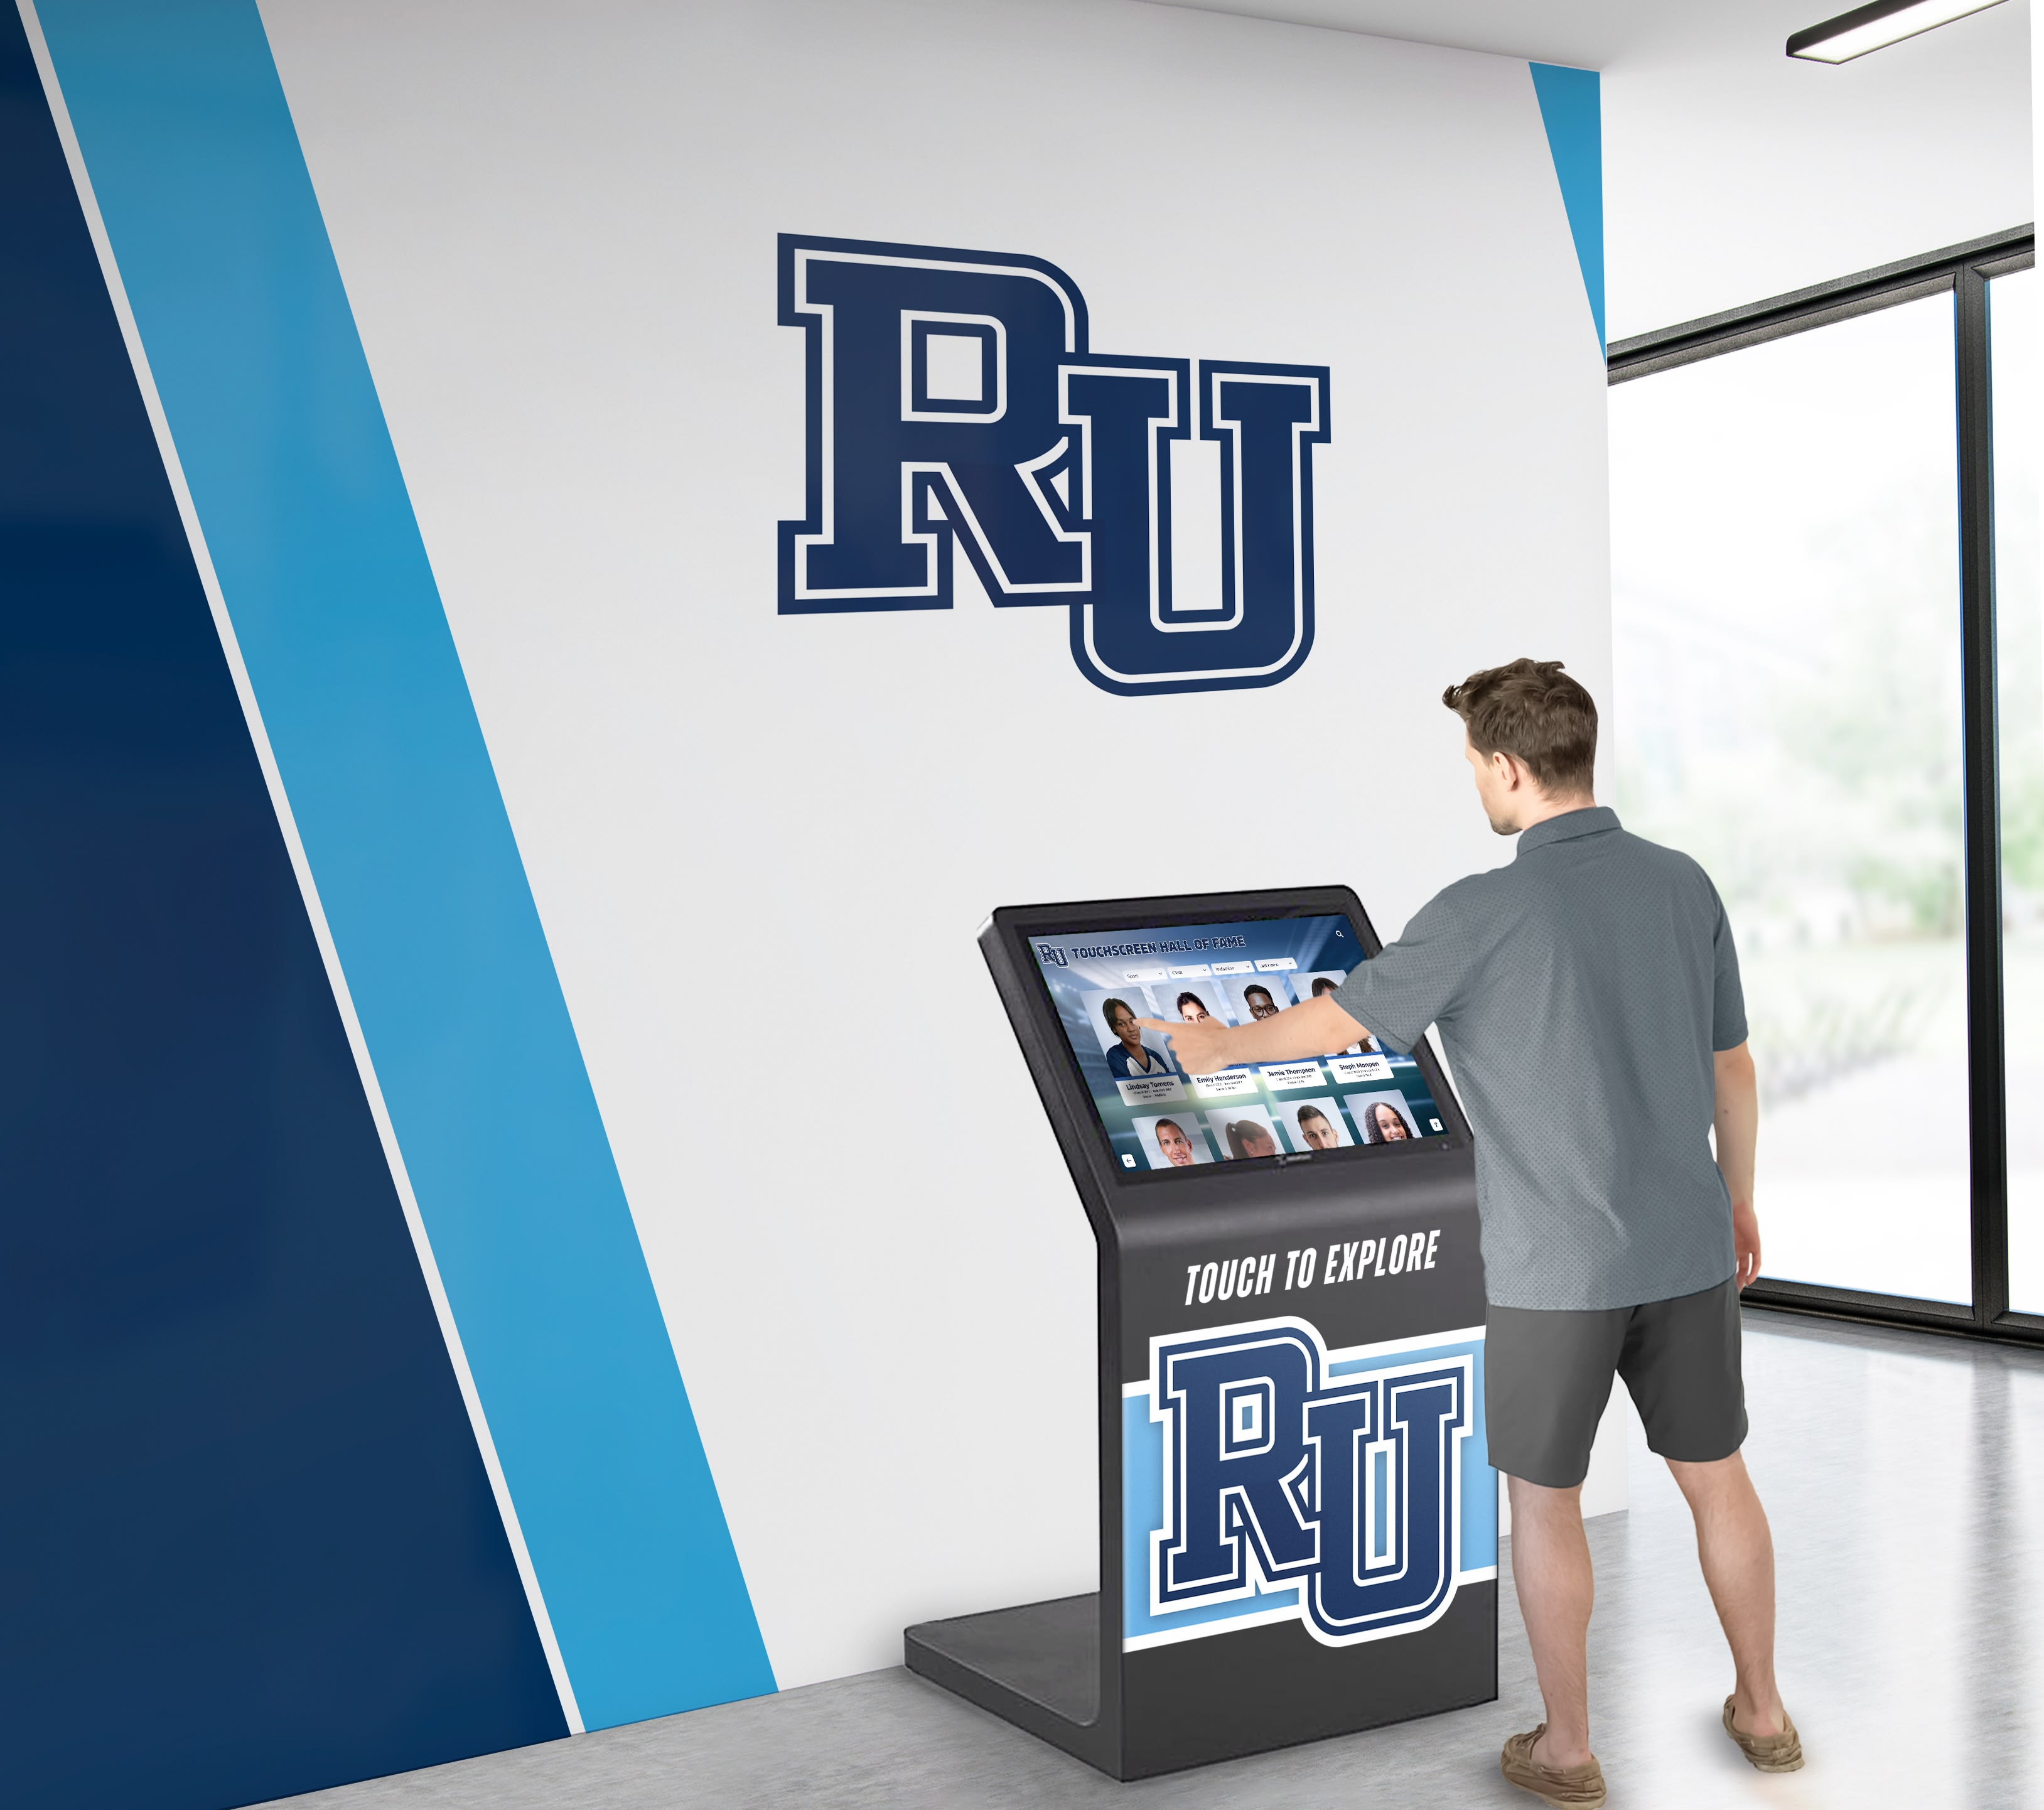
Testing palm rejection from the actual visitor standing position — not a seated desk position — is essential because contact angle and arm placement differ significantly
Before the Test: Configuration Checklist
Complete these steps before running any test scenarios. Many palm rejection failures trace to settings that were never enabled or that were overwritten by an OS update.
Step 1: Locate the Touch Controller Settings
On Windows-based recognition display devices, touch sensitivity and palm rejection options appear in one of three places:
- Windows Settings → Bluetooth & devices → Touch — enables “Touch sensitivity” options that affect palm recognition
- Device Manager → Human Interface Devices — exposes the touchscreen driver properties, where vendor-specific palm rejection sliders appear
- Display manufacturer utility software — many commercial AV displays ship with a companion utility (such as EELO, EloView, or a vendor-specific tool) that exposes palm rejection parameters not accessible through Windows Settings
On Android-based or Linux-based kiosk devices, check the display settings app provided by the manufacturer or the kiosk software configuration panel.
Verify the following before proceeding:
- Touch driver is current — download the latest version from the display manufacturer’s support page before configuring
- Palm rejection or “accidental touch prevention” setting is visible in the driver or OS settings
- Setting is enabled, not set to “off” or minimum sensitivity
- Any firmware update released in the past 12 months has been applied — palm rejection improvements are among the most common firmware patch topics for commercial touchscreens
Step 2: Set the Exclusion Zone Width
Most commercial recognition displays with adjustable palm rejection allow the IT team to define an exclusion zone — a strip along the left, right, and bottom edges of the screen where large-area contacts are filtered out. A typical starting value for a vertically mounted school recognition display is 40 to 60 pixels (or 15 to 25 mm, depending on the setting unit).
Wider exclusion zones reduce false positives from visitors leaning against the frame but may prevent intentional taps very close to the edge of the screen — such as a “back” button positioned near the bezel. Narrower zones are more permissive and may allow palm contacts to register.
Start at the manufacturer’s recommended value and adjust only after running the test scenarios below.
Step 3: Disable Gestures That Conflict with Recognition Content
On touchscreens running a full OS, system-level gestures — swipe from the left edge to open the task switcher, swipe from the right edge for the notification panel — can override the recognition software’s navigation. Disable these gestures in the OS settings before the display goes live, and confirm they are disabled as part of the palm rejection test.
Many recognition software platforms, including those described in this guide to choosing interactive school display software, include a kiosk or lock-down mode that suppresses OS-level gestures. Confirm that mode is active and that it does not disable the touch controller’s palm rejection at the same time — some kiosk lock-down implementations interact with touch driver settings.
The Acceptance Test: Four Scenarios
Run each scenario at the installed display in its final location, with the production CMS or content player running. Test with at least two people — one operating the display, one observing and recording results. Use the logging form at the end of this section.
Scenario 1: Resting Palm Test
Purpose: Verify that a palm resting on the display surface does not register as a touch event or trigger navigation.
Procedure:
- Start with the recognition display showing the home screen or a category list (not a video).
- Have the tester place their open palm flat on the center of the screen, applying normal contact pressure — the kind of pressure a visitor might use to steady themselves while reading text in fine print.
- Hold for 10 seconds without moving the palm.
- Remove the palm.
- Observe whether the display changed state during contact or immediately after removal.
- Repeat at three locations: center of screen, lower-left quadrant, lower-right quadrant.
Pass criteria: No navigation events, no content state changes, no scroll movement during any of the six holds (three positions × two testers).
Fail indicators: Screen scrolls, category changes, modal opens, or content loop resets during palm contact.
Scenario 2: Finger-Plus-Palm Test
Purpose: Verify that intentional fingertip taps register correctly when a palm is simultaneously in contact with the screen — the most common real-world scenario for older visitors or users with motor differences.
Procedure:
- Have the tester place their non-dominant hand’s palm on the lower-center of the screen, maintaining light contact (as if steadying a hand while reading).
- With the dominant hand, tap three athlete names or content entries — spread across the upper half of the screen.
- Observe whether the taps register and navigate to the correct content.
- Also observe whether any unwanted events fire — zooming, page reset, back navigation — due to the palm contact being misinterpreted as part of a multi-touch gesture.
Pass criteria: All three fingertip taps navigate to the correct entry. No unintended gesture events fire.
Fail indicators: Taps navigate to the wrong entry, fail to register, or trigger zoom/swipe gestures.
Scenario 3: Wrist Drag Test
Purpose: Verify that a wrist dragging across the screen during natural arm movement does not register as a swipe gesture.
Procedure:
- Have the tester stand in the normal visitor position (arm’s length from the display).
- Reach toward the screen as if to tap an entry in the upper-right area — but allow the wrist to brush lightly across the glass surface during the reaching motion.
- Complete the tap on the intended entry.
- Observe whether the wrist contact during the reach registered as a swipe that changed the content state before the tap fired.
Pass criteria: Only the intended tap registers. The wrist-drag contact during the reach motion produces no navigation event.
Fail indicators: Content scrolls or changes direction as the wrist contacts the screen en route to the tap target.
Scenario 4: Multi-Finger Hold Test (Accidental Zoom)
Purpose: Verify that two or more fingers resting on the display simultaneously — as happens when a visitor uses two fingers to point at adjacent names while reading — do not trigger a pinch-to-zoom or spread gesture.
Procedure:
- Place the index finger and middle finger of one hand flat on the screen, approximately 4 to 6 inches apart, and hold without moving.
- Hold for 5 seconds.
- Gently move the fingers 1 to 2 inches apart (a very slow spread).
- Observe whether any zoom event fires.
Pass criteria: No zoom event fires during the static hold or the slow spread.
Fail indicators: Display zooms in, content scale changes, or a pinch-zoom mode activates.
Acceptance Test Log
Use this form to document results before the installer leaves the site.
| Scenario | Location Tested | Tester 1 Result | Tester 2 Result | Pass / Fail |
|---|---|---|---|---|
| 1 — Resting Palm (center) | ||||
| 1 — Resting Palm (lower-left) | ||||
| 1 — Resting Palm (lower-right) | ||||
| 2 — Finger-Plus-Palm | ||||
| 3 — Wrist Drag | ||||
| 4 — Multi-Finger Hold |
A display that passes all six rows of Scenario 1 and Scenarios 2–4 is ready for go-live. Any row marked Fail requires settings adjustment before the installer leaves.
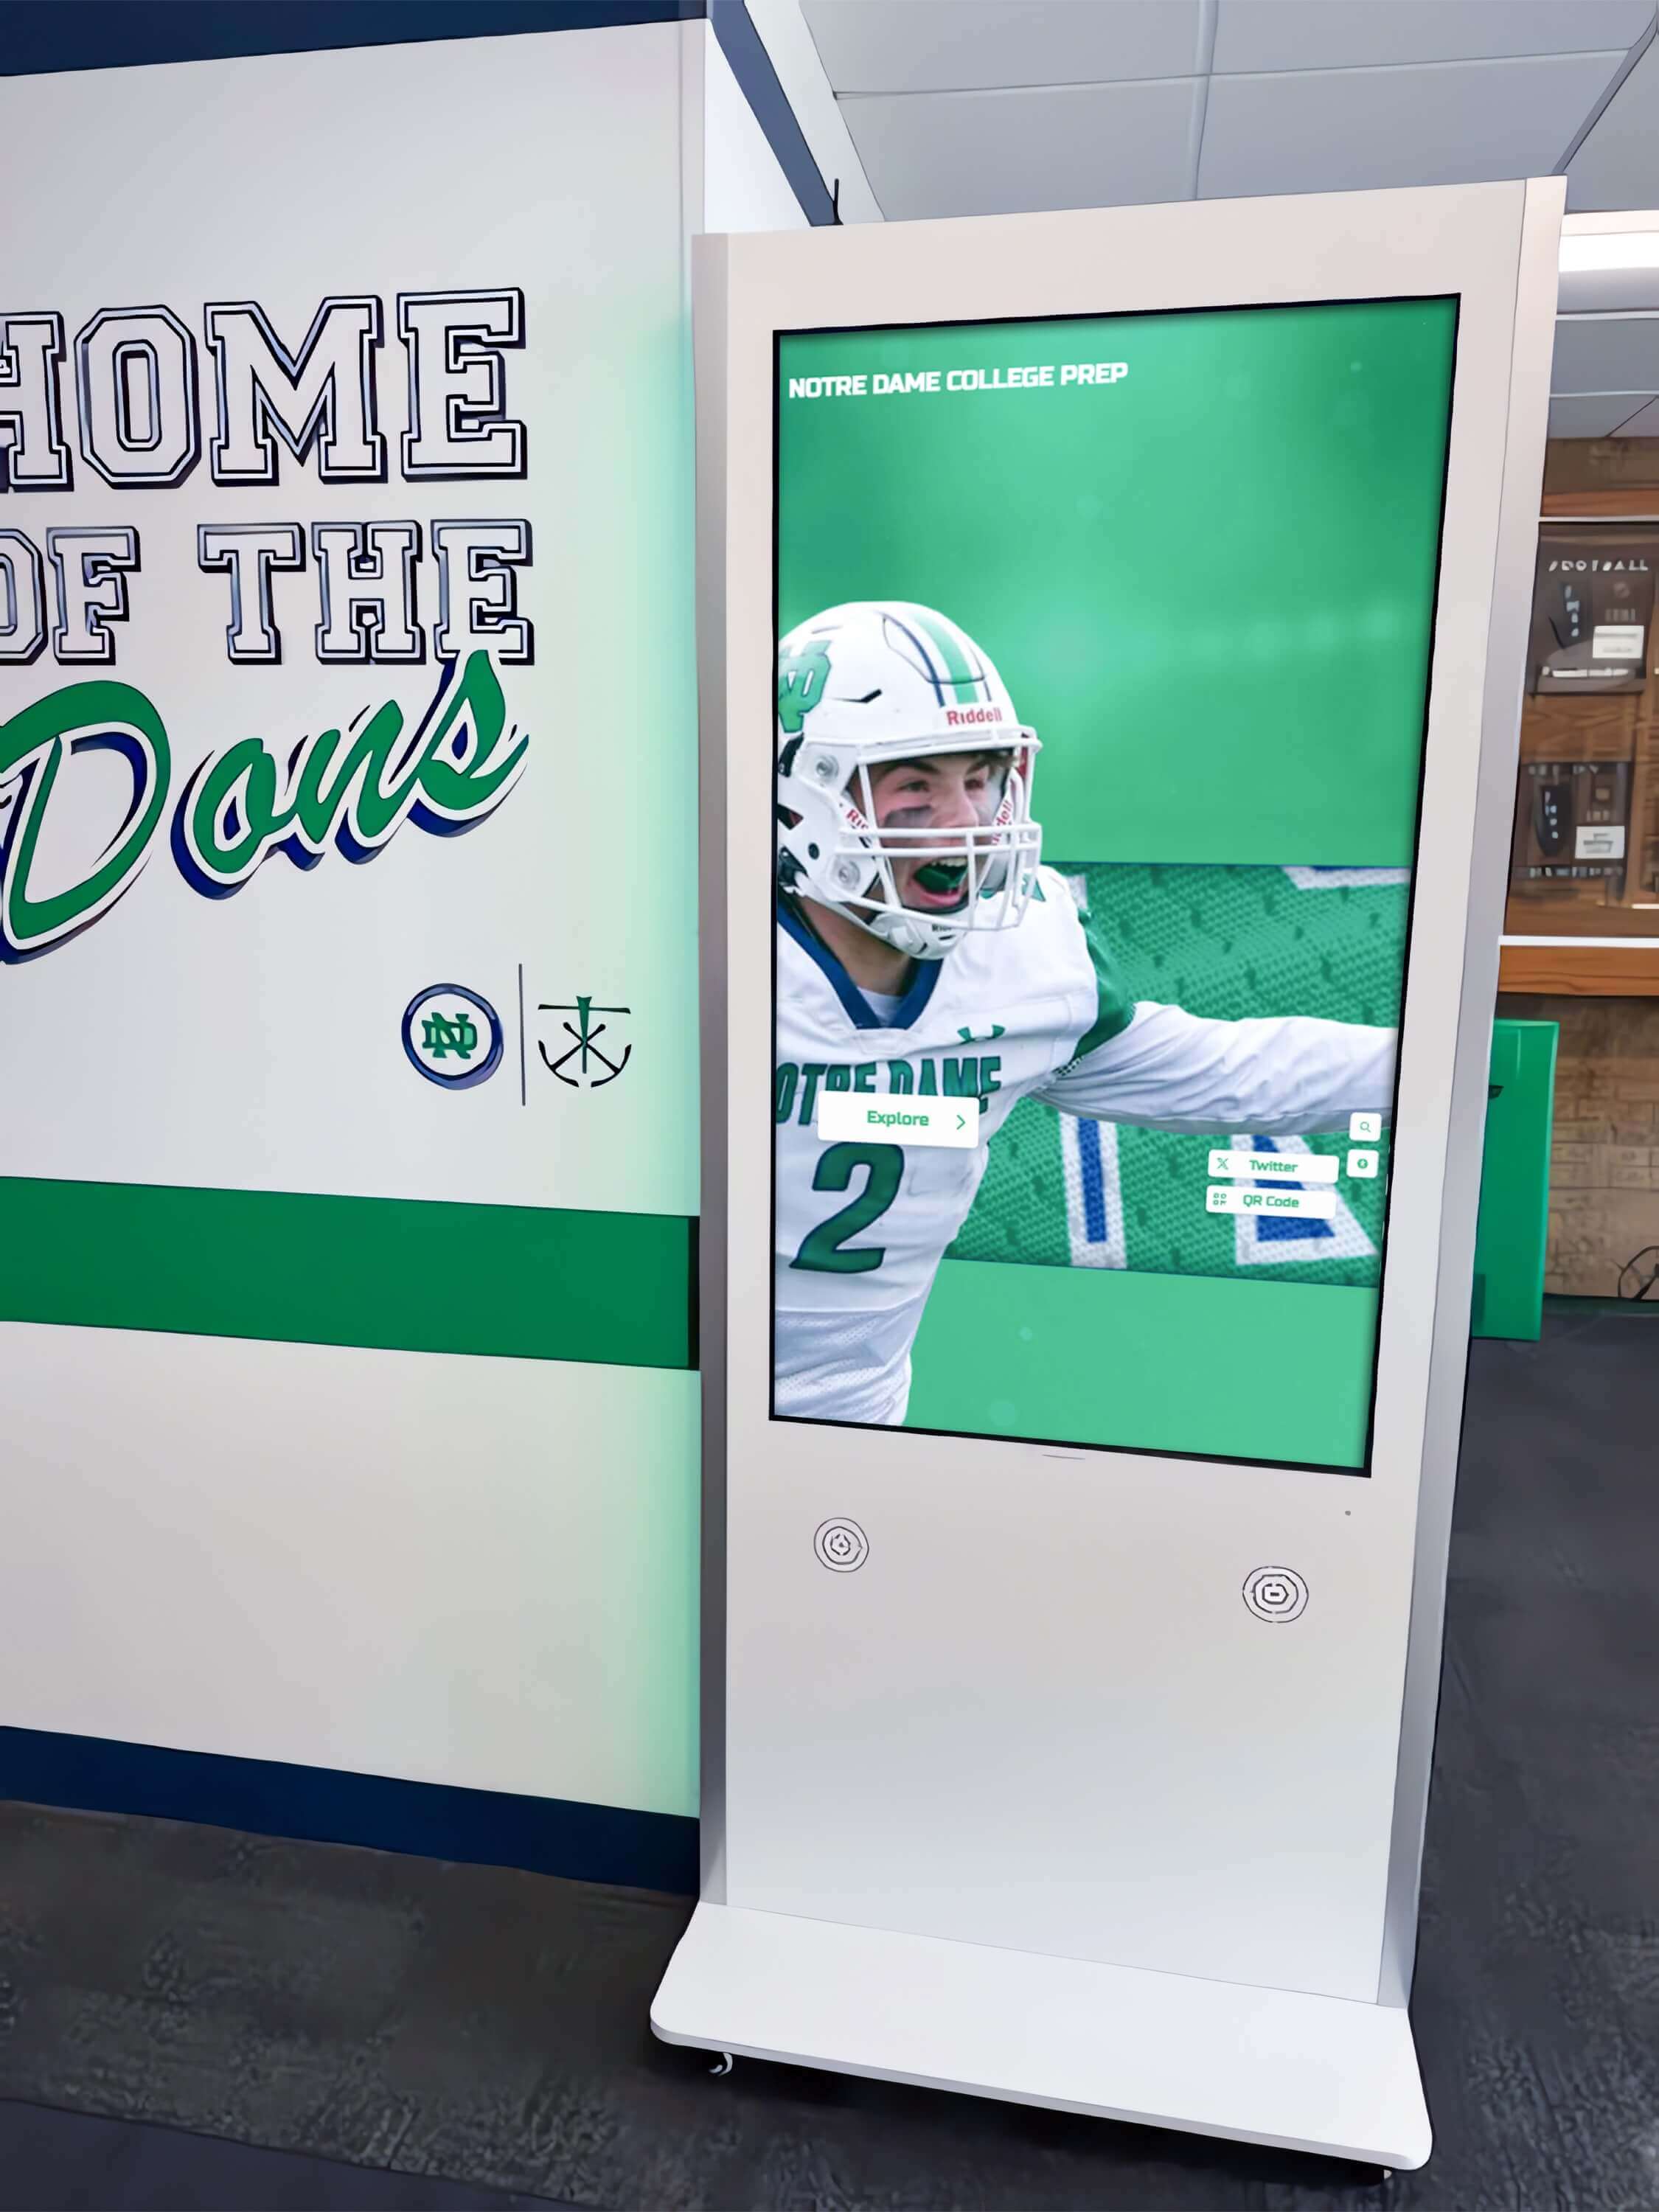
Kiosk-form recognition displays in school hallways have a specific visitor interaction pattern — palm rejection settings must account for how visitors naturally reach and steady themselves against a tall vertical panel
When the Test Fails: Adjustment Workflow
If any scenario fails, work through this adjustment sequence before re-testing.
Adjustment 1: Increase Palm Rejection Sensitivity
In the touch driver or display utility, increase palm rejection sensitivity one increment and re-run the failing scenario. Many commercial displays offer a three-to-five-step sensitivity slider. Moving one step up typically expands the contact area classified as a palm.
If the driver offers a numeric contact-area threshold, increase by 10 mm increments.
Adjustment 2: Widen the Exclusion Zone
If Scenario 1 (resting palm) fails at the lower corners of the screen, widen the edge exclusion zone. Increase the zone width by 10 pixels (or 5 mm) and re-test Scenario 1 only. Confirm that the edge buttons and navigation elements still respond to fingertip taps after widening the zone.
Adjustment 3: Disable Conflicting OS Gestures
If Scenario 3 (wrist drag) triggers a swipe event that appears to come from the OS task-switching gesture rather than the touch controller, disable the OS edge-swipe gesture and re-test. This is a configuration change in Windows or Android settings, not in the touch driver.
Adjustment 4: Contact the Display Vendor
If adjustment 1 through 3 do not resolve the failure, request a firmware review from the display vendor. Some panels require a firmware update to expose palm rejection settings or to correct a firmware bug that misclassifies certain contact shapes. Provide the vendor with the specific scenario number, the contact area in approximate millimeters, and the display firmware version. This documentation speeds the support interaction significantly.
For installations that have already verified other display quality parameters — including touch latency and backlight bleed — palm rejection is typically the last touch-behavior variable to confirm, and it rarely requires more than a sensitivity adjustment to pass.
Maintenance: When to Retest Palm Rejection
Palm rejection settings can change after events that affect the display’s software environment:
- OS updates — Windows and Android updates can reset or override touch driver settings. Retest after every major OS update.
- Touch driver updates — driver updates may reset palm rejection sensitivity to a new default. Re-apply the tested configuration after updating.
- CMS or kiosk software updates — some kiosk lock-down platforms reconfigure touch behavior. Retest after updating the recognition platform software.
- Display firmware updates — firmware updates that address touch behavior should be followed by a full retest of all four scenarios.
For ongoing installation quality, schools managing recognition display image retention risks — a separate category of long-term display care — can incorporate palm rejection retest into their annual display maintenance review alongside burn-in checks.
A practical schedule for most schools: retest after every OS or driver update, and conduct a full acceptance test cycle at the start of each school year.
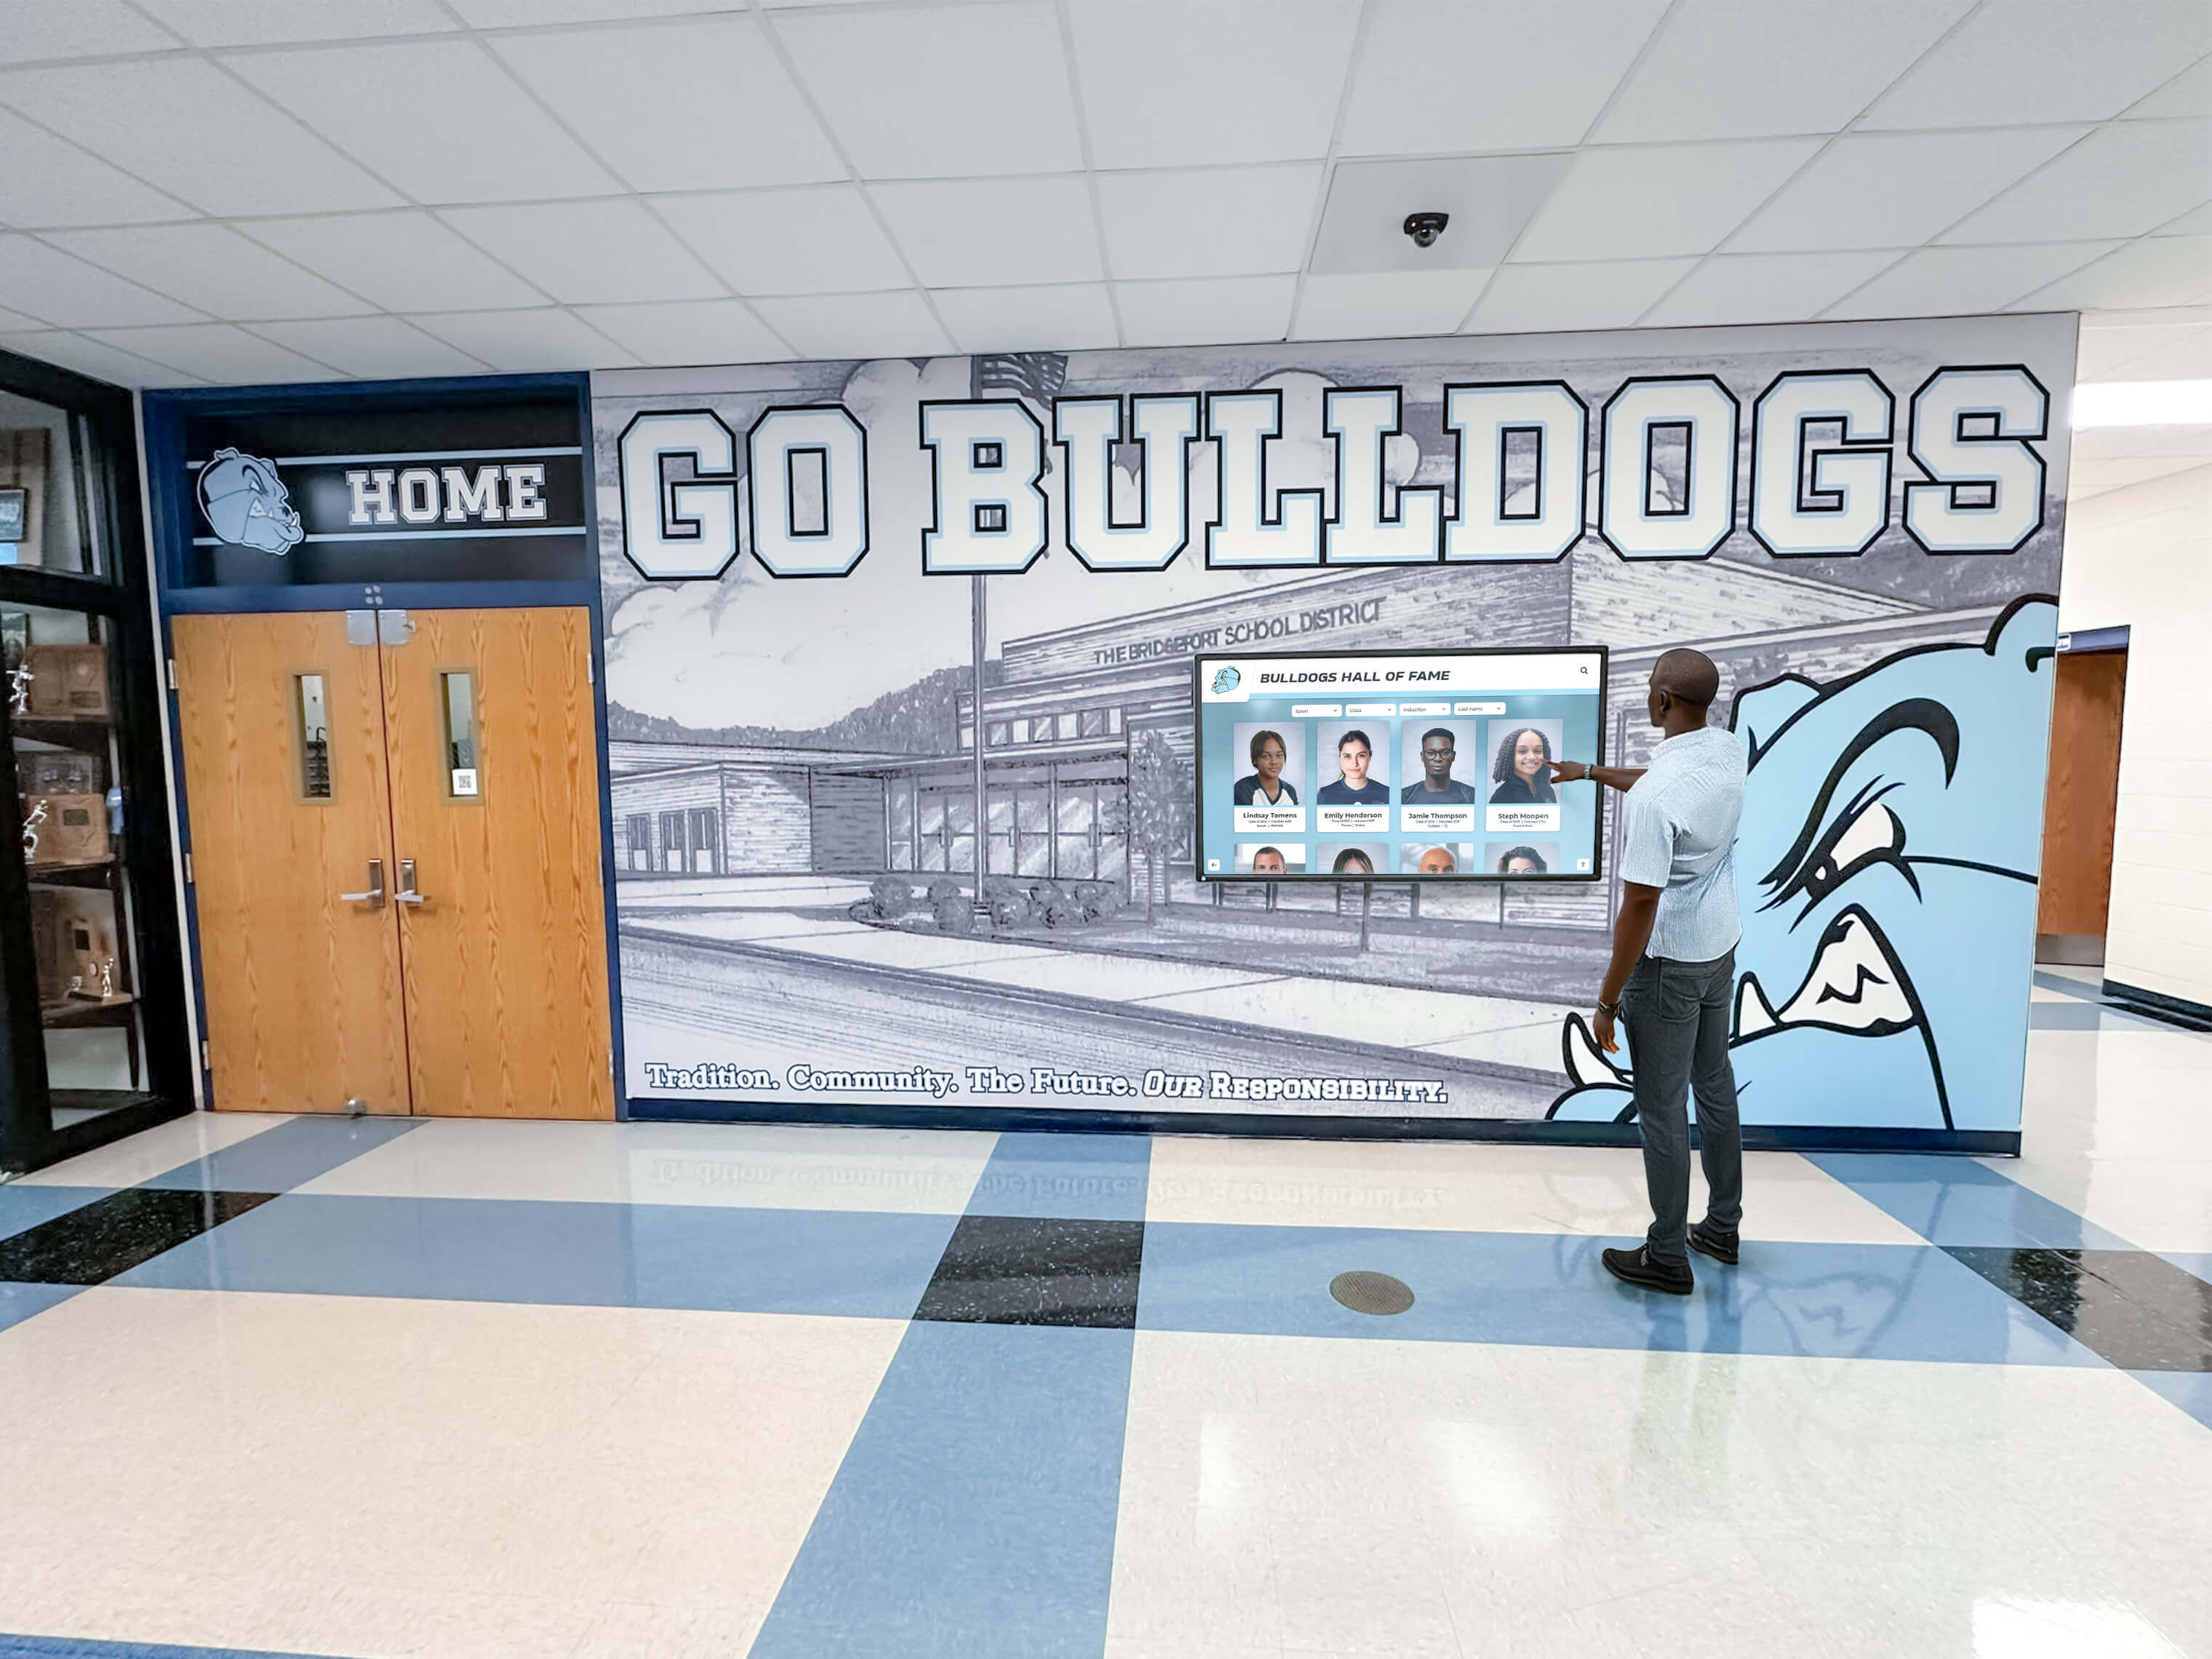
Annual retest of recognition display palm rejection settings keeps the visitor experience consistent as OS updates and driver changes alter touch behavior over time
Palm Rejection Across Platform Types
Not all school recognition display setups expose palm rejection settings at the same level. Understanding where the setting lives in each platform type helps IT teams find it quickly.
Windows-Based Kiosks
Most commercial recognition display kiosks run Windows 10 or Windows 11 with a touch driver from the display manufacturer (common vendors include Elo, PCAP, or the panel OEM). Palm rejection is configurable in Device Manager → Human Interface Devices → [display touch model] → Properties → Advanced.
Android-Based Displays
Android commercial displays (common in budget and mid-range school deployments) expose palm rejection through a “Screen protector mode” or “Touch sensitivity” setting in Settings → Display → Touch sensitivity. Some Android AV displays require a vendor-specific app to access palm contact area parameters.
Embedded Media Player Displays (SoC Panels)
System-on-chip (SoC) panels — displays with an Android or Linux media player embedded in the panel itself — may expose palm rejection only through a manufacturer utility or a configuration file accessible via ADB (Android Debug Bridge) or SSH. IT teams managing SoC panels should request the vendor’s palm rejection configuration documentation during procurement, before the display ships to the school.
Cloud CMS Platforms
Some cloud-based recognition content management systems include touch behavior configuration within their platform interface — allowing the school’s program administrator to set touch sensitivity without touching the OS or driver layer. This is increasingly common in platforms designed specifically for school recognition environments and is a capability worth asking about during platform evaluation. Resources that compare school recognition display platform features describe how installation timing and software readiness intersect with this kind of initial configuration.
Frequently Asked Questions
Does palm rejection affect the performance of touchscreen athletic record boards differently than hall of fame kiosks?
The underlying touch hardware is typically the same, but the interaction pattern differs. Athletic record board displays often use larger text and fewer on-screen tap targets, meaning visitors scan rather than tap frequently. Hall of fame kiosks invite more active browsing — tapping individual profiles, browsing by sport or year — so false positives from palm contacts matter more. The test scenarios in this plan are designed to cover both interaction patterns.
Our display passed the acceptance test but now shows palm rejection failures six months later. What changed?
The most common cause is an OS or touch driver update that reset palm rejection settings to a new or different default. Check the driver version and the Windows or Android touch settings against the documented configuration from acceptance day. If the settings appear unchanged, the second most likely cause is a firmware update from the display manufacturer. Review the firmware release notes for any mention of touch behavior changes.
Can we test palm rejection before the installer leaves if we do not yet have our recognition CMS content loaded?
Yes. The four test scenarios only require the display to be showing some content — a browser window, a placeholder image, or any screen with visible regions. The test evaluates the touch controller’s behavior, not the CMS. Run the test with a browser or image viewer open on the full screen if the CMS is not yet loaded, and repeat a brief re-test once the CMS is active, since kiosk lock-down modes can affect touch behavior.
What is a typical palm rejection sensitivity setting for a school lobby recognition display?
There is no single correct value — it depends on the display manufacturer, driver, and installation height. A display mounted at standard 54-inch center height and viewed by adults at arm’s length typically performs well at a medium-to-high sensitivity setting. Displays in lower-traffic alcoves with mostly adult visitors can use a lower sensitivity without noticeable false positives. Displays in elementary school environments — where smaller hands and more varied contact patterns are common — often benefit from a higher sensitivity setting that more aggressively filters large-area contacts.
We are evaluating recognition display platforms and want to ask vendors about palm rejection. What questions should we ask?
Ask: “Does your platform or hardware support adjustable palm rejection sensitivity, and at what level is it configured — OS, driver, or platform?” and “Do your software updates or CMS updates ever reset touch driver settings?” and “What is your support process if palm rejection fails after a software update?” Platforms that provide clear answers and a defined support path for touch configuration issues demonstrate operational maturity that matters for multi-year recognition program commitments.
Color Banding and Other Display Quality Tests
Palm rejection is one of several touch and display quality parameters that school IT teams should verify before accepting a recognition display installation. Color banding is a separate acceptance test covering how accurately the display renders gradient backgrounds and photo content — relevant for recognition displays featuring portrait photography of athletes, donors, and honorees. Running both tests in the same site visit is an efficient way to complete the full display quality acceptance process.
For high school gym lobby installations specifically, the physical placement of the display relative to visitor traffic patterns — a factor that affects how often palm contacts occur — is covered in this guide to touchscreen display placement in high school gym lobbies.

A hall of fame touchscreen that accurately distinguishes intentional profile taps from incidental palm contact gives every visitor a reliable, frustration-free browsing experience
Summary: Recognition Display Palm Rejection Settings Test Plan
Palm rejection configuration is a 30-to-45-minute investment that pays off in visitor experience quality for the full life of the recognition display — typically five to ten years for a commercial panel in a school environment.
The core steps:
- Locate and enable palm rejection in the touch driver, OS settings, or display manufacturer utility before go-live.
- Set the exclusion zone to the manufacturer’s recommended value, then adjust based on test results.
- Disable OS gestures that conflict with the recognition software’s navigation.
- Run all four test scenarios — resting palm, finger-plus-palm, wrist drag, multi-finger hold — with two testers, at the installed location.
- Document results using the acceptance log and keep a copy alongside the display’s installation records.
- Schedule retests after OS updates, driver updates, and annually at the start of the school year.
A recognition display that handles palm contact correctly functions as a reliable ambassador for the school’s athletic history, donor appreciation, and awards programs. One that registers accidental touches as navigation events creates friction and undermines the program’s credibility with every visitor.
School IT teams and athletic directors evaluating interactive recognition display platforms — including touchscreen hall of fame and donor wall solutions — can explore full-featured platform demonstrations with Rocket Alumni Solutions.
See How a Full-Featured Recognition Display Platform Handles Touch Configuration
Rocket Alumni Solutions provides school athletic directors and IT teams with hands-on platform demonstrations covering touch behavior, content management, and installation support.
Request a Platform Demo