Intent: demonstrate — this checklist walks school AV coordinators, IT staff, and facilities teams through recognition display overscan troubleshooting so they can eliminate clipped menus, cut-off inductee profiles, and scaling errors on wall-mounted recognition screens without waiting for vendor support.
Overscan occurs when a display renders the image slightly larger than the screen boundary, cropping content at all four edges. On a recognition screen this translates to athlete names truncated at the right margin, navigation buttons hidden behind the display bezel, or donor tiers cut off at the bottom of a scrolling wall. The fix almost always lives in one of three places: the display’s own picture settings, the graphics driver on the connected computer, or the content software’s canvas configuration. This checklist works through all three in order.
The quick answer: set your display’s picture size mode to Just Scan, Screen Fit, Dot by Dot, or Full (the exact label depends on the manufacturer), then confirm that your graphics driver is not applying an additional overscan offset, and finally verify that your recognition software’s output canvas matches the display’s native resolution. Most school teams resolve overscan in under 20 minutes by working through the display settings step before touching the computer at all.
This checklist applies to flat-panel displays connected via HDMI or DisplayPort to a dedicated PC, media player, or content management appliance running school recognition content — hall of fame profiles, athletic record boards, donor recognition walls, and similar applications. It does not require vendor-specific technical knowledge; any IT coordinator or AV team member can complete it with the display’s remote control and the connected computer.
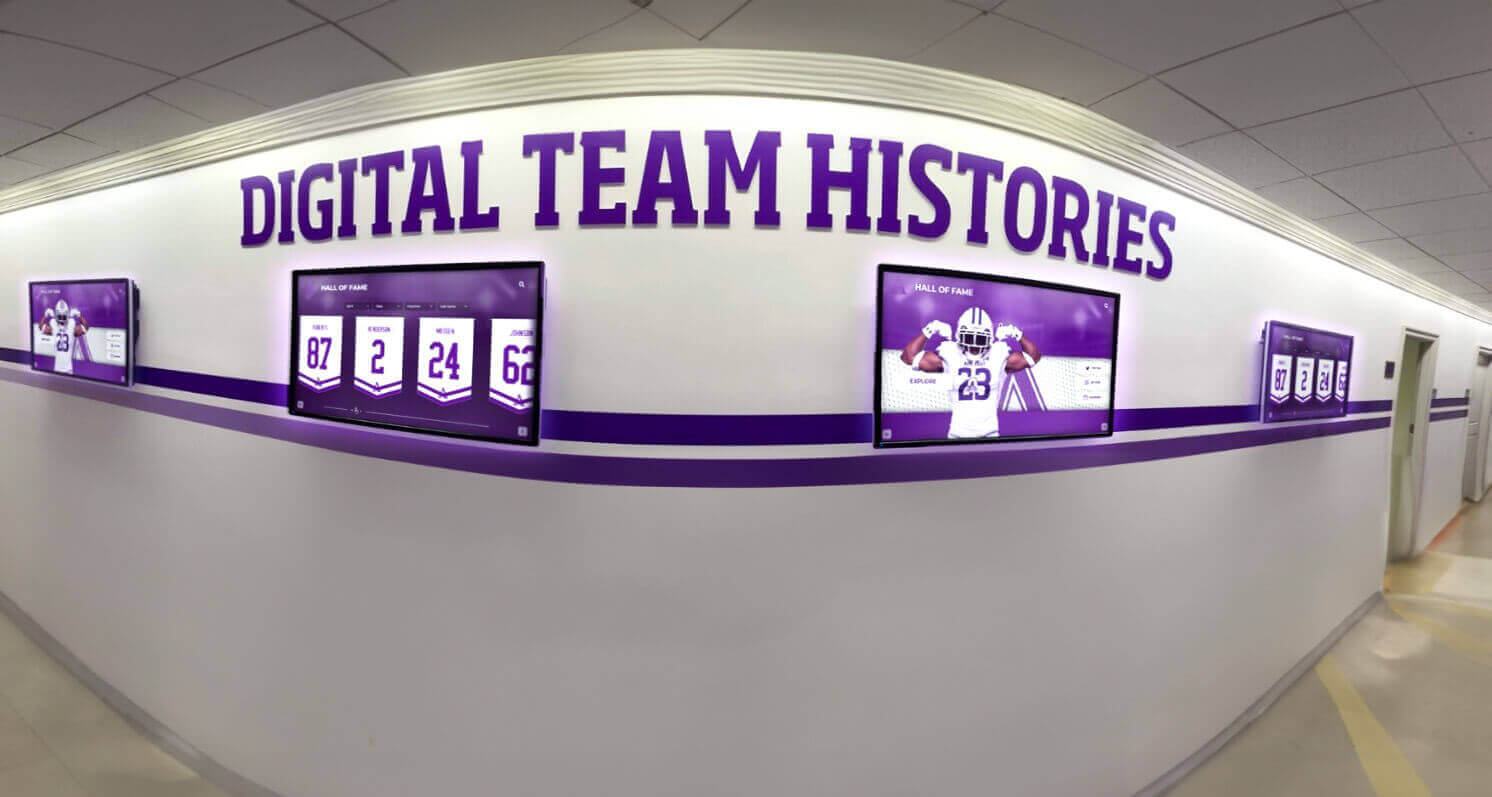
Overscan on recognition displays most often appears as cropped text at screen edges — a settings issue, not a hardware defect
Understanding Overscan on Recognition Screens
Overscan is a legacy behavior originally designed for analog broadcast television, where the edge of the transmitted signal was intentionally hidden because CRT televisions could not render it consistently. Modern flat panels retain this behavior as a default when they detect a video signal on an HDMI input — and most computers connected to a display over HDMI appear to the television as a video source rather than a PC, triggering automatic overscan compensation.
The result: the display zooms the image by roughly 5–10%, which is invisible during casual video playback but immediately visible on recognition content with fixed layout elements — a navigation bar that should appear at screen bottom is cropped, a name column that ends at pixel 1920 is cut at pixel 1830, or a school crest in the upper-left corner is partially obscured by the bezel.
Three distinct layers can each contribute to or mask the problem:
- Display hardware — the panel’s picture size setting determines whether it applies overscan to incoming signals
- Graphics driver — NVIDIA, AMD, and Intel all offer overscan/underscan adjustment in their control panels, and some apply an offset by default on HDMI connections
- Content software — if the recognition platform’s canvas is configured at a resolution that does not match the display’s native resolution, the OS or display will scale to fit, producing edge cropping or letterboxing
Working through these layers in order — display first, driver second, software third — resolves the majority of school recognition display overscan issues before any vendor call is needed. Organizations maintaining structured documentation for their recognition programs will find the digital history archive and interactive display preservation practices from TouchArchives relevant to recording the configuration baseline after the fix is applied.
Quick Symptom Diagnosis
Before diving into the checklist, identify the symptom pattern. Different symptoms point to different layers.
| Symptom | Most Likely Layer | Start at Step |
|---|---|---|
| Content clipped on all four edges; desktop wallpaper also clipped | Display picture settings or graphics driver | Step 1 |
| Content clipped on all four edges; desktop icons and taskbar display normally | Recognition software canvas configuration | Step 5 |
| Content clipped only on left and right edges, not top/bottom | Wrong aspect ratio in display or driver settings | Step 1 (aspect ratio setting) |
| Content appears stretched horizontally, with correct vertical fill | Display aspect ratio set to 16:9 stretch on a non-native signal | Step 1 (aspect ratio setting) |
| Content appears zoomed in; can confirm by looking for missing navigation buttons | Display overscan mode active | Step 1 |
| One panel in a multi-display setup is clipped while others are not | Per-display graphics driver setting or display input label | Step 2, then Step 3 |
| Correct display on first boot; overscan returns after reboot | Graphics driver applying default offset on reconnect; setting not saved | Step 3 (save profile) |
Recognition Display Overscan Troubleshooting Checklist
Step 1: Adjust the Display’s Picture Size Setting
This is the most common fix. Most commercial and consumer flat panels apply overscan when they detect an HDMI video signal. Finding and changing the picture size setting requires only the display remote control — no computer access needed.
Where to find the setting:
Open the display’s on-screen menu using the remote. The picture size setting is typically under a menu labeled Picture, Screen, or Display. Look for a submenu or option with one of the names in the table below.
| Display Brand | Setting Name to Select | Menu Path | What It Does |
|---|---|---|---|
| Samsung | Screen Fit (or 16:9) | Menu → Picture → Picture Size Settings → Picture Size | Disables overscan; renders signal pixel-for-pixel |
| LG | Just Scan | Settings → Picture → Aspect Ratio Settings → Just Scan: On | Bypasses overscan processing entirely |
| Sony | Full Pixel (or Normal) | Settings → Display & Sound → Screen → Display Area → Full Pixel | Maps input pixels 1:1 to display pixels |
| Sharp / NEC | Dot by Dot | Menu → Screen → Dot by Dot | Native 1:1 pixel mapping; no scaling |
| Panasonic | Just | Menu → Screen → Screen Mode → Just | Disables overscan; shows full signal |
| Philips / ViewSonic | Full or 1:1 Pixel | Menu → Picture → Aspect Ratio → Full | No overscan applied |
| Commercial displays (NEC, Planar, LG Commercial) | PC or RGB Mode | Input Source menu → relabel input as PC | PC inputs disable overscan by default |
After changing the setting: Navigate to a page of your recognition content that shows text near all four screen edges. Confirm that text and navigation elements are no longer clipped. If the fix holds, document the setting in your display’s maintenance log — some displays reset picture settings when powered off, so confirming the setting survives a power cycle is worthwhile.
If the setting is grayed out or unavailable: Some displays lock picture size options when the input is labeled as a video source. Proceed to Step 2.
Step 2: Change the Input Label to “PC” or “Computer”
Flat panels apply different processing depending on whether an input is labeled as a video source (HDMI 1, AV) or a computer source (PC, Computer, RGB). PC-labeled inputs typically disable overscan automatically and may also disable noise reduction, motion smoothing, and other processing that can affect text clarity on recognition content.
How to relabel an input:
- Navigate to the display’s Input or Source menu using the remote
- Look for an option to rename or edit the current input — often found under Input Label, Input Name, or Edit next to the active input
- Change the label from AV, Video, Cable, or HDMI to PC, Computer, or DVI-PC (the available options vary by display)
- Exit the input menu and check whether the picture size setting from Step 1 is now available and already set to the correct mode
This step is particularly effective on consumer-grade flat panels repurposed as school recognition displays, where the default HDMI label triggers TV-mode processing.
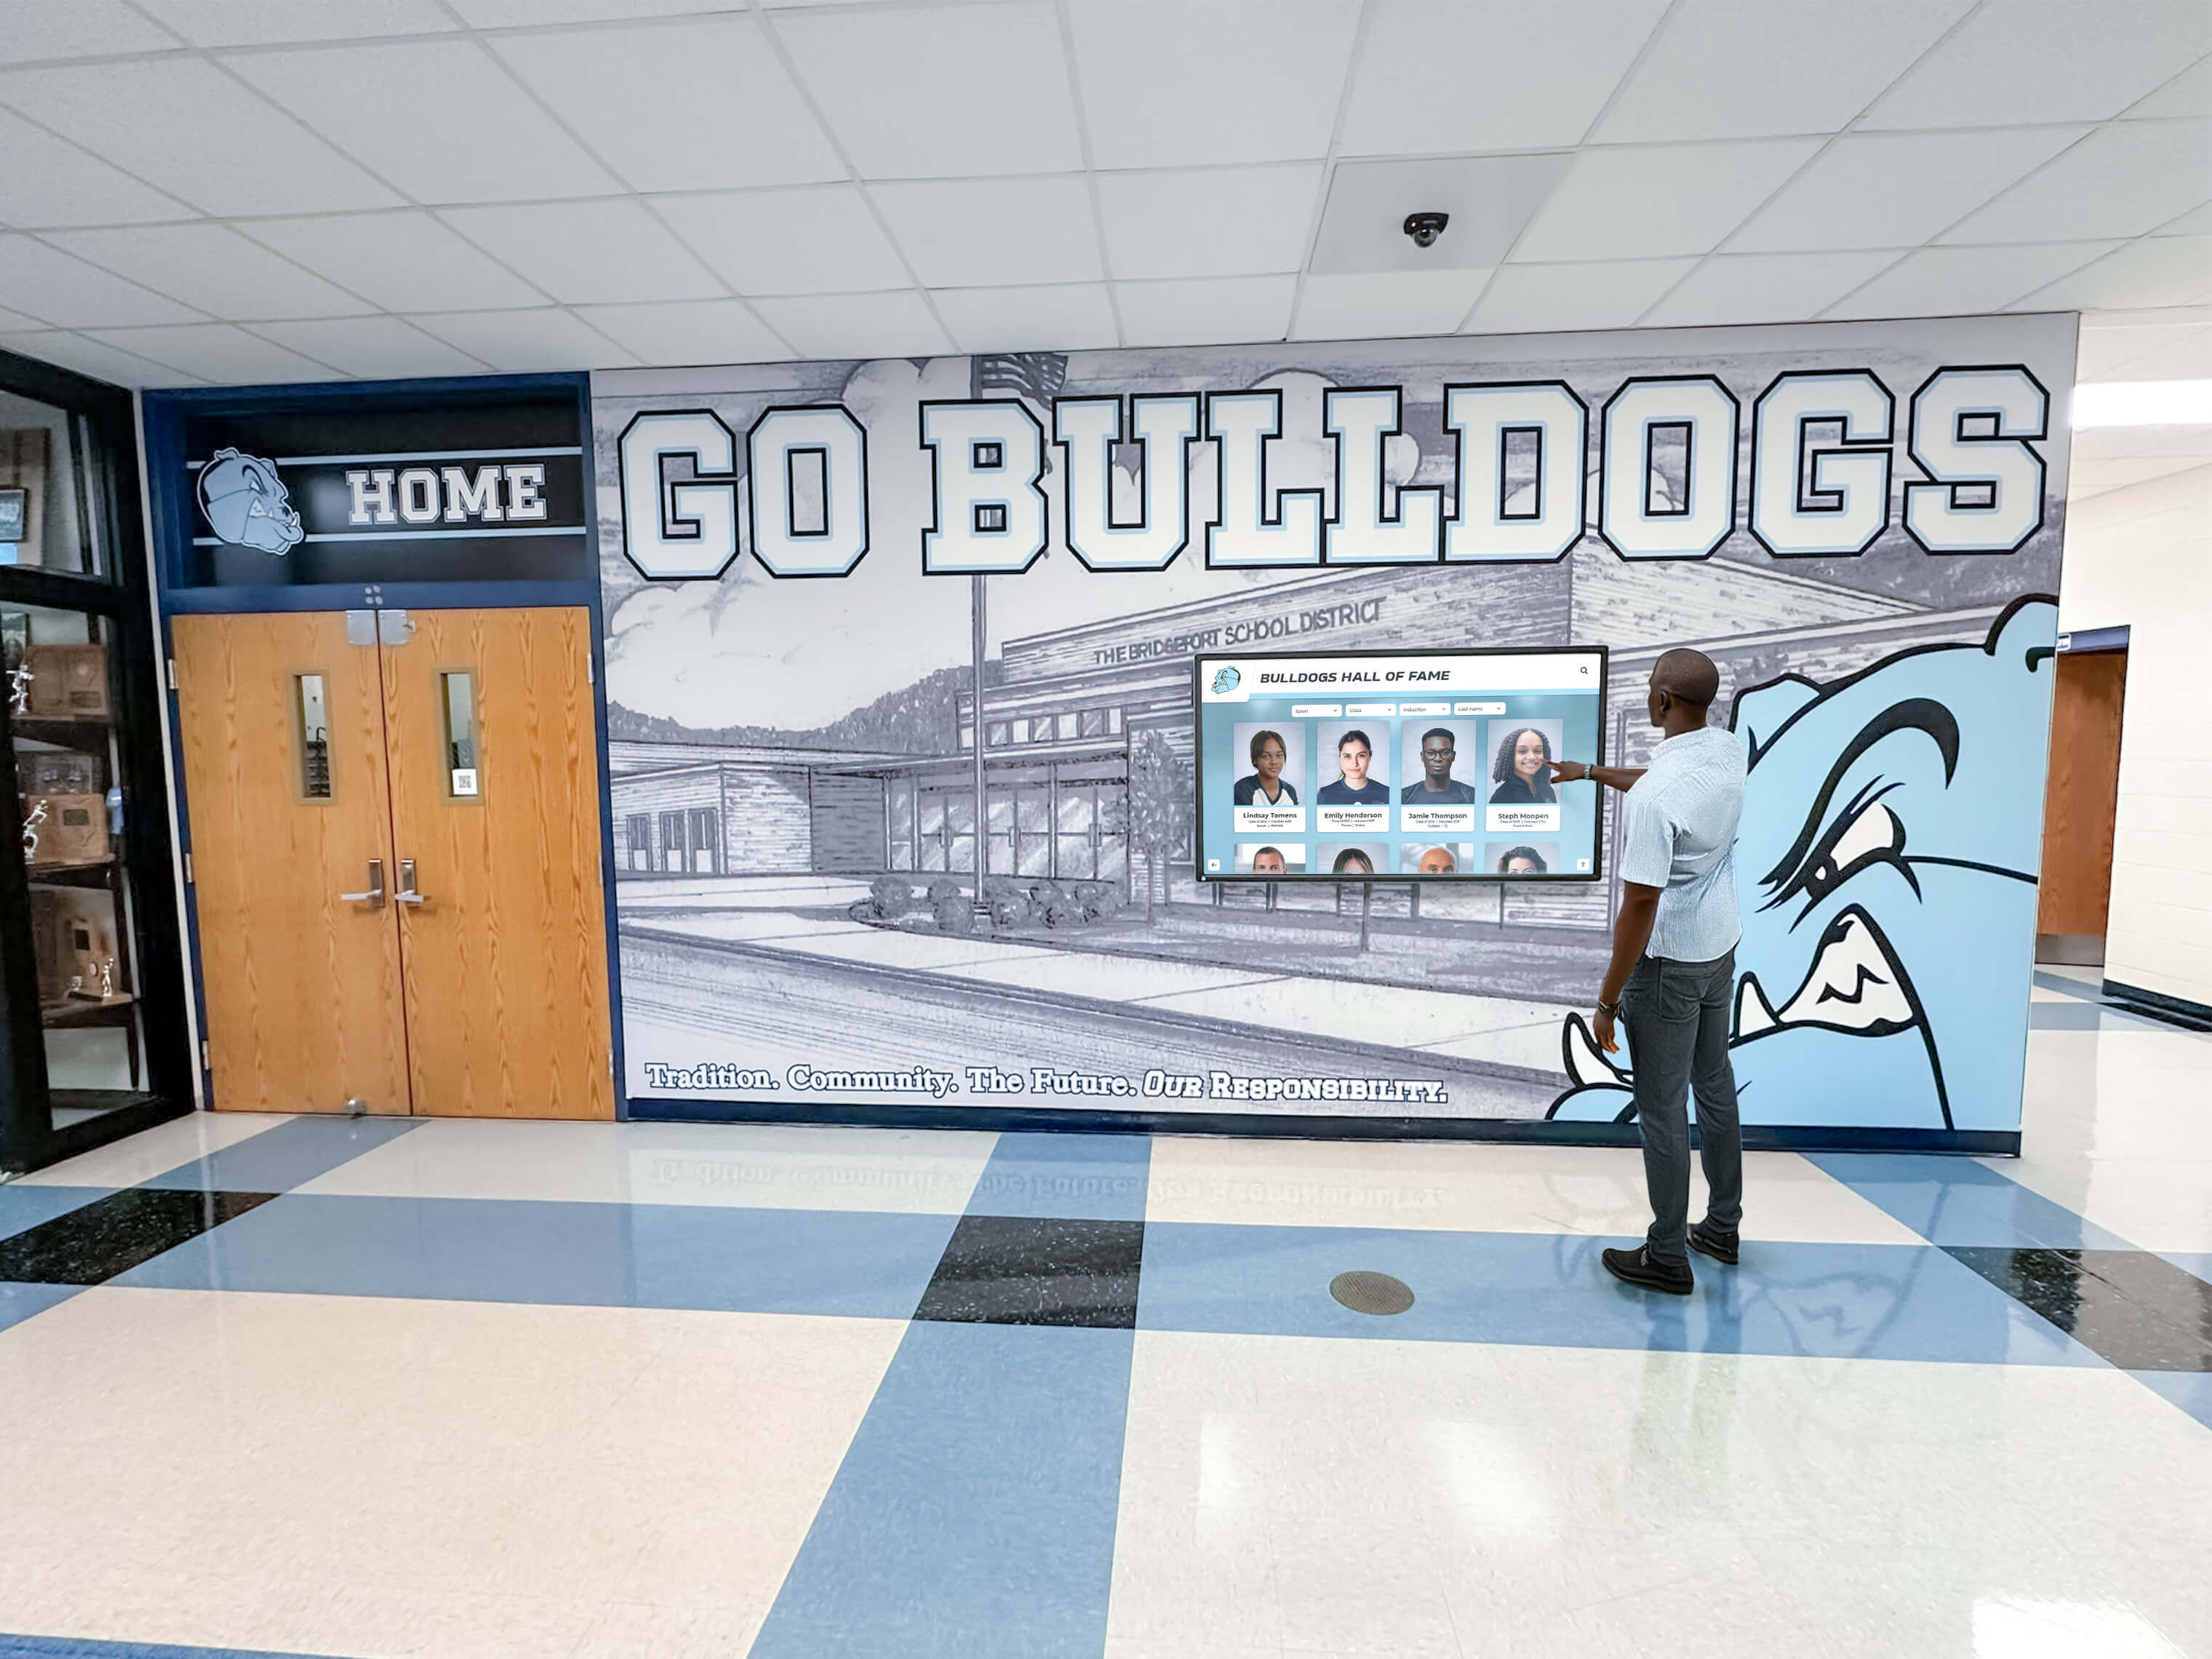
Relabeling the HDMI input as "PC" often resolves overscan on consumer-grade panels used for school recognition content
Step 3: Check the Graphics Driver Overscan Setting
If the display settings did not resolve the clipping, the connected computer’s graphics driver may be adding an overscan offset on the HDMI output. This is common with NVIDIA cards on HDMI connections and with some AMD configurations. The driver-level offset operates independently of the display setting — both can be applying overscan simultaneously, compounding the problem.
NVIDIA Control Panel:
- Right-click the desktop → NVIDIA Control Panel
- Navigate to Display → Adjust Desktop Size and Position
- Select the recognition display from the monitor selector
- Under Scaling, select No Scaling and ensure Perform scaling on: Display is selected
- Under the Resize Desktop (Advanced) area, confirm the slider is set to 0% if visible — this is the HDMI overscan adjustment slider that some NVIDIA drivers expose
- Click Apply and check the display
AMD Radeon Settings (Radeon Software):
- Right-click the desktop → AMD Radeon Settings (or open from system tray)
- Navigate to Display
- Find the HDMI Scaling slider — set it to 0
- Confirm GPU Scaling is enabled and scaling mode is set to Full Panel or Preserve Aspect Ratio (not Center)
- Click Apply
Intel Graphics Command Center:
- Open Intel Graphics Command Center from the Start menu or system tray
- Navigate to Display → General
- Look for a Scaling setting and set it to Maintain Display Scaling or Customize Aspect Ratio with no offset
- Apply and verify
After adjusting driver settings, check the display again. If the desktop edges are now fully visible but the recognition content is still clipped, the issue is in the content software — proceed to Step 5.
Step 4: Verify Windows Display Scaling and Resolution
Windows display scaling (the percentage setting in Settings → System → Display → Scale) affects how all content renders on the display. If this is set above 100% on the display showing recognition content, UI elements may extend beyond the visible area in some content platforms.
- Open Settings → System → Display
- Under Scale & Layout, confirm the scale percentage is set to 100% for the recognition display
- Confirm the Resolution matches the display’s native resolution — commonly 1920×1080 for 55" and 65" panels, or 3840×2160 for 4K displays
- If the resolution listed does not include the display’s native resolution, confirm the correct cable is connected (some HDMI adapters cap at 1080p; DisplayPort typically supports 4K without additional configuration)
School teams managing donor recognition programs and display configurations often find that display scaling discrepancies surface when a replacement computer is connected to an existing recognition screen — the new machine defaults to a different scale percentage than the previous one.
Step 5: Check the Recognition Software Canvas Configuration
If the display and driver settings are correct but content remains clipped within the recognition platform itself, the software’s output canvas is likely configured at a different resolution than the display’s native resolution.
What to check:
- In your content management system or recognition platform, locate the display settings, canvas size, or output resolution configuration
- Confirm the canvas dimensions match your display’s native resolution exactly — for example, 1920×1080 for a full HD panel or 3840×2160 for a 4K panel
- If the software allows configuring separate safe area margins or display overscan compensation, ensure these are set to zero unless your display still shows clipping after completing Steps 1–4
Common mismatches:
- Software canvas set to 1280×720 (720p) on a 1920×1080 display — the OS scales up the output, and the display may apply additional overscan on the scaled signal
- Software set to 4K output on a 1080p display — the display scales down, sometimes applying overscan in the process
- Software configured for a 16:10 aspect ratio canvas (common on older monitors) displayed on a 16:9 recognition screen — produces letterboxing with cropping
After correcting the canvas configuration, publish a test page with text at all four corners and confirm no clipping occurs. For platforms that support a preview mode, compare the preview to the live display before deploying updated content to the public-facing screen.
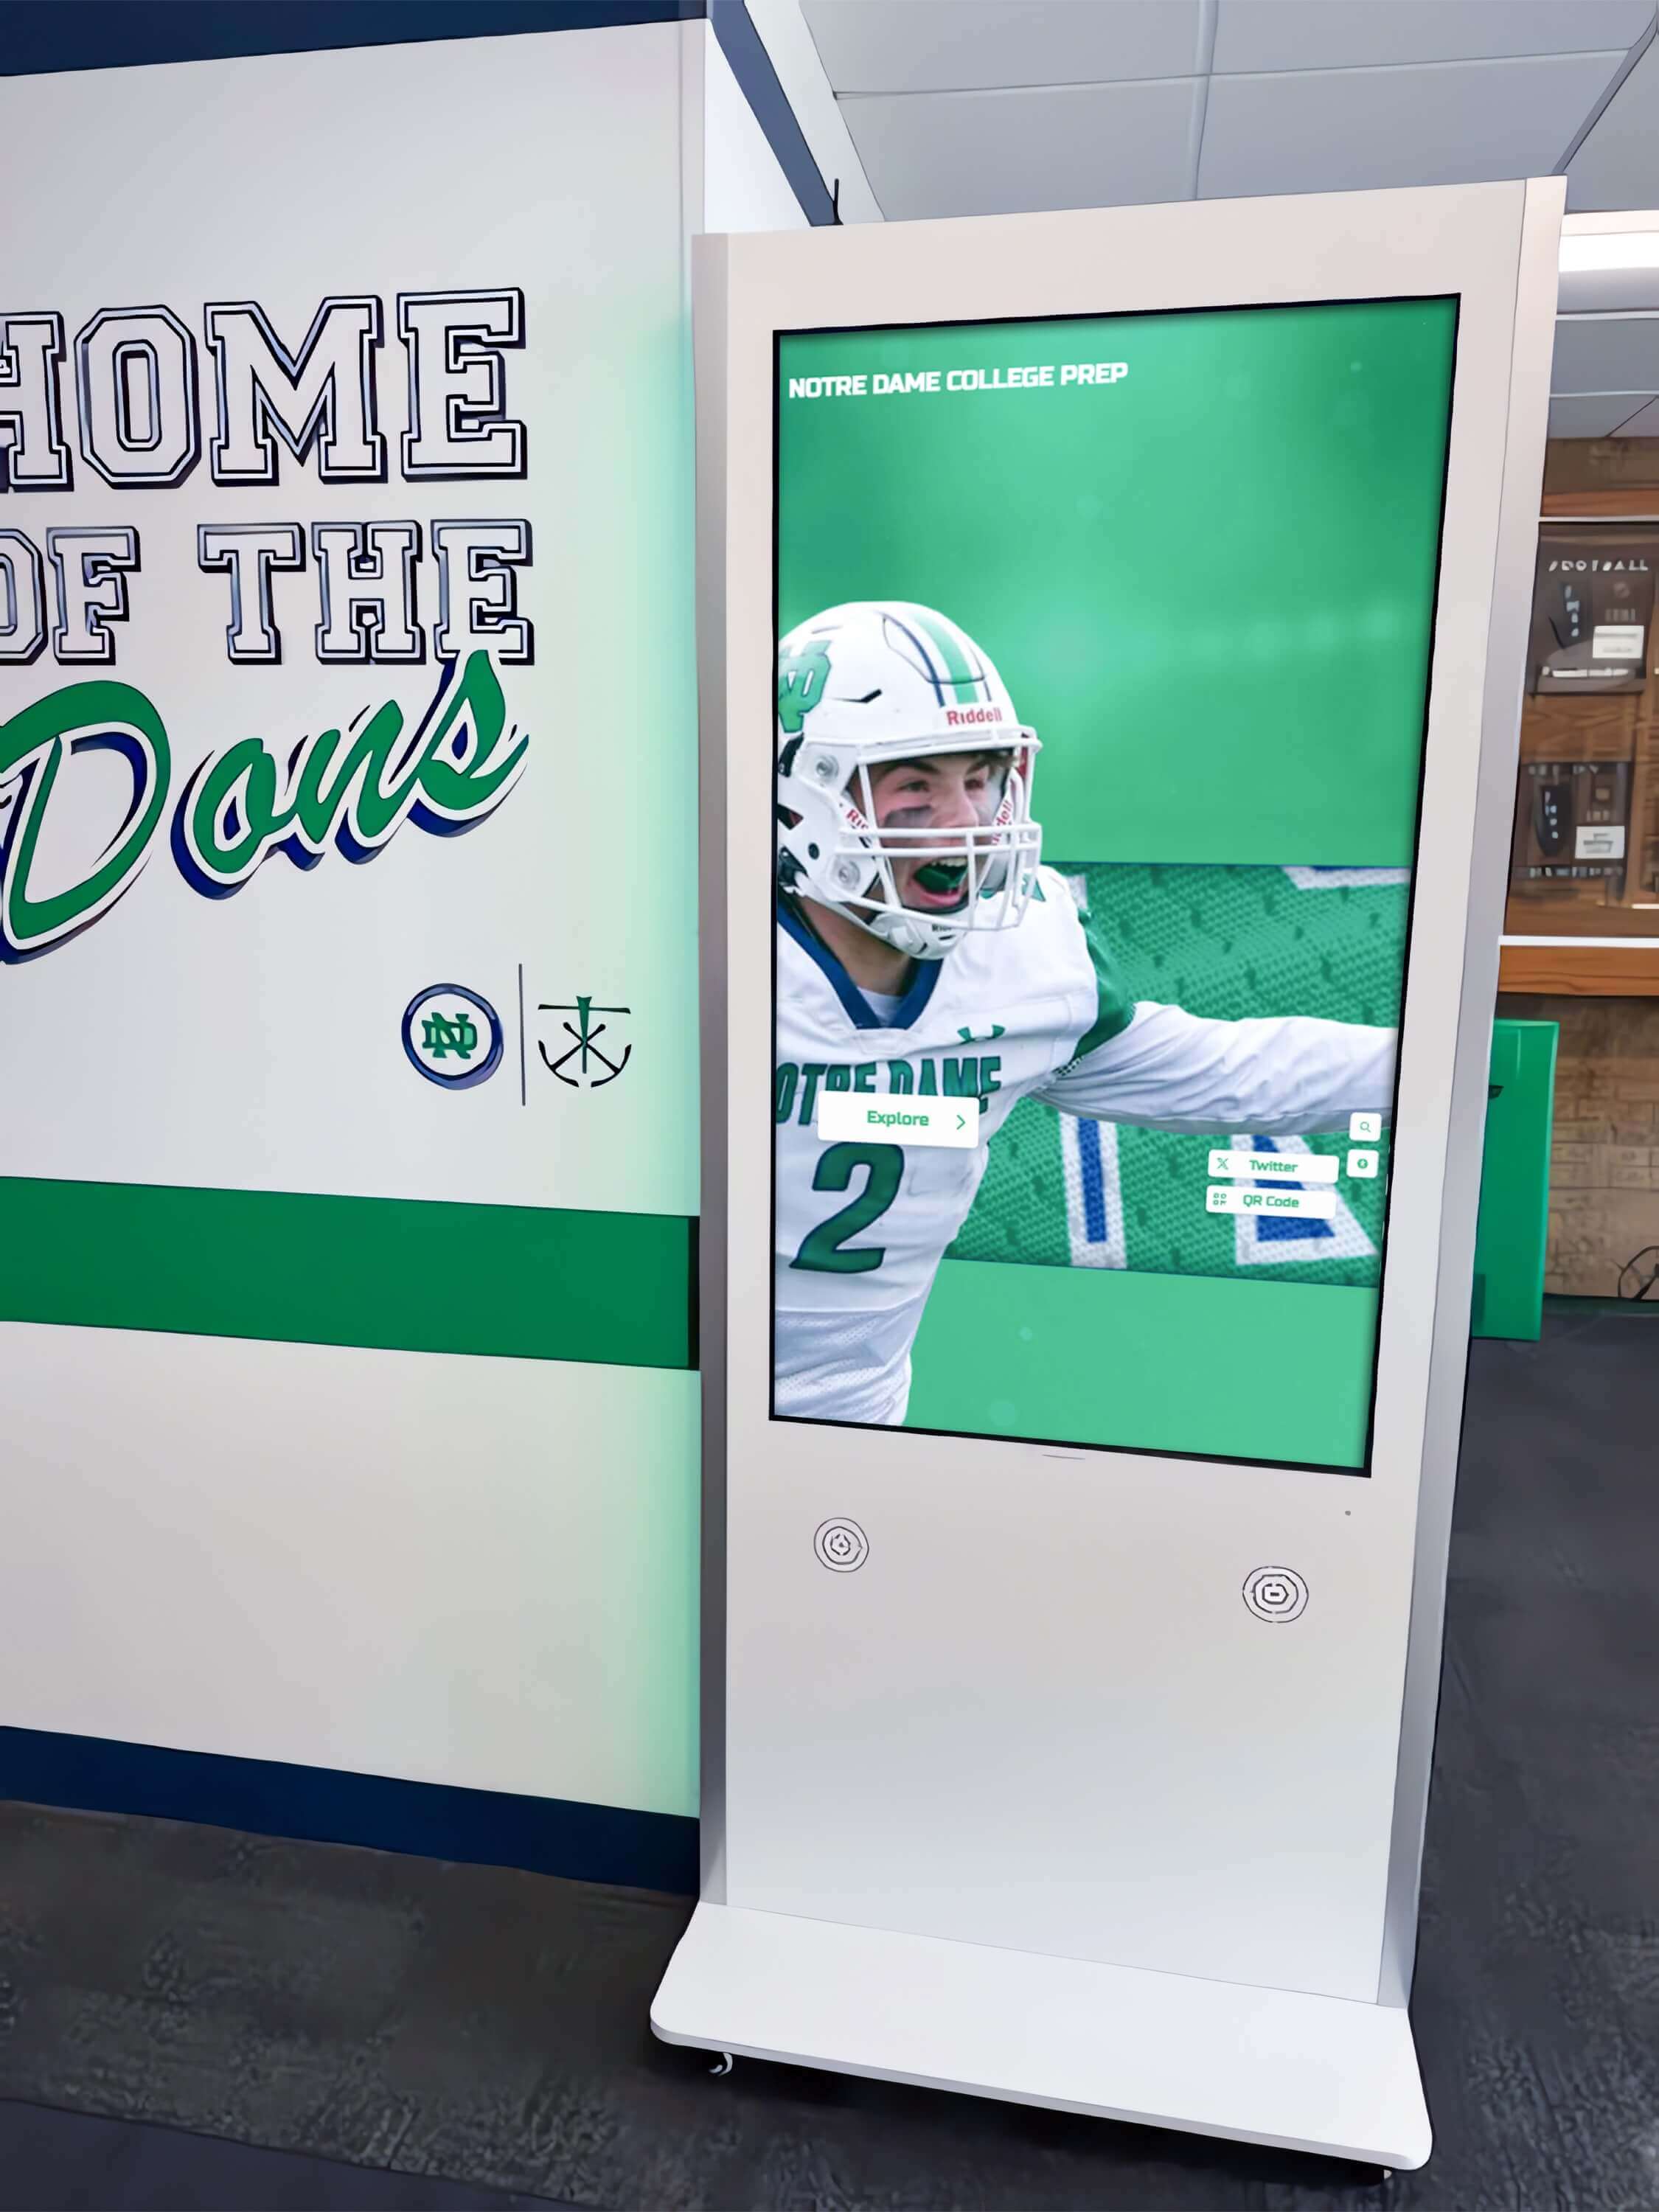
Canvas resolution mismatches between software and display create scaling artifacts that compound overscan problems at the edges
Step 6: Check the Signal Cable and Connection Type
Some overscan problems originate at the physical connection rather than in any software layer. HDMI cables and adapters introduce the most variability.
Cable and connection checks:
- HDMI vs. DisplayPort: DisplayPort connections are significantly less likely to trigger TV-mode overscan behavior because the DisplayPort standard was designed for PC monitors rather than consumer televisions. If your display and computer both have DisplayPort, switching from HDMI to DisplayPort resolves overscan in many setups without any settings changes
- HDMI cable generation: HDMI 1.4 cables cap at 4K/30Hz; HDMI 2.0 or 2.1 is required for 4K/60Hz. Running a 4K display at 30Hz forces some displays into a compatibility mode that may apply overscan
- HDMI adapter type: HDMI-to-DVI adapters can cause the display to default to PC mode (which actually helps with overscan), but HDMI-to-VGA adapters may strip EDID handshake data that tells the display what resolution the source expects
- Try a direct connection: If the computer connects to the display through a switch, splitter, or distribution amplifier, try connecting directly to rule out intermediate devices as the source of the problem
Schools using structured historical archives with standardized display formats benefit from documenting the cable type and connection path as part of the display’s installation record — this makes future troubleshooting faster when a setting or cable changes unexpectedly.
Step 7: Test with a Calibration Image
After working through Steps 1–6, confirm the fix with a structured calibration image rather than relying on recognition content alone.
A basic overscan calibration image displays a white border precisely 10 pixels inside the signal edge on all four sides, with corner markers and a center crosshair. If all four borders and all four corner markers are visible on the display from the standard viewing distance, overscan is fully resolved. If any border is hidden, one of the earlier settings is still active.
Creating a quick calibration check:
- Open a browser window on the connected computer
- Navigate to a plain white page and use browser developer tools (F12 → toggle device toolbar) to set a fixed viewport of your display’s native resolution
- Add a 1-pixel red border using CSS:
body { border: 10px solid red; margin: 0; } - Switch the browser to full-screen mode (F11)
- Check all four edges from standard viewing distance — the red border should be visible on all sides
This test takes less than five minutes and provides a definitive pass/fail before returning the display to its recognition content.
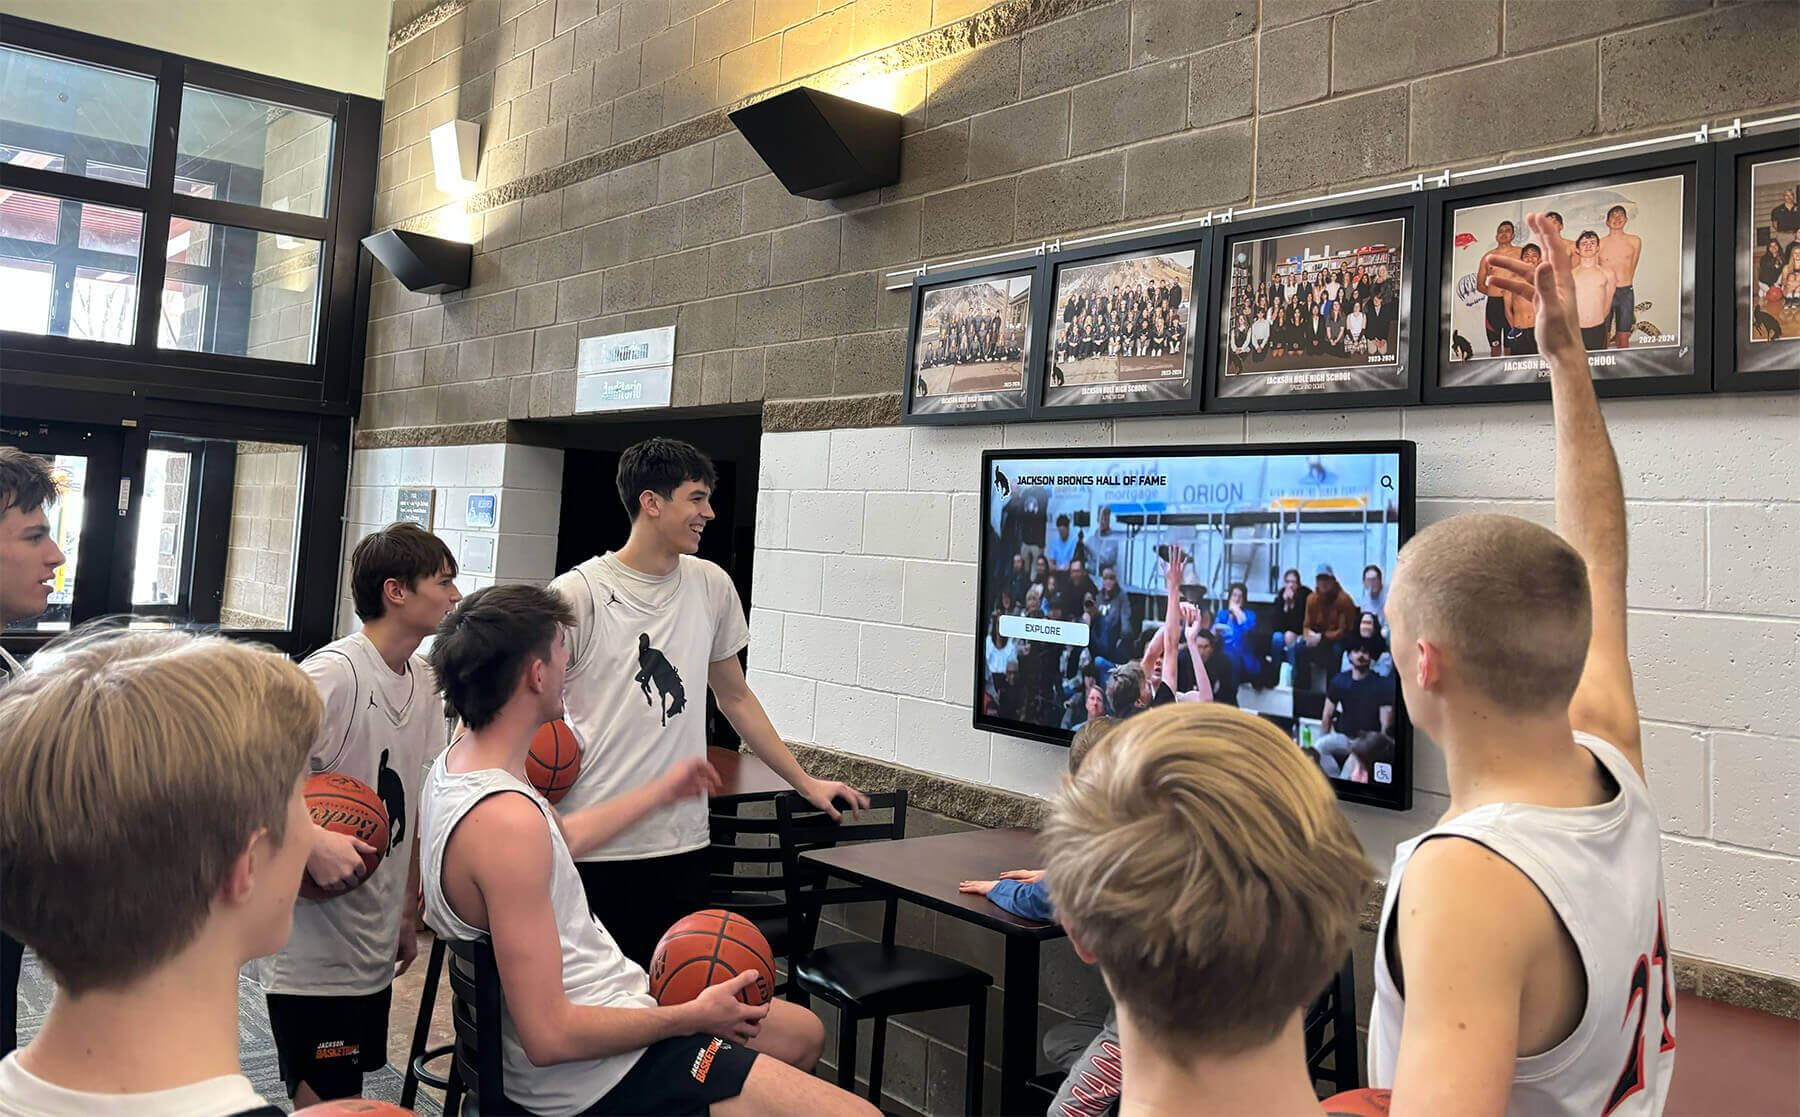
A calibration image confirms overscan is resolved before the recognition content is returned to public display
Multi-Display and Kiosk Configurations
Schools with multiple recognition displays — a common configuration in athletics hallways, donor corridors, or lobby triptychs — face an additional complication: each display may require independent settings adjustment, and the panels must match each other in brightness and color as well as avoiding overscan.
For multi-display setups:
- Complete Steps 1–7 on each panel individually before checking panel-to-panel consistency
- Use the calibration image (Step 7) displayed simultaneously across all panels using your content platform’s broadcast mode or Windows’ Extend Desktop feature
- After eliminating overscan on each panel, run a solid-color fill across all panels to check that adjacent panels match in brightness and color rendering — overscan correction changes the effective image mapping, which can affect perceived brightness at panel edges
For kiosk-mounted touchscreen displays:
Touchscreen kiosk enclosures sometimes introduce a second digital signal path — a USB or HDMI connection from the kiosk controller to the panel, separate from the main content computer’s connection. Confirm which connection path carries the recognition content before adjusting driver settings, as changing settings on the wrong output will have no effect. Facilities teams evaluating senior night and recognition display setups that include kiosk components should confirm the signal path with the kiosk manufacturer during installation planning.
What If Overscan Persists After All Steps?
If the display still shows clipping after completing all seven steps, three less common causes remain:
Display firmware bug. Some commercial panel firmware versions apply overscan regardless of picture size settings through a software defect that was later patched. Check the display manufacturer’s support site for firmware updates for your specific model number. Applying a firmware update typically requires downloading a file to a USB drive and following the display’s on-screen firmware update procedure.
EDID handshake failure. The Extended Display Identification Data (EDID) protocol allows the computer to query the display for its native resolution and capabilities. If this handshake fails — which can happen with some adapters, long cable runs, or certain KVM switches — the computer defaults to a conservative signal that the display may interpret with overscan applied. An EDID emulator or “EDID ghost” adapter placed between the computer and display can resolve this by providing a consistent capability signal regardless of cable path.
Content platform rendering issue. A small number of recognition platforms render content using a viewport that includes a built-in safe-area margin that cannot be adjusted through settings — a design assumption inherited from broadcast video production. If your content platform’s vendor acknowledges this, request a software update or work with them to adjust the content template’s margin values.
Schools comparing managed recognition platforms note that this category of setup issue differs substantially between commodity installations and purpose-built recognition solutions. Rocket Alumni Solutions, for example, designs their display software with PC-mode rendering in mind from the outset — their content canvas is configured to match the display’s native resolution without a separate safe-area buffer, and their installation teams configure the display input label and driver settings during commissioning rather than leaving those steps to school IT staff. For schools evaluating the total cost of support over a multi-year recognition program, understanding which configuration steps the vendor owns versus which fall to internal staff is a relevant factor in platform selection. The academic letter award recognition practices referenced at AwardsDisplay illustrate how recognition programs with clear ownership structures — for both content and technical configuration — sustain consistency over time.
Frequently Asked Questions
Why does overscan only appear on our recognition display and not on other monitors in the school?
The most common reason is that the recognition display is connected via HDMI and is detected by both the display firmware and the graphics driver as a television rather than a monitor. Computer monitors connected via DisplayPort or DVI are almost never subjected to automatic overscan processing. If other school displays connect differently from the recognition screen, they are operating under different signal-path assumptions.
Our display was working correctly last month and now shows overscan. What changed?
Overscan settings can revert after a display firmware update, a graphics driver update on the connected computer, or a power outage that resets display settings to factory defaults. A Windows update occasionally resets display scaling to a non-100% value as well. Work through Steps 1–3 — checking the display picture setting, input label, and graphics driver — to find which layer reverted. After correcting it, photograph the settings menus as documentation so future resets can be resolved quickly.
Can overscan affect the touchscreen accuracy on an interactive recognition display?
Yes. On a touchscreen recognition display where the image is zoomed in by overscan, the relationship between touch input coordinates and displayed content coordinates becomes misaligned — a tap on a displayed name will register as a touch at a slightly different position than the content renders. This is a secondary effect of the same misconfiguration and resolves when the overscan is corrected. If touch accuracy remains off after fixing overscan, recalibrate the touch layer through the operating system’s touch calibration utility.
Does switching from HDMI to DisplayPort always fix overscan?
For most setups, yes — DisplayPort does not carry the “TV vs. PC” signal distinction that triggers automatic overscan on HDMI inputs, so the display defaults to pixel-accurate rendering. However, if your display does not have a DisplayPort input or if the computer lacks a DisplayPort output, Step 1 (adjusting the display’s picture size setting) is the practical equivalent and works for the large majority of school recognition display configurations.
How do we prevent overscan from recurring after a reboot or power outage?
After correcting the display settings, confirm that the picture size mode (Step 1) is saved by power-cycling the display with the remote and then checking the setting again. Some displays require accessing a service menu or toggling a “Hotel Mode” or “Auto Setting” option to lock the picture size setting permanently. For the graphics driver setting (Step 3), save a custom display profile in NVIDIA Control Panel or AMD Radeon Settings so the overscan correction persists across driver updates. Document the saved settings in your display’s maintenance record alongside the installation notes.
Does overscan affect how the display appears in photographs used for recognition archives?
Yes. If your school photographs the recognition display for yearbooks, event programs, or historical archives, overscan will cause the photographed content to appear cropped relative to what a print-based recognition system would show. Proper metadata and rights management for school archives includes documenting the display configuration at the time photographs were taken — a detail that becomes relevant when archive images are referenced years later. Resolving overscan before photographing display content ensures the captured image accurately represents the full recognition record.
Our recognition display is managed remotely. Can we troubleshoot overscan without physical access to the display?
Steps 3–5 (graphics driver, Windows settings, and content software canvas) can all be completed remotely through a remote desktop session to the connected computer. Steps 1 and 2 (display on-screen menu settings) require physical access to the remote control or local panel buttons. If remote access to the display menu is required, some commercial display brands offer web-based management interfaces or RS-232 control that allow picture settings adjustment without physical access — check your display’s technical specification sheet for remote management capabilities.
Overscan on a school recognition display is a correctable configuration issue in almost every case. The fix takes less than 30 minutes when the troubleshooting steps are followed in order: adjust the display’s picture size mode first, relabel the input as PC if needed, check the graphics driver for any applied offset, confirm Windows scaling and resolution are correct, and verify the content software canvas matches the native display resolution. Documenting the correct settings after resolution prevents the same issue from reappearing after the next power cycle or driver update.
Looking for a recognition display platform that arrives configured correctly from day one? Rocket Alumni Solutions handles display commissioning — including input labeling, driver configuration, and canvas setup — as part of their managed installation process, so your hall of fame, donor wall, or athletic record board is ready to display without an overscan troubleshooting session. Request a demo to see how their end-to-end approach compares to self-managed display setups.