Intent: demonstrate — this recognition display mura effect test guide walks school administrators, athletic directors, archives staff, facilities teams, and recognition-program owners through identifying cloudy patches, brightness variation, and color nonuniformity on a hall-of-fame, donor wall, or athletic record board touchscreen before it goes live in front of students, families, and community members.
Mura is the Japanese word for unevenness. In display technology, a mura defect is any visible region of the panel surface that differs in brightness, color, or both from the surrounding area in a way that is not present in the source content. The defect originates in the panel manufacturing process — pressure variation during glass lamination, uneven backlight distribution, or minor inconsistencies in the liquid-crystal layer — and becomes most apparent when the display renders a solid, uniform field: a gray background, a navy championship banner, or a white athlete portrait card. Running a structured mura test before acceptance is the step that catches these defects while the installation team is still on site.
The quick answer: a recognition display mura effect test displays a sequence of solid fields — 50% gray, 100% white, 100% black, and each of the school’s primary brand colors — then evaluates the panel for luminance and color uniformity across the entire surface from visitor viewing distance. Any visible patch, ring, or band that does not exist in the source field is a mura defect. The size, contrast, and location of the defect determine whether the panel passes, receives a conditional acceptance, or should be rejected before the recognition program launches.
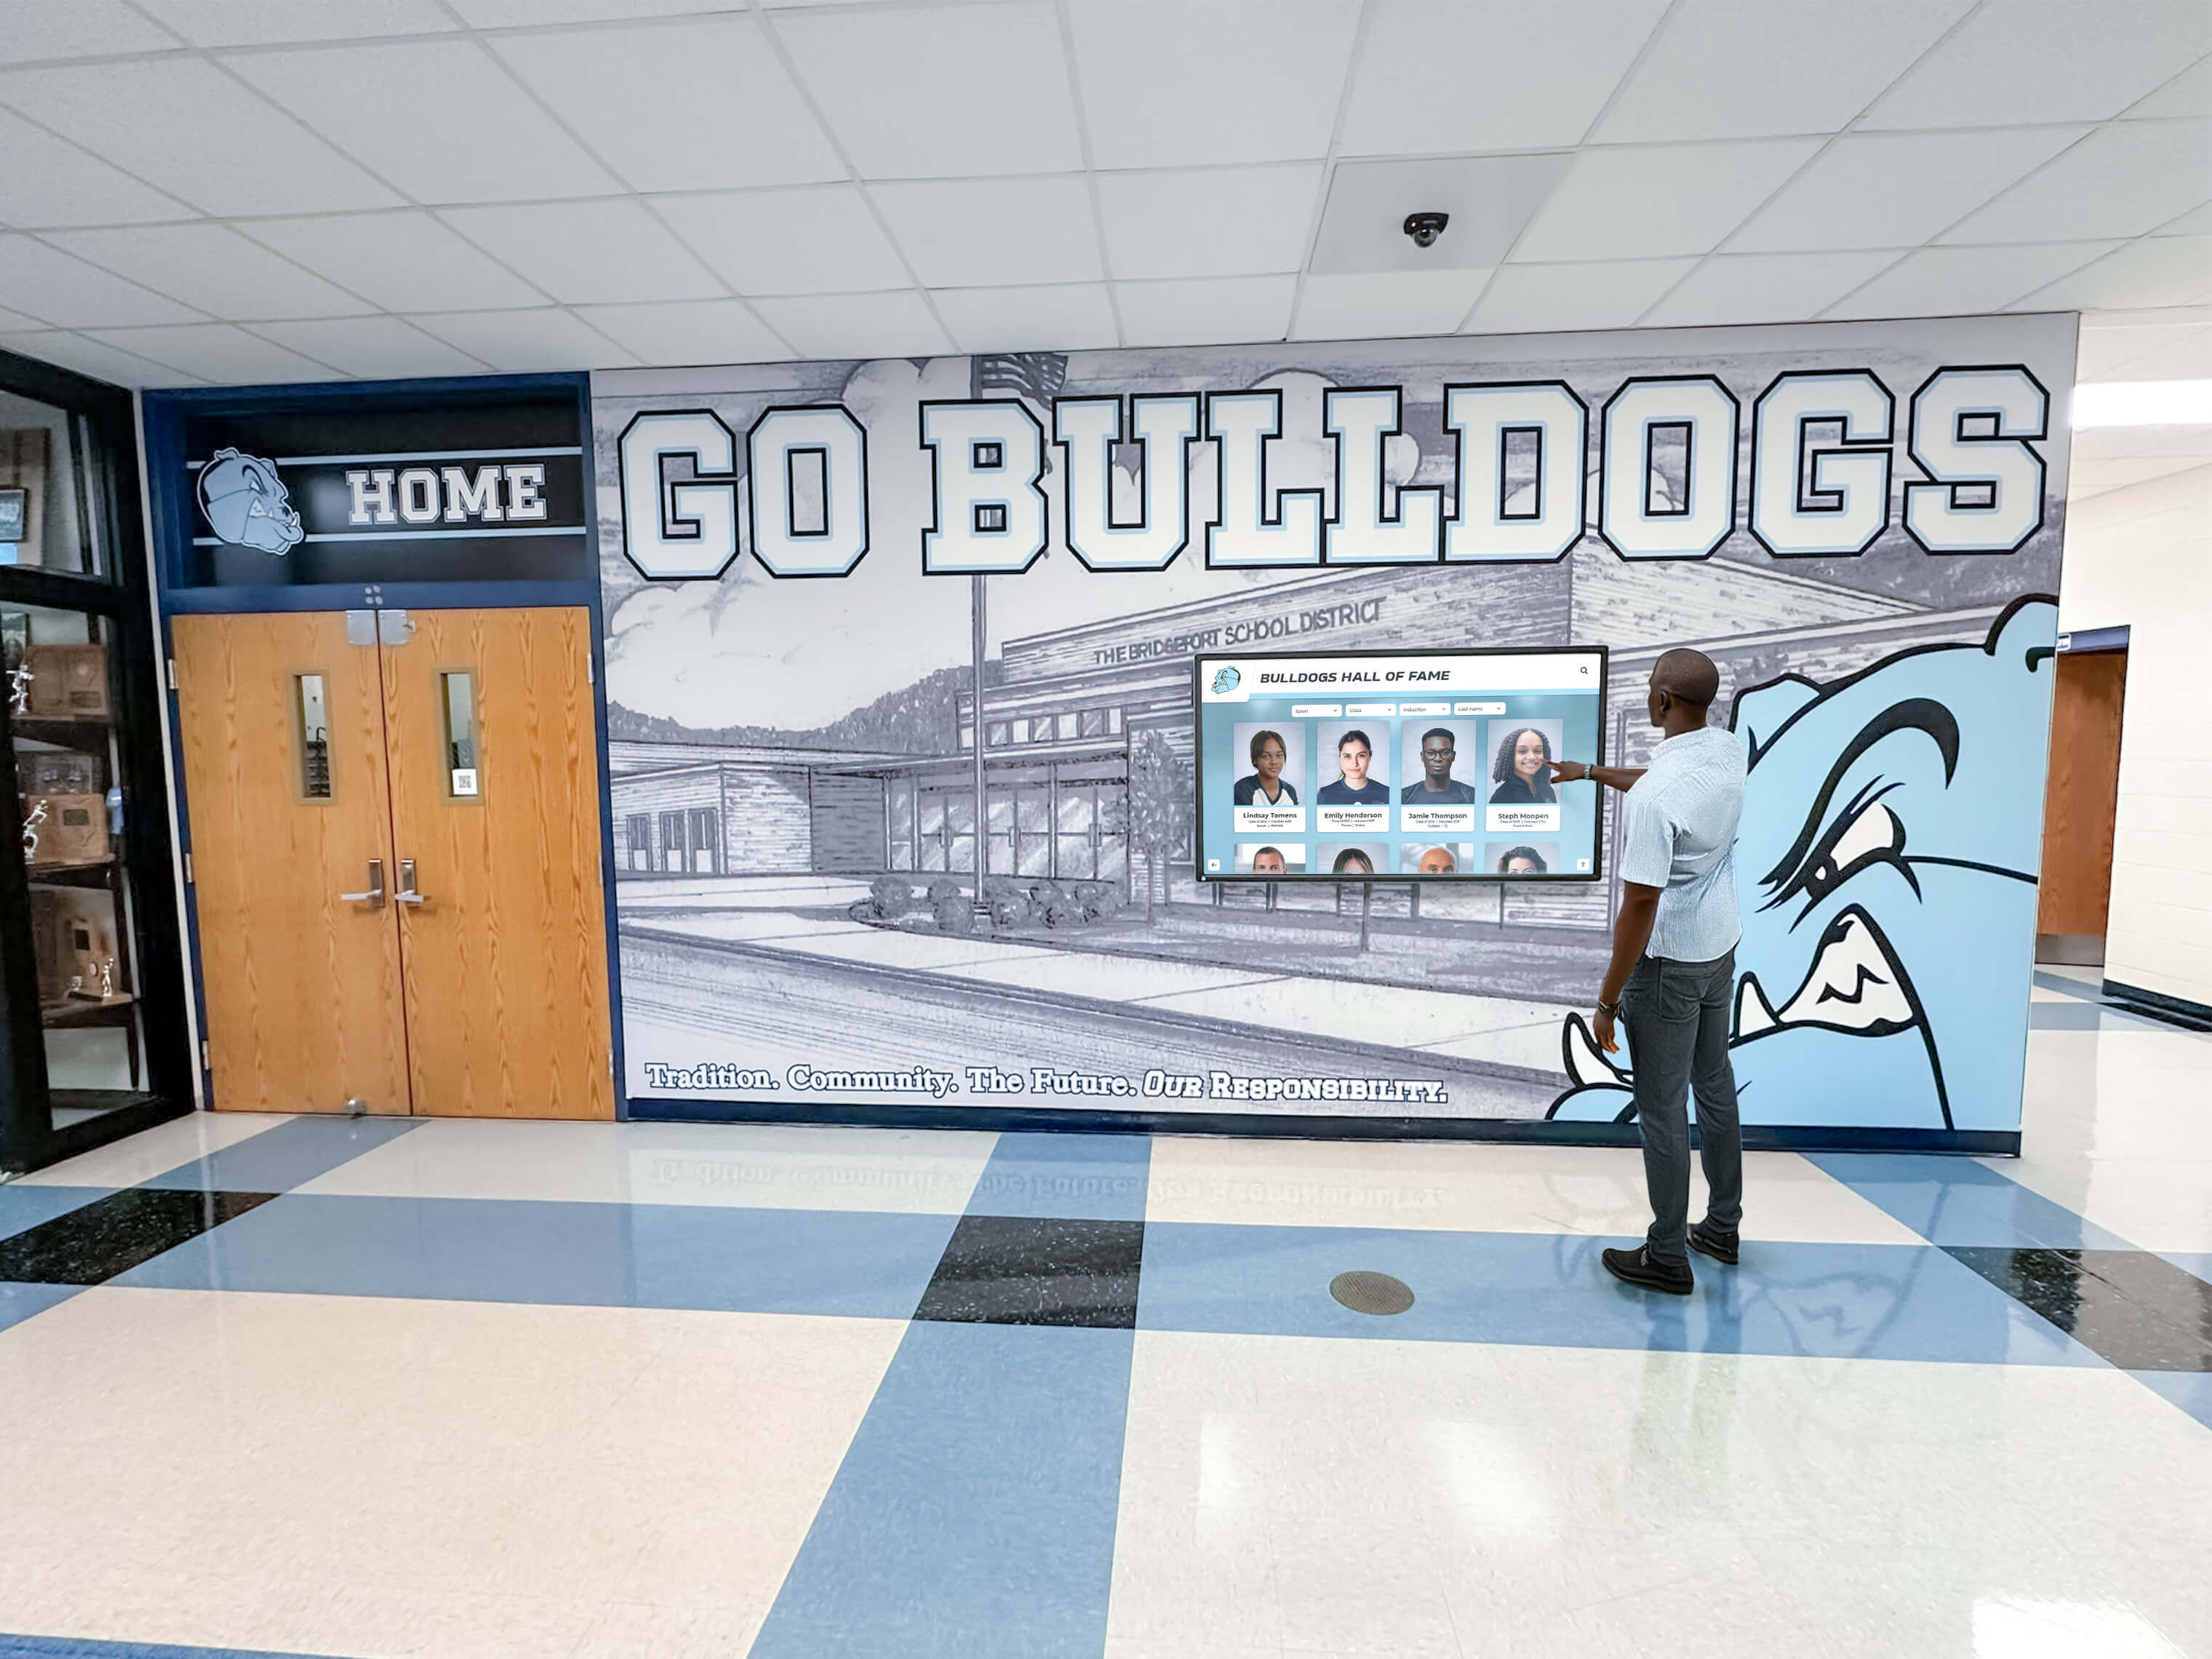
Mura defects are invisible in complex, multi-element content but immediately visible in the solid-color backgrounds and uniform gray fields common to school recognition graphics — making pre-launch testing on solid fields essential before the program goes live
What Is the Mura Effect on a Recognition Display?
Mura describes any localized nonuniformity in a flat-panel display’s luminance or chrominance output when the panel is driven with a spatially uniform input signal. On a display showing a solid 50% gray field sourced from a media player or laptop, every pixel is receiving the same instruction: render this gray value. A panel without mura produces a smooth, uniform surface. A panel with mura produces one or more regions that appear lighter, darker, or differently tinted than the rest — even though the input signal is identical across every pixel.
Three forms of mura are relevant to school recognition display commissioning:
Luminance mura (also called bright mura or dark mura): a region of the panel that is measurably brighter or darker than the surrounding surface. From visitor distance, luminance mura appears as a cloudy patch, a bright spot, or a subtle ring. Mild luminance mura is easier to see on mid-tone gray fields than on very bright or very dark content, which is why a 50% gray test field is the standard starting point.
Chrominance mura (color mura): a region with a visible tint shift relative to the rest of the panel. A warm patch in an otherwise neutral gray, a cool-tinted ring in the upper-left quadrant, or a slightly greenish area in the center are all forms of chrominance mura. Color mura becomes particularly damaging on school recognition displays because solid brand-color fields — the navy or cardinal backgrounds behind athlete portrait cards, the gold horizontal bands on championship graphics — expose even subtle hue shifts that would be masked by complex imagery.
Texture mura (micro-mura or small-area mura): fine-grain cloudiness across a larger area of the panel, resembling a subtle smoky texture on what should be a smooth surface. Texture mura is typically visible only on close inspection rather than from visitor distance, but on a lobby display positioned near a reception desk or trophy alcove, close inspection distances are common.
Mura Defect Type Reference Table
The table below maps each mura type to its visible appearance, the test field that reveals it most clearly, the most common physical cause, and the first corrective action to try.
| Mura Type | Visible Appearance | Best Test Field | Common Cause | First Corrective Action |
|---|---|---|---|---|
| Luminance mura (bright) | Lighter patch or ring against uniform gray or dark background | 50% gray full-screen field | Uneven backlight pressure; localized backlight LED hot spot | Allow 20-minute warm-up; check bezel pressure; escalate to vendor if persistent |
| Luminance mura (dark) | Darker patch or shadow against uniform gray or white background | 100% white full-screen field | Localized backlight deficiency; LCD cell pressure variation | Check bezel mounting pressure at all four corners; update panel firmware |
| Chrominance mura | Visible tint shift in one region — warm, cool, green, or magenta cast | Neutral 50% gray field; solid school brand-color field | Uneven color filter deposition; backlight spectral variation across panel width | Contact display vendor with documented test results; request panel replacement if visible from visitor distance |
| Texture mura | Fine-grain cloudiness resembling a smoky or gauze texture on a smooth field | 50% gray at close inspection distance (under 2 feet) | LCD alignment layer nonuniformity; polarizer adhesion variation | Accept if visible only under close inspection; reject if visible from standard visitor distance |
| Pressure mura | Irregular blotch or fingerprint-shaped bright area that shifts slightly over time | Any uniform solid field; most visible on 50% gray | Physical pressure on panel glass — from mounting frame, transit stress, or improper handling | Inspect and relieve bezel mounting pressure; allow 30 minutes for panel to recover; re-test |
The Recognition Display Mura Effect Test: Step-by-Step Procedure
The following procedure is designed for school IT coordinators, facilities staff, and AV installation technicians who need to run a reliable mura assessment without specialized photometric instruments. The only requirements are a full-screen solid-field image sequence, a connected signal source, and adequate viewing distance.
What You Need
- A laptop or media player capable of delivering the recognition display’s native resolution (typically 1920×1080 or 3840×2160) via HDMI or DisplayPort.
- A set of full-screen solid-field test images: 50% gray (RGB 128, 128, 128), 100% white (RGB 255, 255, 255), 100% black (RGB 0, 0, 0), and solid patches for each of the school’s primary brand colors in their exact sRGB values. Free browser-based test pattern tools and downloadable flat-field image packs can provide these fields without specialized software.
- A printed or digital inspection form with panel zones pre-labeled (see the zone map in the acceptance table below).
- Two staff members: one operating the signal source, one observing and recording.
- A controlled ambient light environment: dim or turn off overhead lighting for the initial assessment, then re-run the gray field test under normal corridor or lobby lighting conditions.
Step-by-Step Procedure
Step 1 — Warm up the display. Power on the display and allow a minimum of 20 minutes before beginning any mura assessment. LCD panel uniformity changes during the first 15–20 minutes of operation as the backlight reaches thermal equilibrium. Mura observations taken before stabilization may not reflect steady-state panel behavior.
Step 2 — Display the 50% gray field at native resolution. Connect the signal source and output the 50% gray field at the display’s native panel resolution with pixel-mapped scaling (no overscan). Confirm the field fills the full panel with no black borders. The gray field is the primary mura detection field because mid-tone gray amplifies both luminance and chrominance nonuniformity more than either white or black fields.
Step 3 — Observe from visitor distance in dim ambient light. Stand at the standard visitor viewing distance for this installation — typically 6 to 10 feet for a hallway corridor display, 4 to 6 feet for a lobby kiosk. With room lighting reduced, observe the gray field for any visible patches, rings, bands, or gradients. Scan systematically across the panel in a Z-pattern: top-left to top-right, then diagonally to lower-left, then lower-left to lower-right. Mark any observed nonuniformities on the inspection form by location and description.
Step 4 — Switch to the 100% white field. A solid white field at full brightness reveals dark mura — shadowed patches or rings that are harder to see on the gray field because the overall brightness is lower. Record any observations.
Step 5 — Switch to the 100% black field. The black field reveals backlight bleed at the panel edges, backlight hot spots that glow through the LCD layer in dark content, and pressure mura from transit or mounting. Record location and extent of any glow, bleed, or blotch.
Step 6 — Switch to each school brand-color field. Display a full-screen solid field for each of the school’s primary brand colors. Athletic recognition content — championship banner backgrounds, jersey number overlays, donor name panels — commonly uses saturated school colors. Chrominance mura is often more visible on saturated color fields than on neutral gray because the human eye is more sensitive to hue variation in high-chroma areas than in neutral ones. Note any regions where the school’s navy appears to shift toward purple, gold shifts toward orange, or cardinal shifts toward a lighter red.
Step 7 — Repeat the gray field test under normal ambient lighting. Restore room lighting to its typical operational level and repeat Step 3. Some luminance mura that is visible in low light becomes imperceptible under normal ambient illumination; conversely, some surface reflection patterns that appeared as mura in dim light resolve correctly under normal light. The ambient-light retest provides the practical acceptance-level result for a display operating in its actual installed conditions.
Step 8 — Document all findings before the installation team leaves. Record mura type, location (using the zone map from the acceptance table), severity, and the test field under which it was observed. A display with undocumented mura findings that later becomes a visitor complaint is a far more difficult support case than one with a clear pre-acceptance record.
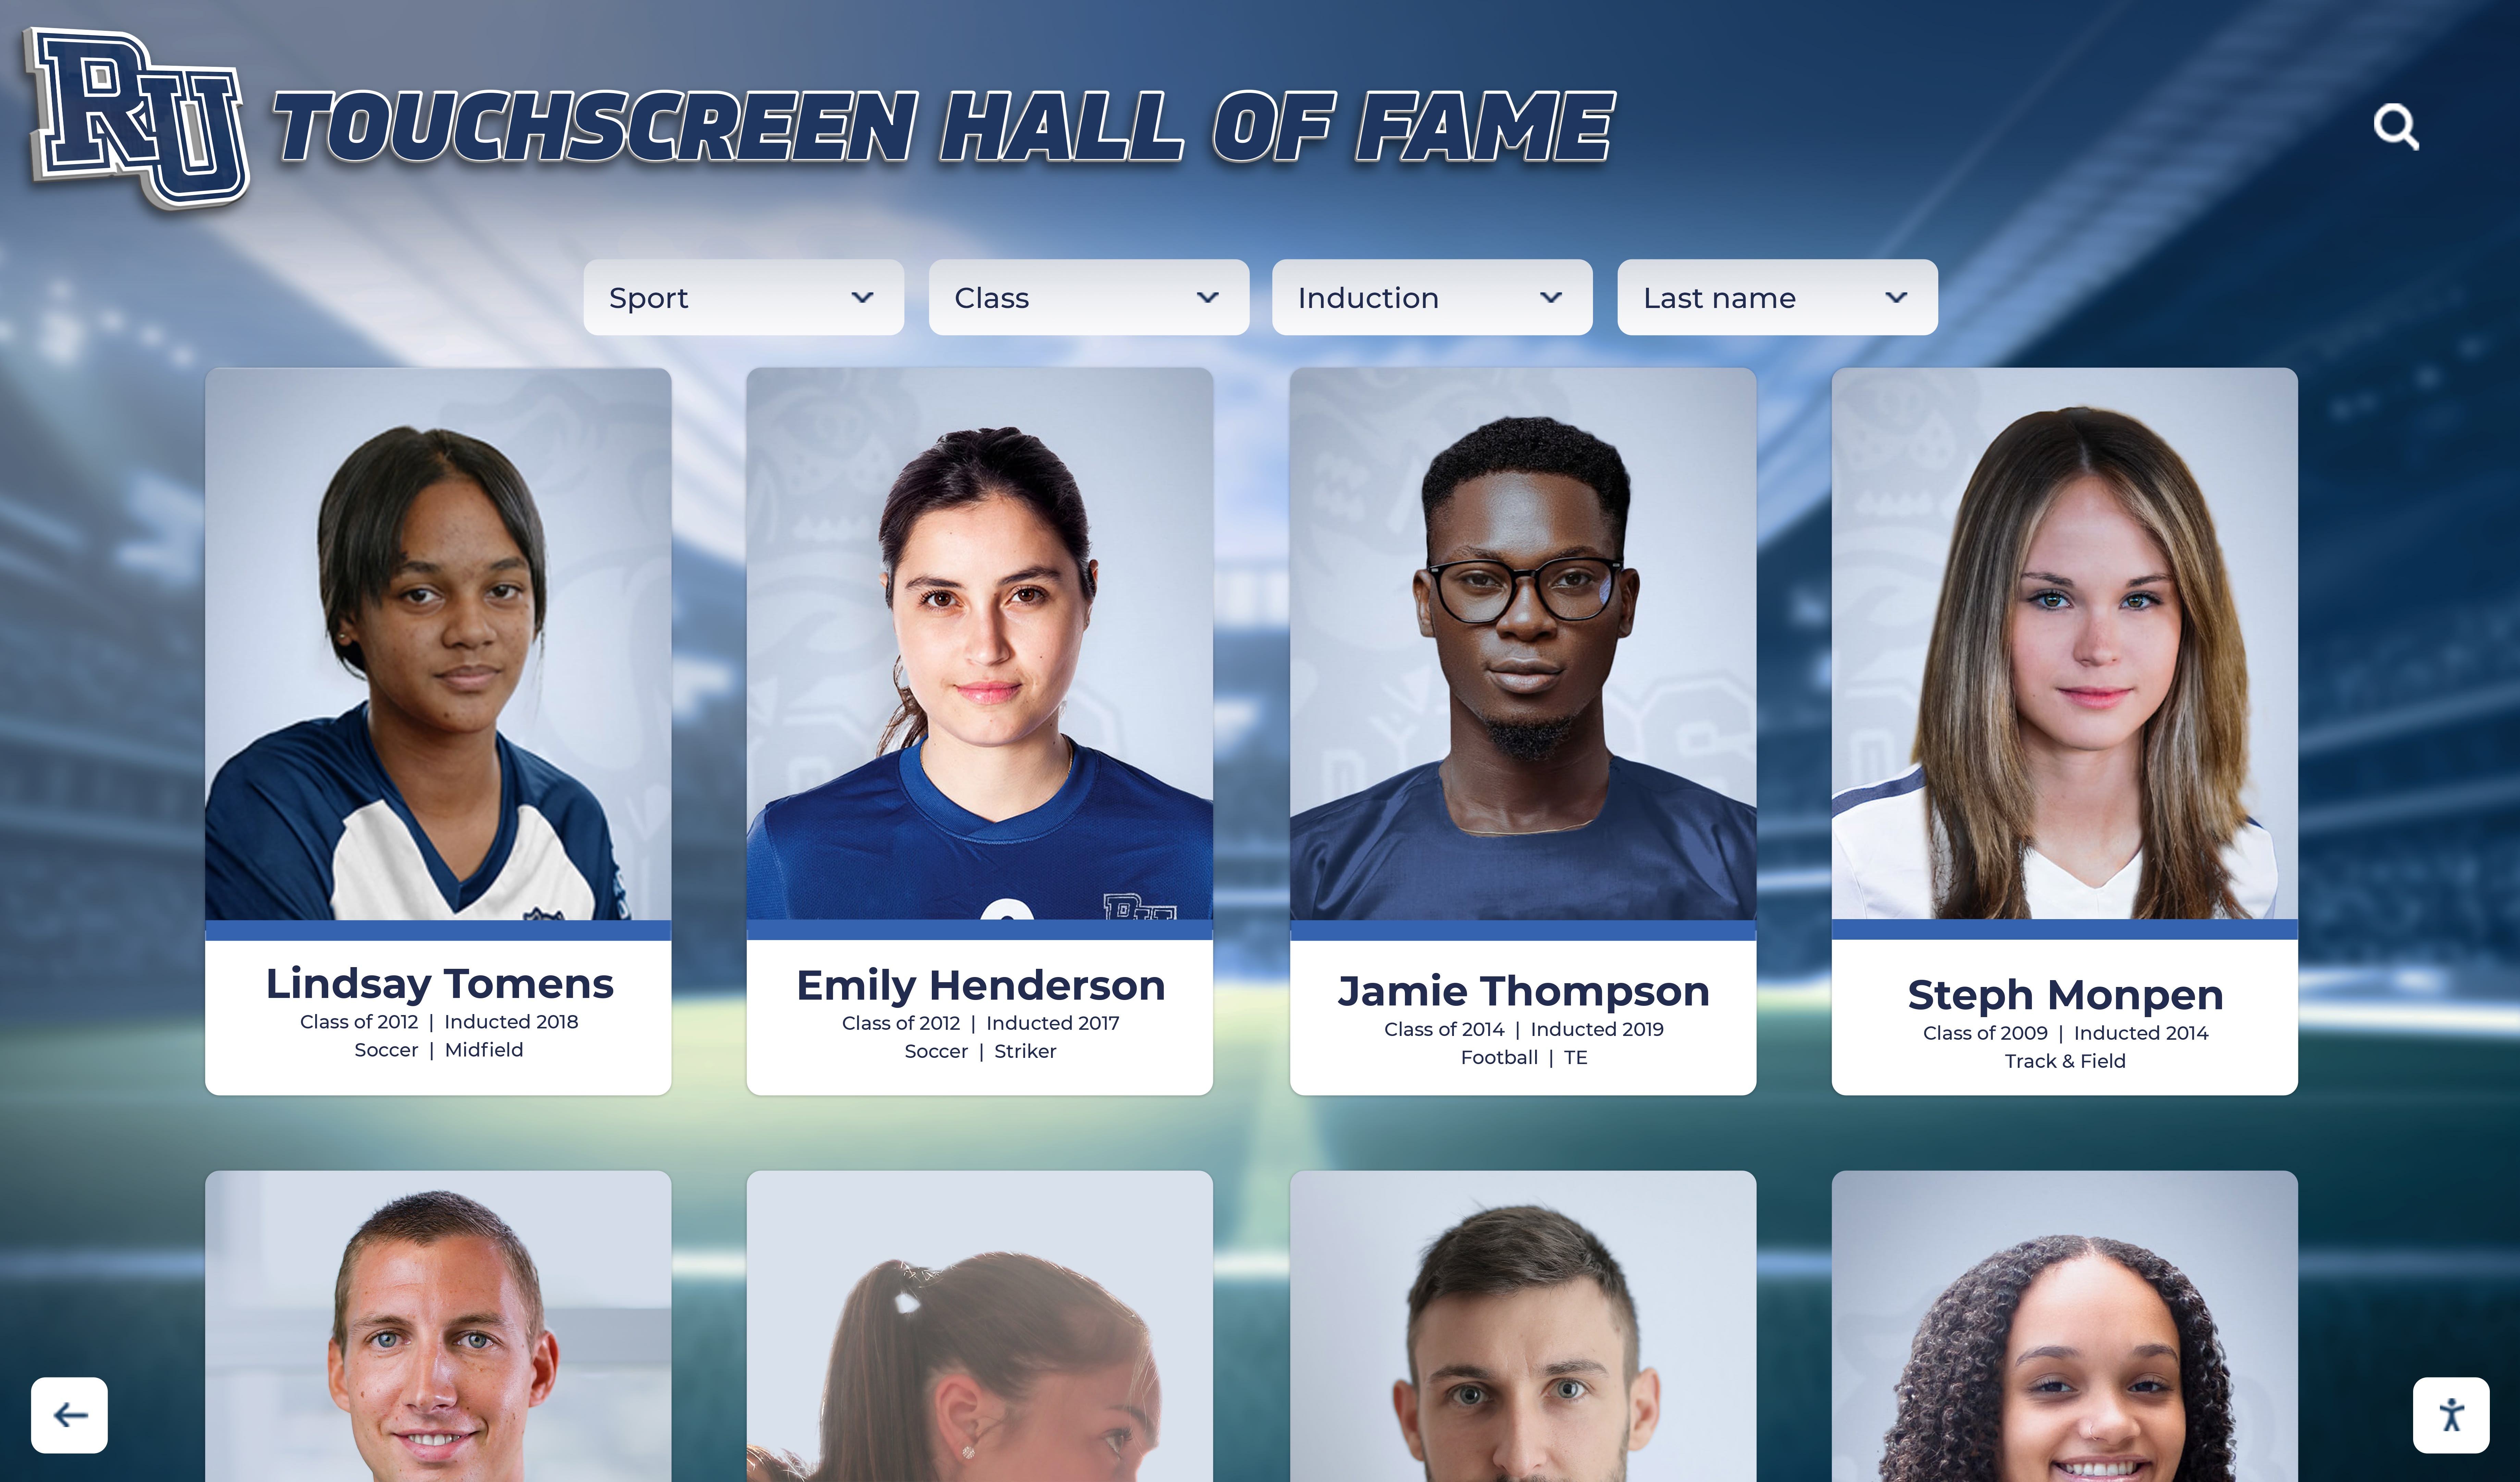
Solid color backgrounds behind athlete portrait cards are among the most effective real-world mura revealer in recognition program content — a cloudy patch that is invisible in complex imagery becomes immediately apparent against a uniform navy or gray field
Mura Acceptance Table: Pass, Conditional, and Reject Criteria
The following acceptance criteria apply to school recognition display commissioning where non-technical visitors — students, parents, alumni, community members — are the primary audience. These criteria reflect practical thresholds appropriate for public-facing recognition installations where visual quality represents the institution.
| Mura Characteristic | Pass (Acceptable) | Conditional Accept | Reject (Do Not Accept) |
|---|---|---|---|
| Luminance mura — size | Not visible from visitor distance; visible only under 12-inch close inspection | Visible from close inspection but not from standard visitor distance (6–10 ft) | Clearly visible from standard visitor distance on the gray or white field |
| Luminance mura — contrast | Patch luminance within ±10% of surrounding area | Patch luminance within ±15% of surrounding area | Patch luminance differs by more than ±15% from surrounding area |
| Chrominance mura | No visible tint shift on neutral gray or brand-color fields from visitor distance | Subtle tint shift visible only under close inspection and in dim ambient light | Visible tint shift on neutral gray or school brand-color field from visitor distance |
| Texture mura | Not visible from visitor distance | Fine cloudiness visible only at distances under 18 inches | Texture visible as distinct surface irregularity from visitor distance |
| Pressure mura | Not present after 30-minute warm-up and bezel pressure check | Faint blotch visible only in dim ambient light; not present after bezel relieve and recovery | Blotch visible under normal ambient light; persists after bezel pressure relief and recovery |
| Backlight bleed (black field) | Faint corner glow visible only in dark ambient from close distance | Corner glow visible from standard viewing distance in dark ambient; not visible under normal light | Clearly visible corner or edge glow from visitor distance under normal ambient light |
Conditional accept guidance: A conditional acceptance applies only when the affected panel area does not overlap with the region of the screen where recognition content positions solid-color elements. Before accepting conditionally, load the recognition software’s actual content layout and verify that solid brand-color backgrounds — portrait card fields, championship banner backgrounds, donor name panels — do not fall within the mura-affected region. If the layout positions solid-color content in the affected zone, the conditional acceptance criteria do not apply.
Interpreting Results and Responding to Mura Findings
Pressure Mura — Check Bezel Mounting First
Pressure mura — the blotch or fingerprint-shaped bright irregularity that appears on uniform fields — is the most frequently correctable mura type in the field. Physical pressure on the LCD glass from an overtightened mounting frame, an improperly seated bezel, or transit-related compression distorts the liquid crystal layer and produces a visible nonuniformity on the screen.
The first corrective step is mechanical: inspect the mounting frame and bezel at all four edges and all four corners. If the frame is pressing against the glass unevenly, loosen and re-seat it with uniform, light contact. After reseating, allow 20–30 minutes for the LCD layer to recover, then re-run the 50% gray field test. Pressure mura that is caused by mounting typically diminishes significantly after the pressure source is removed and the panel has time to recover.
If pressure mura persists after mounting correction and a 30-minute recovery period, it may indicate transit damage that stressed the LCD layer beyond its elastic recovery range. Document the finding with the test field and field photographs, and escalate to the display vendor with that documentation.
Backlight Nonuniformity — Luminance Mura
Luminance mura that persists after a full warm-up period and cannot be attributed to bezel pressure typically originates in the backlight assembly. Local-dimming LED arrays, edge-lit backlight designs, and direct-lit panel configurations all have characteristic luminance profiles that vary from unit to unit. A unit that falls outside the manufacturer’s uniformity specification produces visible mura.
The diagnostic step is a firmware check: verify that the display is running the current panel firmware and that the local dimming configuration (if applicable) is set to an appropriate mode for recognition content — typically a static or low-aggressiveness local dimming setting. Dynamic local dimming modes that respond to content changes in real time can produce visible brightness pulsing on recognition interfaces where solid-color elements dominate the screen for extended periods.
If firmware and local dimming settings do not resolve luminance mura that is visible from visitor distance, the finding should be documented with the specific zone location and gray-field contrast estimate, and escalated to the display vendor before the recognition program signs acceptance.
Chrominance Mura — Color Tint Shift
Color mura visible on school brand-color fields is among the most damaging mura types for recognition programs because the community members who visit the display are often deeply familiar with the school’s specific shade of navy, cardinal, or gold. A tint shift that moves the school’s official color by enough to be noticeable is a visual quality failure that reflects on the recognition program rather than on the display technology.
Digital recognition program resources that emphasize institutional accuracy in presenting athletic history and donor recognition make the same argument for color accuracy: the school’s legacy is being communicated through this display, and the display’s color rendering is part of that communication.
Chrominance mura that appears only in dim ambient light and not under normal installation lighting may fall within the conditional accept range, depending on the installation environment. A trophy alcove display that normally operates under bright accent lighting is less sensitive to chrominance mura than a lobby display that may be viewed from a reception area under varying conditions throughout the day.
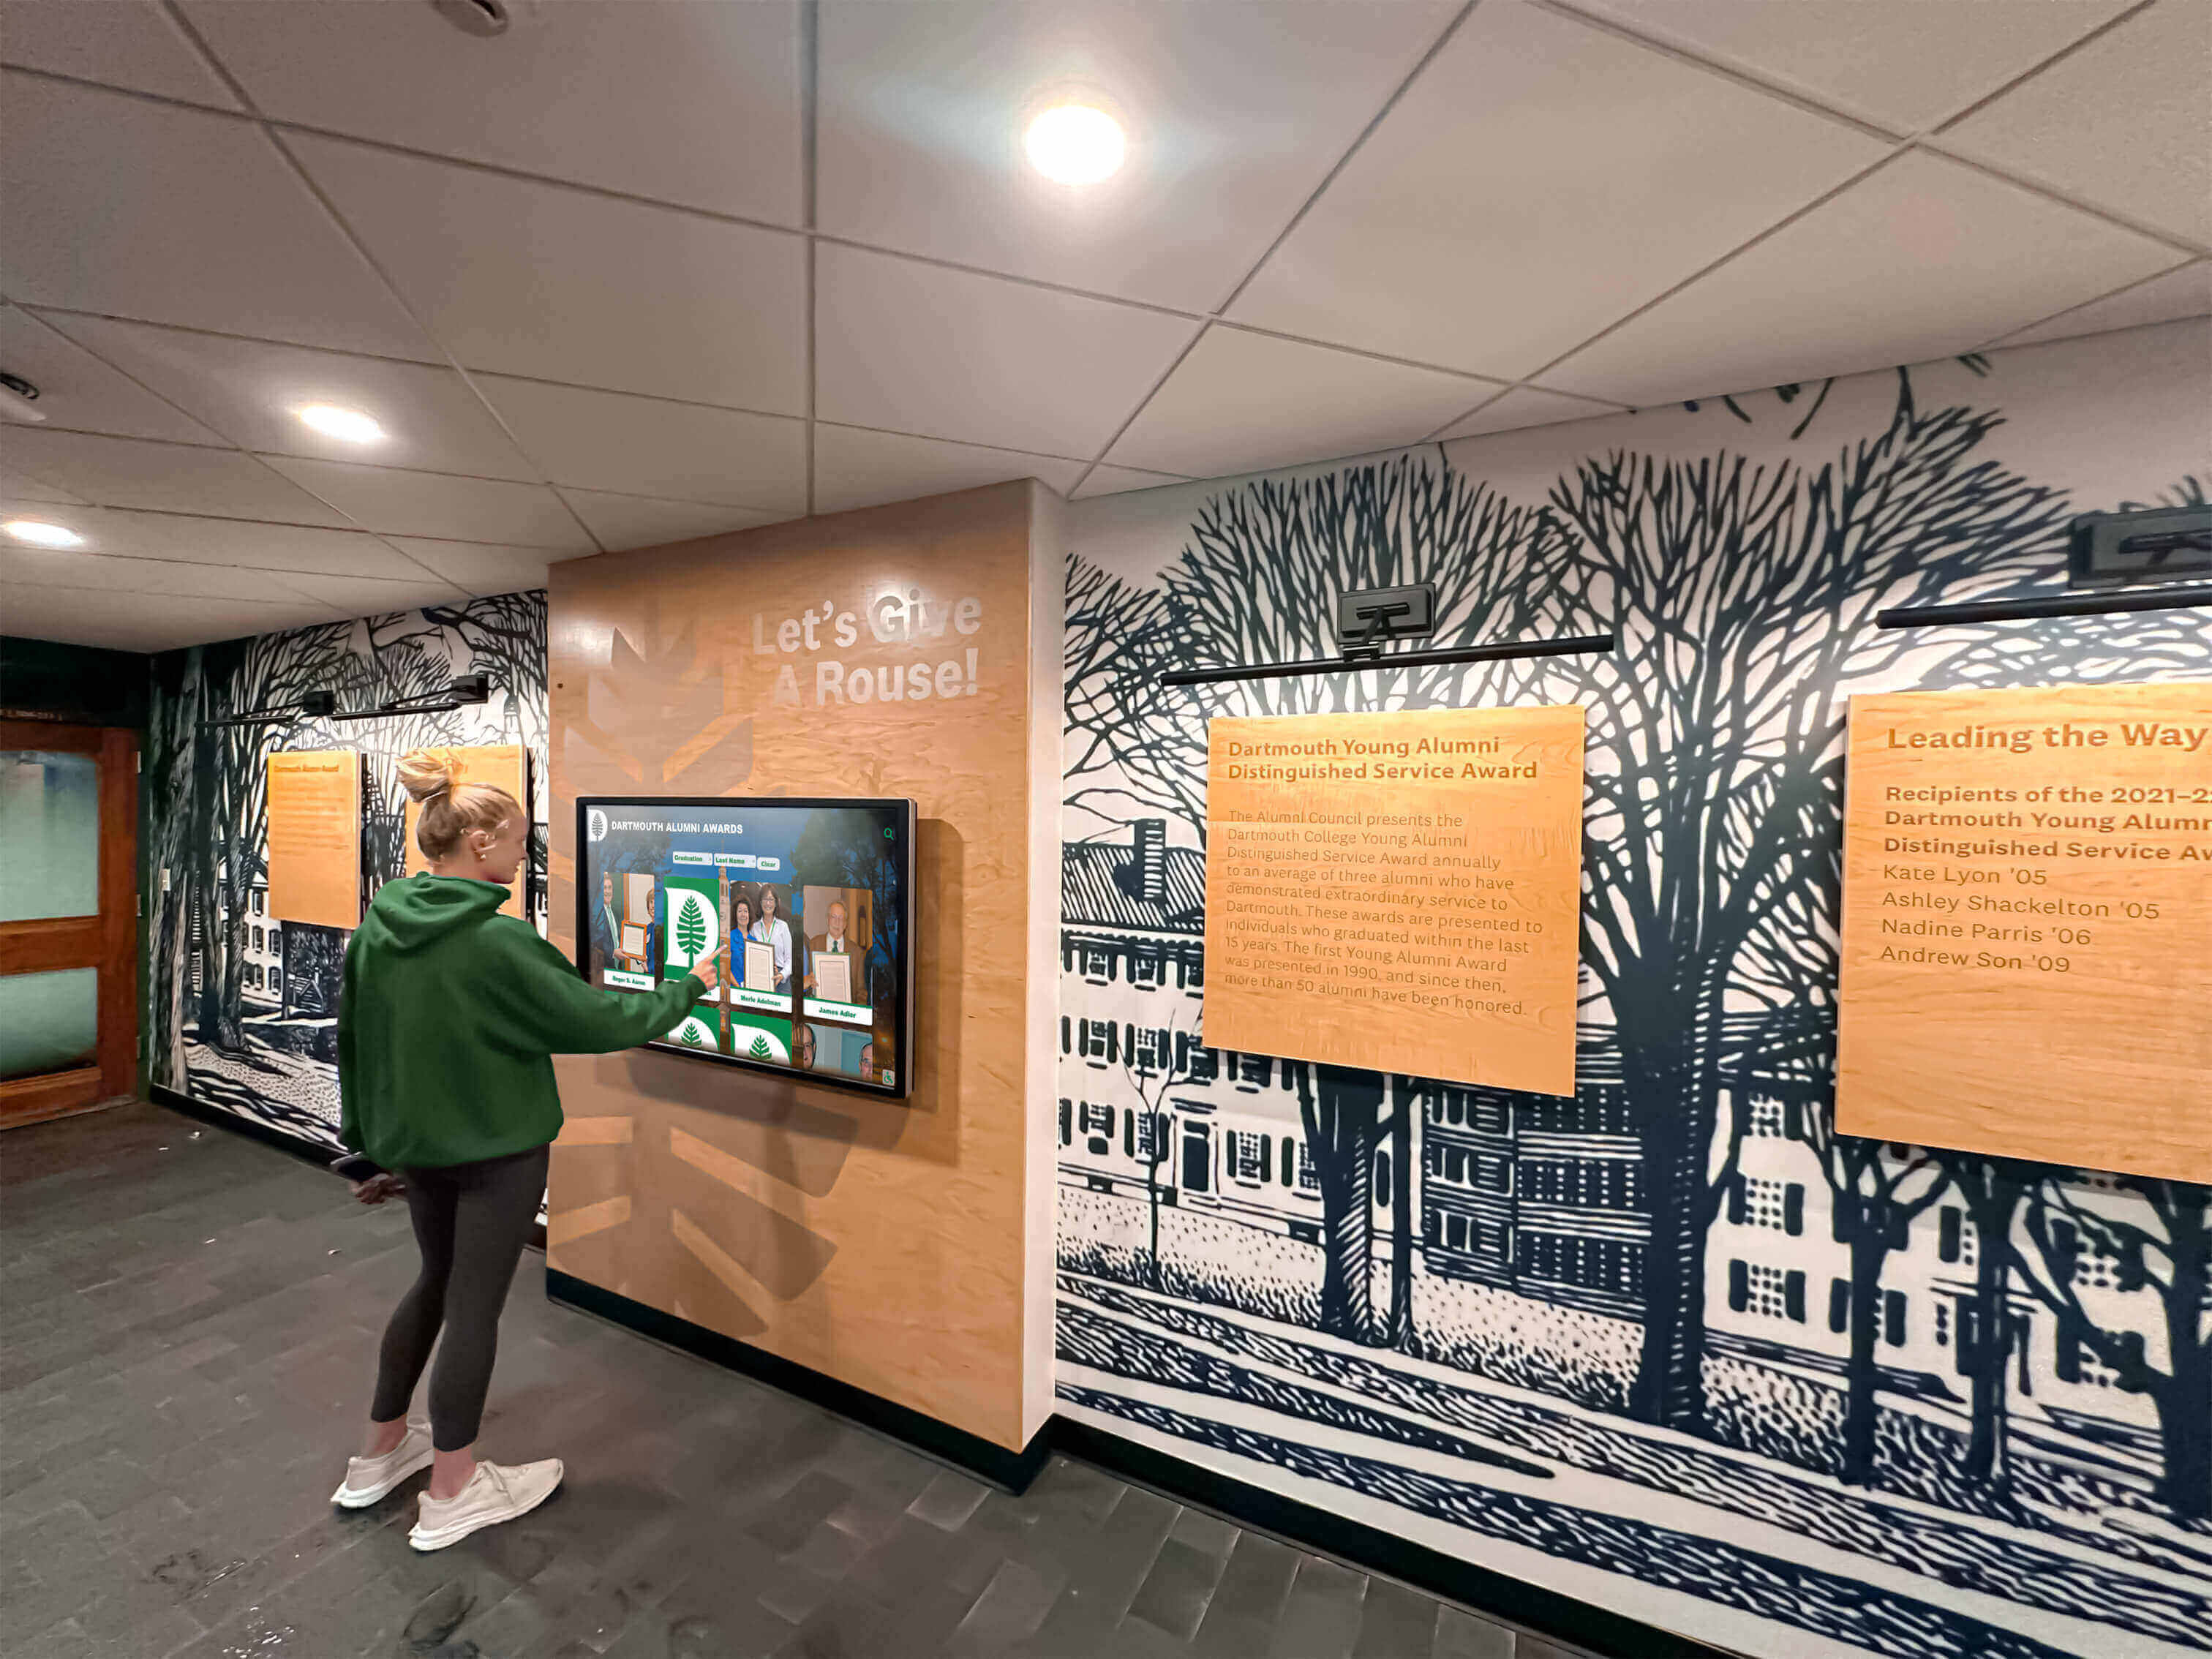
The community members who visit school recognition displays — students, alumni, and parents — are often the most accurate judges of whether the school's brand colors appear correct on the display, making brand-color field testing a meaningful acceptance criterion, not just a technical one
Why School Photos and Graphics Reveal Mura Most Clearly
Standard photographic content — a crowd scene, a field-level game action shot, a campus panorama — contains enough spatial variation in luminance and color that moderate mura defects are masked by the content complexity. Mura becomes visible when the display renders content with large areas of uniform tone or color, because those uniform areas provide no masking texture against which the panel nonuniformity can hide.
School recognition display content is unusually mura-revealing for this reason. The content categories that most commonly expose mura defects on recognition touchscreens include:
Solid-color portrait card backgrounds. Most athletic hall-of-fame and record board interfaces use solid school-color fields behind athlete portrait photos — the standard card design places a portrait against a uniform navy, cardinal, forest green, or gold background. Any mura in the background area of the panel is immediately visible because the background occupies a substantial portion of the card and contains no detail that could mask the defect.
Championship banner graphics. Digital championship banners — a horizontal stripe across the top of a display announcing a conference or state title — use solid school colors extended across the full panel width. A brightness variation that measures only 8–10% contrast is easily visible across a full-width solid stripe at corridor viewing distance.
Uniform class photo backgrounds. Archives and yearbook content increasingly includes digitized class photos with uniform studio backgrounds — solid gray or white fields that expose any mura in the center and off-center panel zones.
Donor name panels and roster lists. Donor walls and athlete roster interfaces commonly use light-gray or white background fields that display names as text over a uniform surface. Luminance mura in these fields produces a cloudy or uneven appearance that community members often describe as “the screen looks dirty” — a description that reflects on the recognition program regardless of its cause.
Donor wall recognition programs that present giving histories and honoree acknowledgments in text-over-solid-background formats are particularly mura-sensitive because the uniform backgrounds that make the text readable are the same fields that expose panel nonuniformity most clearly.
NJROTC and cadet recognition programs that use digital displays to present ribbon sequences and rank information typically position these elements against clean, solid backgrounds — applying the same uniformity standards described here ensures that the display accurately represents the formal precision these programs deserve.
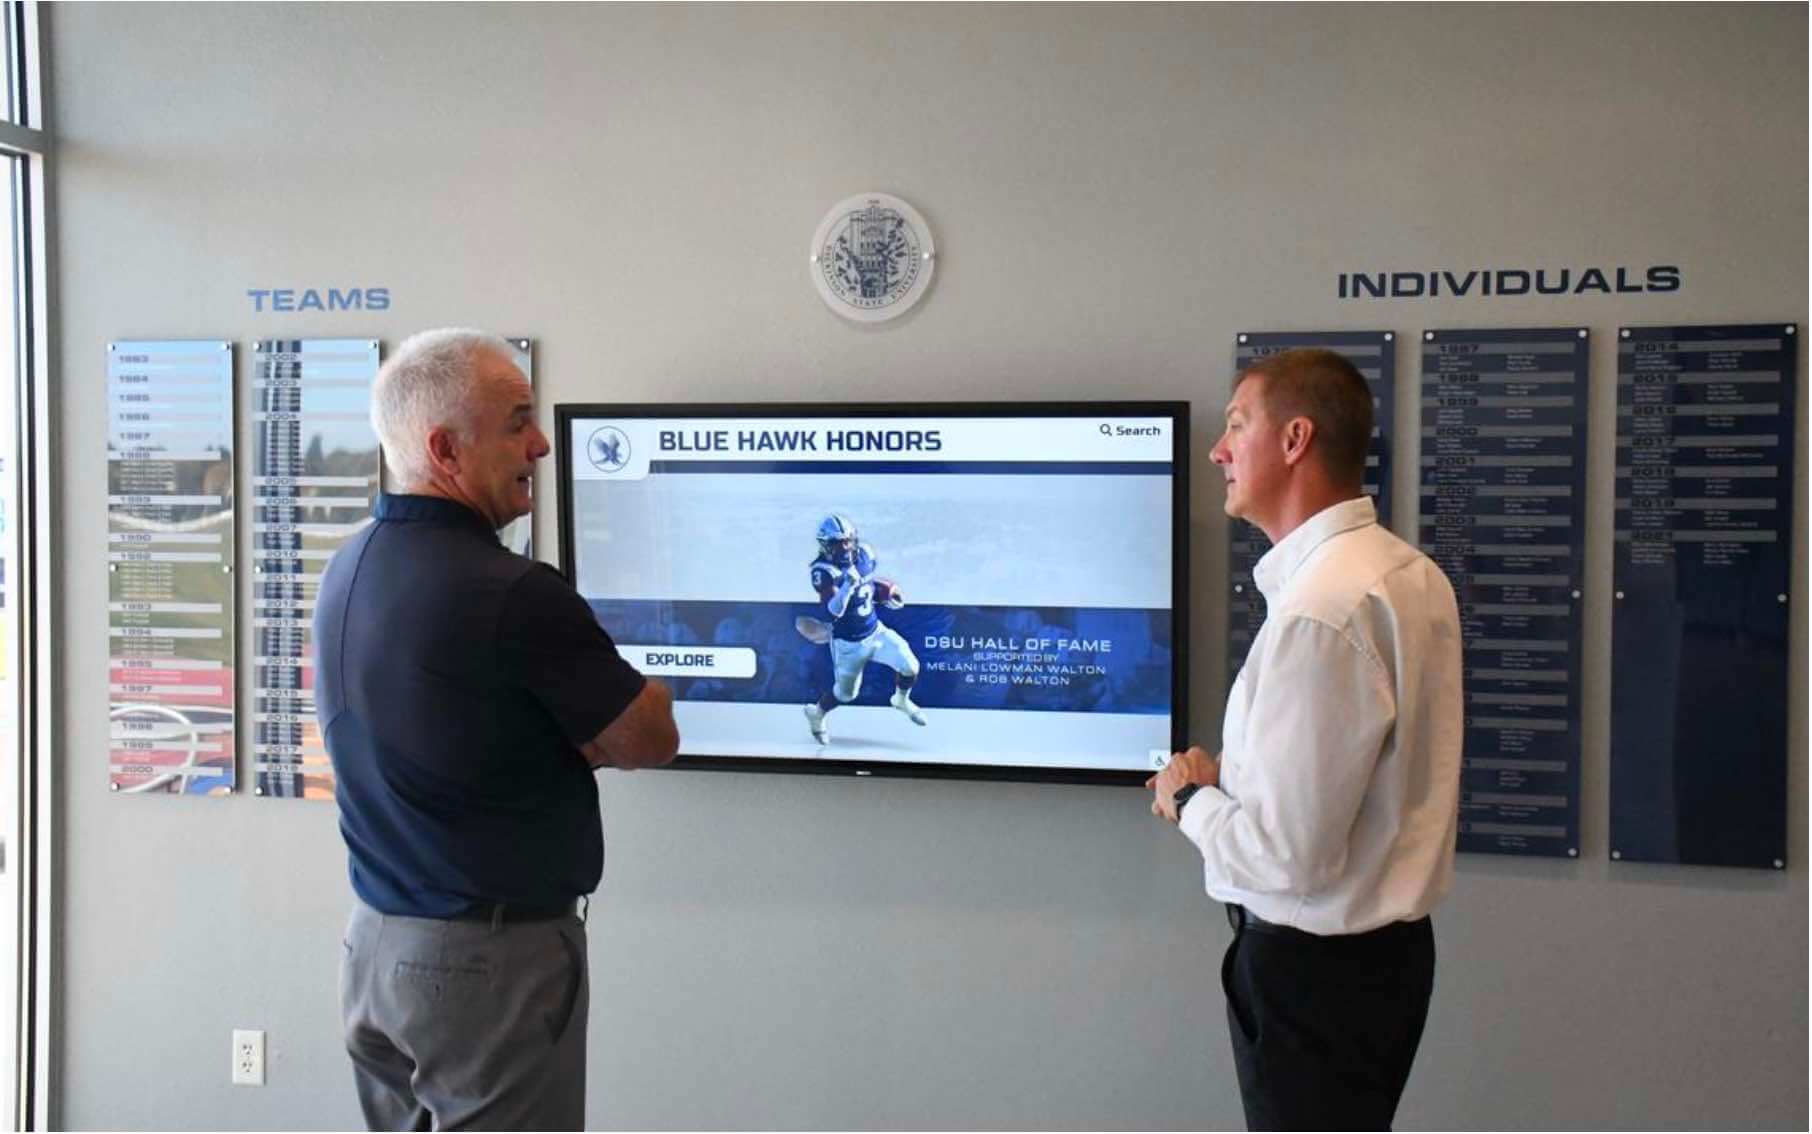
Community members standing at normal viewing distances are effective mura detectors for solid-color recognition content — running the gray-field and brand-color-field tests from these same distances provides a realistic acceptance assessment rather than a close-range inspection that does not reflect real use
Panel Zone Map for Mura Documentation
Documenting the location of a mura defect requires a consistent zone reference so that any staff member reading the inspection record can understand exactly where the defect appears. The following five-zone map divides a landscape-oriented recognition display into regions that correspond to the areas of most concern for school recognition content.
| Zone | Panel Region | Common Recognition Content in This Zone | Mura Risk Level |
|---|---|---|---|
| Zone A — Center | Center 40% of panel area | Athlete portrait cards; donor name panels; video highlights | High — immediately visible from visitor distance in all ambient conditions |
| Zone B — Upper band | Top 20% of panel, full width | Championship banner graphics; school name and mascot headers; year/class selectors | High — wide horizontal area makes luminance gradients visible |
| Zone C — Lower band | Bottom 20% of panel, full width | Navigation controls; sport filter buttons; "Back" and "Home" elements | Moderate — navigation backgrounds often use UI chrome rather than brand colors |
| Zone D — Left column | Left 20% of panel, vertical | Category sidebar; year-picker list; team filters | Moderate — often contains darker UI chrome; lighter sidebar designs increase risk |
| Zone E — Right column | Right 20% of panel, vertical | Scroll indicators; secondary navigation; QR code display area | Moderate — similar to Zone D; QR code white backgrounds reveal luminance mura |
When documenting a mura finding, record the zone (A through E), the mura type (luminance bright, luminance dark, chrominance, texture, or pressure), and the approximate size of the affected area as a percentage of the zone. A finding described as “Zone A, luminance bright mura, approximately 15% of zone area, visible from 8-foot distance on 50% gray field” gives any reviewer — or a vendor support team — a precise starting point.
Distinguishing Mura from Reflections and Ambient Light Artifacts
A reliable mura test requires distinguishing genuine panel nonuniformity from optical artifacts that come from the installation environment rather than from the panel itself. Two common false-positive sources affect school recognition display testing:
Window and fixture reflections. A display installed in a lobby or corridor with windows, overhead LED fixtures, or reflective ceiling tiles may show apparent brightness variation on a solid gray field that is caused by reflections on the anti-glare coating rather than by backlight or LCD nonuniformity. Turning off or shading the light sources and then re-running the gray field test confirms whether the observed nonuniformity is a panel defect or an environmental reflection.
Viewing angle effects. Wide-format LCD panels have viewing angle dependencies: brightness and color accuracy change as the viewing angle departs from perpendicular. Some of the tint shift visible from an off-axis position to the left or right of center is inherent to the LCD technology rather than a mura defect. Mura assessment should be conducted from directly in front of the panel at visitor viewing distance, not from an off-axis position. A school recognition touchscreen typically receives visitors who approach the display frontally, making perpendicular evaluation appropriate.
Fallen heroes and memorial recognition displays — which often use photo-rich content presented against uniform dark or neutral backgrounds — must pass the same mura standards as athletic halls of fame, because the solemnity of the content makes any visible panel defect particularly incongruous.
Connecting Mura Testing to the Full Acceptance Sequence
The mura effect test addresses optical uniformity. It should be run as part of a complete commissioning sequence, not in isolation, because other display parameters interact with uniformity perception:
- Geometry and signal chain — confirm the signal is delivered at native resolution with no overscan before interpreting any optical test result. A scaled or cropped signal produces artifacts that resemble uniformity problems but originate in the signal path.
- Test pattern checklist — run geometry, clipping, gradient, and sharpness patterns to establish that overall display performance meets baseline before isolating uniformity.
- Mura effect test — run the solid-field sequence described in this guide.
- School-color field verification — run solid brand-color fields as described above and compare with reference swatches.
- Touch accuracy and edge linearity test — confirm touch registration accuracy across the full panel surface.
- Content management system access — confirm that the recognition platform can push content updates over the installed network path.
Recognition display touch sensitivity testing and mura testing are both panel-surface assessments that should be completed and documented before the installation team signs off and leaves the site. Running them together in the same site visit is more efficient than scheduling a return trip for a test that could have been completed during commissioning.
Superintendent and district leadership guidance resources for school facilities programs consistently emphasize front-loading quality checks before public-facing systems go live — a principle that applies directly to recognition displays that will be seen by every visitor, alumni event attendee, and community member who enters the building.
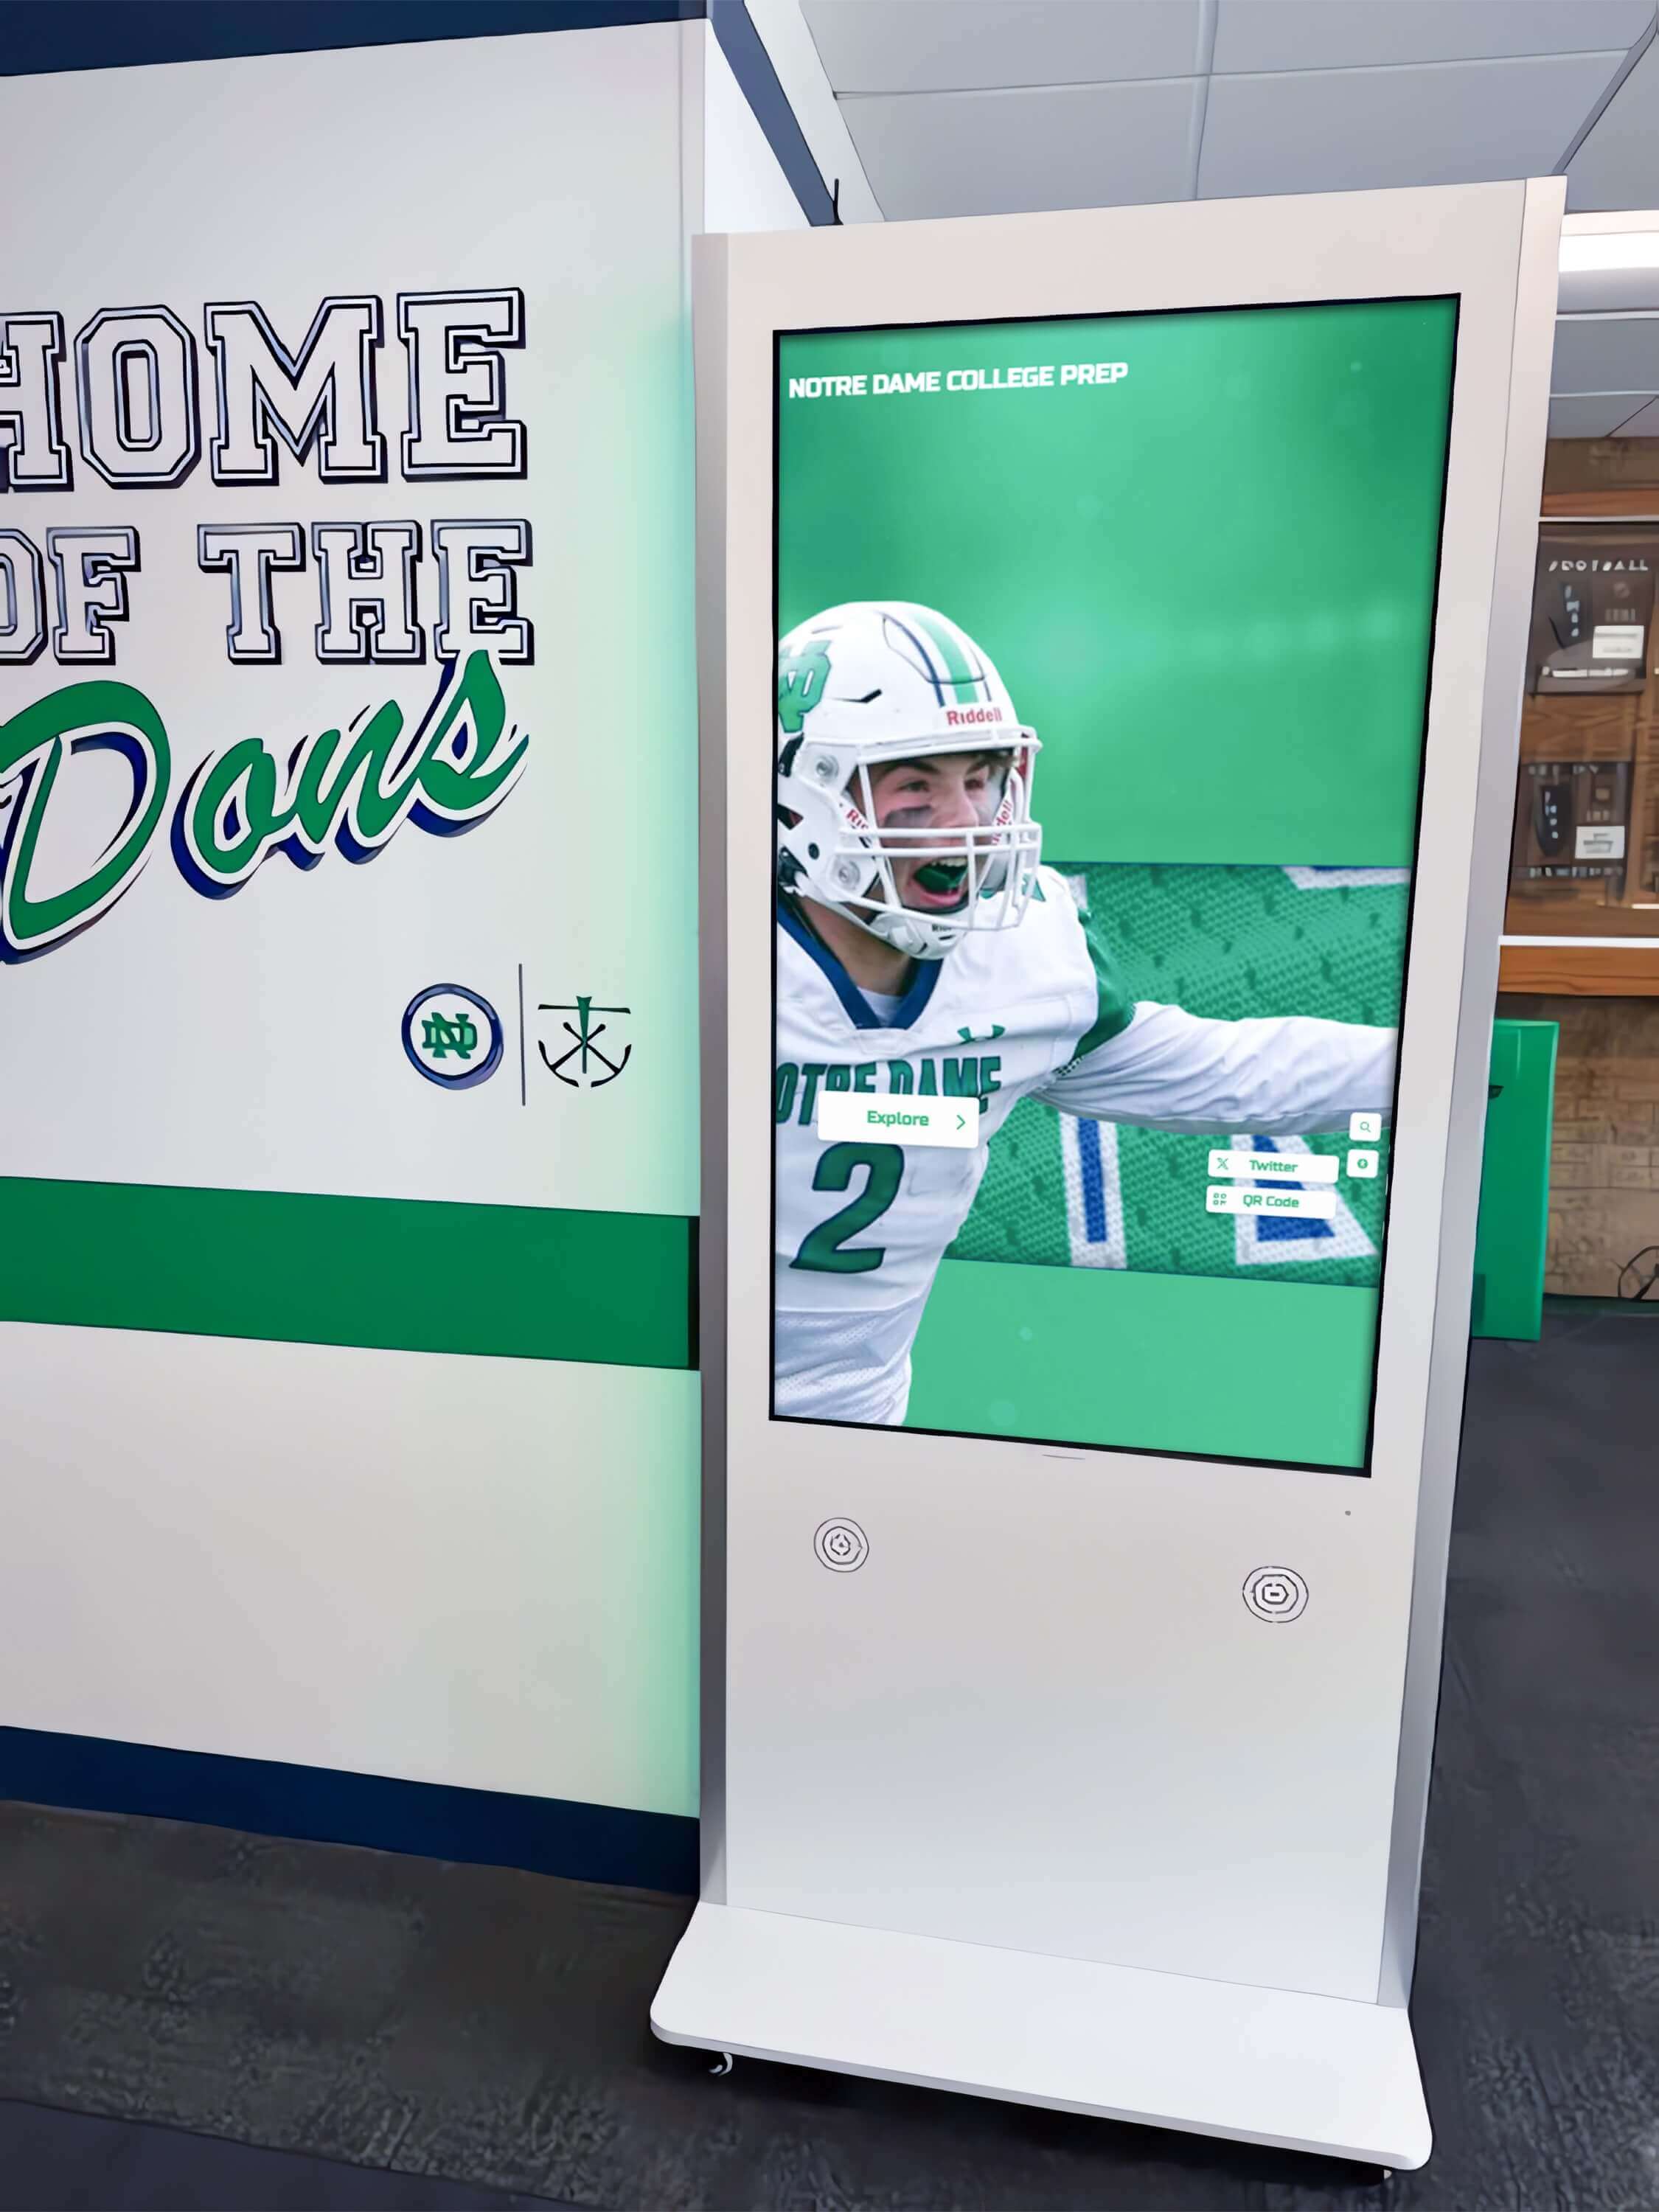
Recognition kiosks in school athletic hallways are viewed by community members at close range and from varied angles — completing the mura test sequence before the installation team leaves the site prevents post-launch complaints about panel cloudiness that cannot be corrected without a service visit
Preparing for High-Visibility Events
School recognition displays receive their most scrutiny at moments when the most community members are present: athletic banquets, alumni weekends, ribbon-cutting events for new display installations, and championship celebration gatherings. Running a mura check — specifically the gray-field and brand-color-field sequence — one to two weeks before any scheduled high-visibility event confirms that the panel has not developed new uniformity issues since its initial commissioning.
Panel uniformity can change over time for several reasons: aging backlight LEDs that dim unevenly across the panel width, physical changes to the mounting environment (a new overhead fixture installed above the display, a bezel that has shifted under seasonal temperature variation), or firmware updates that altered backlight controller behavior. A display that passed commissioning two years ago may have developed mild luminance mura that only becomes visible when a community group is standing in front of it with critical eyes during an award ceremony.
Booster club fundraising programs that invest in recognition display technology as part of broader athletic program improvements are rightly concerned with the long-term visual quality of those displays — and periodic pre-event mura checks are the maintenance step that protects that investment.
Display quality standards maintained for academic and athletic recognition programs benefit from the same structured approach: document the baseline, check against it on a defined schedule, and resolve findings while they are still minor rather than after they have become community-facing quality complaints.
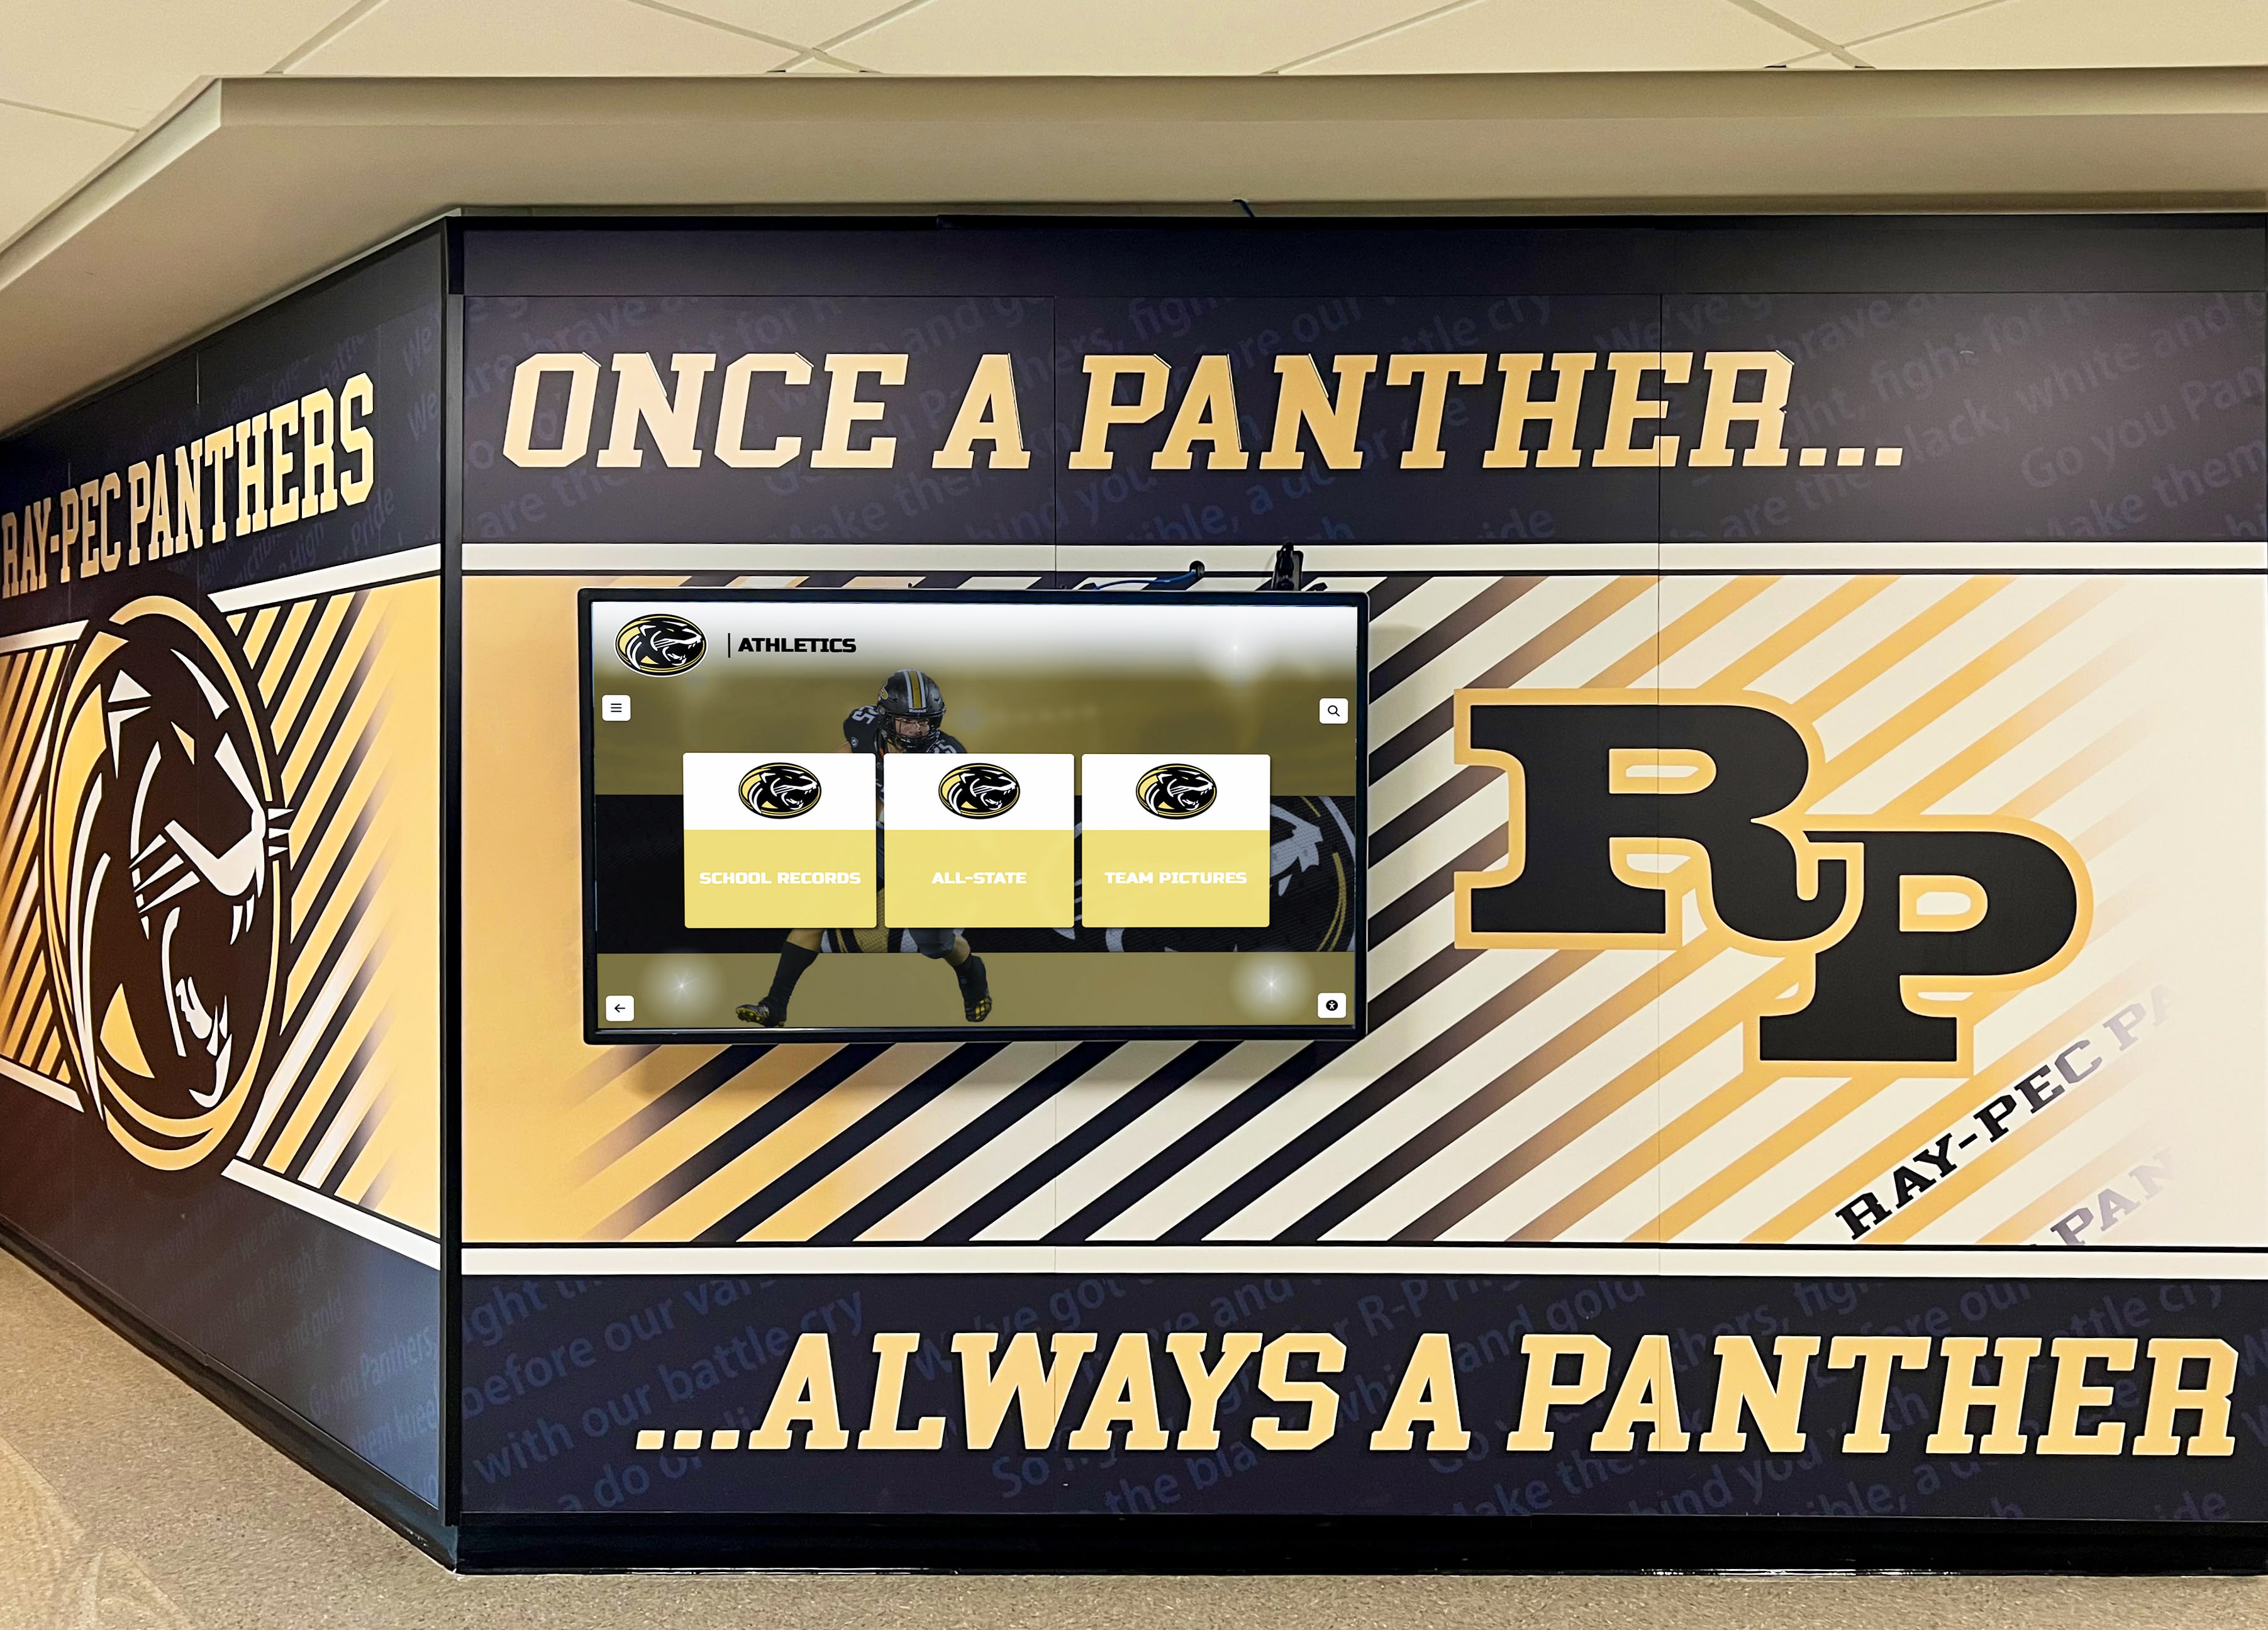
Recognition displays positioned in professionally designed athletic spaces — alongside school murals, trophy cases, and brand graphics — are held to the visual quality standard of their environment; mura testing ensures the panel surface meets that standard before and throughout the display's operational life
Frequently Asked Questions
What is the mura effect and why does it matter for school recognition displays?
The mura effect is any visible nonuniformity in a display panel’s brightness or color output when the panel is driven with a spatially uniform input signal. On a recognition display showing a solid gray or solid school brand-color background, mura appears as a cloudy patch, brighter ring, darker shadow, or subtle tint shift in one region of the screen. It matters for school recognition displays because a significant portion of recognition program content — portrait card backgrounds, championship banner fields, donor name panels — uses uniform solid colors that expose mura defects that would be invisible in complex photographic content. A mura defect that appears as a cloudy smudge in the center of a solid navy background behind athlete portrait cards is immediately visible to every community member who views the display.
How is the mura effect different from backlight bleed?
Backlight bleed is a specific form of luminance mura that occurs at the edges and corners of a panel where light from the backlight assembly escapes around the edge of the LCD layer. It is most visible on a full-black field as a glow at the screen borders. General mura can appear anywhere on the panel surface — not just at the edges — and includes both bright and dark patches, as well as color tint shifts that have no relationship to backlight edge leakage. A complete mura test covers both the 100% black field (which reveals backlight bleed) and the 50% gray and solid-color fields (which reveal the broader range of mura defect types).
Can a mura defect be fixed after installation?
Whether a mura defect can be corrected depends on its type. Pressure mura from mounting frame over-tightening can often be resolved by relieving the mechanical pressure and allowing the LCD layer to recover. Some luminance mura from backlight nonuniformity can be partially compensated by display-level uniformity correction features available on higher-end commercial panels. Chrominance mura from manufacturing variation in the LCD color filter layer cannot be corrected in the field — it is a panel defect that requires replacement. This is why identifying and documenting mura during commissioning — while the installation is new and the vendor relationship is active — is far easier than addressing it after the recognition program has gone live.
What solid-field gray level best reveals mura on recognition displays?
A 50% gray field (RGB 128, 128, 128 on a standard 0–255 scale) is the most effective single test field for mura detection because mid-tone gray amplifies both luminance and chrominance nonuniformity. The human visual system is most sensitive to contrast differences in mid-tone ranges rather than near the extremes of bright white or deep black. Additionally, 50% gray is similar in luminance to the neutral backgrounds commonly used in recognition program interfaces — donor name panels, class photo studio backgrounds, and UI chrome fields — making it a realistic proxy for production content. A white field (100%) is useful as a secondary test to reveal dark mura that may be less visible on the gray field; a black field reveals backlight bleed and bright pressure mura.
How large must a mura defect be before it justifies rejecting a display?
The rejection threshold depends on the defect’s visibility from visitor distance under normal ambient lighting conditions. A mura patch that is visible only under close inspection — within 12 to 18 inches — in a dark room, but not visible from the standard 6-to-10-foot visitor distance under normal installation lighting, falls within the conditional or pass range for most school recognition display installations. A defect that is clearly visible as a cloudy patch or color shift from visitor distance under normal ambient light — the conditions a community member actually experiences — justifies rejection, because that defect will be noticed every time a visitor stands in front of the display. The zone location matters as well: a mura patch in Zone A (center, where athlete portrait cards and key recognition content appear) carries more weight than an equivalent patch in a navigation chrome zone.
Should mura testing be repeated after the content management system goes live?
Running a brief mura check — the gray-field test and brand-color fields — after the recognition software’s initial content is loaded is worthwhile because real content displays the actual panel behavior under the content management system’s video output configuration. The CMS may output a different signal format, color space, or dynamic range than the laptop or media player used during commissioning, and those differences can affect how backlight nonuniformity manifests at the visible content level. If the commissioning test used a laptop at full brightness and the CMS media player outputs at a different peak brightness, the relative visibility of any mild mura defect may change. The initial mura inspection identifies the defect; the post-CMS-deployment check confirms whether the production configuration changes its practical impact.
A recognition display mura effect test is a 20-to-45-minute solid-field inspection sequence that identifies cloudy patches, brightness variation, and color nonuniformity before the school’s hall-of-fame, donor wall, or athletic record board touchscreen is viewed by students, families, and community members. Running the test during commissioning — and documenting findings in a zone-referenced inspection record — establishes a baseline that supports both acceptance decisions and future maintenance checks. The cost of finding and correcting a mura defect before go-live is a firmware update, a mounting frame adjustment, or a vendor escalation call. The cost of finding it after go-live is a service visit, a community-facing quality complaint, and a recognition program that launched under avoidable scrutiny.
Ready to See a Recognition Display Done Right?
Rocket Alumni Solutions deploys interactive hall-of-fame, donor wall, and athletic record board touchscreens in schools nationwide — with structured commissioning processes that cover display uniformity, mura acceptance, and content management from installation day forward.
Request a Demo