Intent: demonstrate — this guide walks school IT coordinators, athletic directors, and facilities staff through a recognition display inverse ghosting test so every piece of fast-moving athletic content — sports highlight clips, animated stat overlays, scrolling award names, and logo reveal sequences — renders cleanly on a touchscreen hall of fame, athletic record board, or corridor recognition display before acceptance.
Inverse ghosting (also called overshoot ghosting) is a distinct artifact from ordinary motion blur. Instead of a blurred trail behind a moving subject, inverse ghosting produces a bright or contrasting halo ahead of the subject — a light fringe in front of a dark athlete running across a dark background, or a dark fringe in front of a bright jersey. The artifact is caused by overdrive circuits inside the display panel pushing pixels too aggressively to meet a target response time. The result can make sports clips, animated statistics, and scrolling recognition content look defective — especially noticeable when school community members view athlete profiles, championship records, and honor content on a lobby kiosk or hallway display.
Running a structured inverse-ghosting test before the installer leaves catches this problem while settings adjustments and, if necessary, panel replacement are still straightforward.
On a properly configured recognition display, fast-moving athletic content — a sprinting track athlete, a basketball player driving to the basket, a scrolling list of state champions — appears clean and sharp at the edges of motion. Inverse ghosting manifests as a contrasting halo ahead of each moving element rather than behind it: a characteristic sign that the display’s overdrive circuit is overshooting its target pixel state. Identifying it requires content that moves fast enough to trigger the artifact and an evaluator positioned at the standard visitor viewing distance.
This procedure applies to all panel technologies used in school recognition displays — IPS, VA, and OLED panels can each exhibit overdrive-related inverse ghosting, though the degree varies. It is hardware-neutral and works for any combination of embedded media players, external PCs, or cloud-based content management systems.

Fast-action sports photography and video are the content types most likely to reveal inverse ghosting during an acceptance test — a strong reason to test with real athletic content before accepting delivery
What Inverse Ghosting Looks Like on Athletic Recognition Content
Inverse ghosting is easiest to understand by the symptom it produces rather than its electrical cause.
On sports video and highlight clips: A running athlete against a contrasting background — dark court, light gymnasium floor, or colored field turf — appears to carry a light or contrasting fringe ahead of their motion path. The fringe is most visible at the leading edges of moving limbs or equipment. A white jersey player crossing a dark background may show a dark shadow ahead of the player rather than behind.
On animated statistics and record boards: Text strings or numerical values scrolling horizontally — a list of record holders, a scrolling donor list, a rotating championship year display — may show a faint contrasting echo one to three character widths ahead of each character. The text appears to “double” slightly in the direction of motion.
On logo reveal animations: A school logo or award graphic sweeping into frame from one side may show a fringe of the inverse color at its leading edge — a gold logo on a dark background may show a dark halo ahead of its leading edge rather than a bright trail behind it.
This last characteristic — the halo appearing ahead of the moving element rather than behind — is the definitive difference between inverse ghosting and standard response-time ghosting. If the artifact trails behind the moving subject, that is ordinary ghost-blur. If it appears ahead, that is inverse ghosting caused by overdrive overshoot.
Inverse Ghosting vs. Standard Ghosting: Diagnostic Comparison
Understanding which artifact the display is showing determines the corrective action. This comparison table helps identify the issue before adjusting any display settings.
| Characteristic | Standard Response-Time Ghosting | Inverse Ghosting (Overshoot) |
|---|---|---|
| Location of artifact relative to motion | Trails behind the moving object — artifact is in the direction the subject came from | Appears ahead of the moving object — artifact is in the direction the subject is moving toward |
| Color of artifact | Smear of the object's own color blending into the background | Contrasting color — the halo is often the inverse or complementary of the object's color against its background |
| Primary cause | Pixel response time too slow — pixels cannot reach target state before the next frame | Overdrive circuit overshoot — pixels exceed their target state, then partially correct, creating a contrasting leading edge |
| Most visible content type | Fast-moving objects against similar-tone backgrounds; blurring of fine detail in motion | High-contrast edges in motion — dark subjects on light backgrounds or light subjects on dark backgrounds; animated text |
| Settings correction | Enable motion enhancement / increase overdrive setting | Reduce overdrive setting — look for "Response Time," "AMA," "MPRT," or "Overdrive" in OSD |
| Escalate if | Ghosting persists at maximum overdrive | Inverse ghosting persists at minimum overdrive setting — may indicate panel or firmware issue |
Settings-vs.-Panel Decision Tree
Before running the full test procedure, use this decision tree to determine whether a visible ghosting artifact is correctable through settings changes or indicates a panel-level problem requiring escalation.
Step A — Identify the artifact location. Is the fringe or halo ahead of the moving subject (inverse ghosting) or behind it (standard ghosting)? If behind, increase overdrive. If ahead, decrease overdrive. Proceed to Step B.
Step B — Access the display’s OSD overdrive control. Open the on-screen display (OSD) menu and locate a setting labeled “Response Time,” “Overdrive,” “AMA” (Advanced Motion Acceleration), or “MPRT” (Moving Picture Response Time). These labels vary by manufacturer. If the setting is currently at its highest level (often labeled “Fast,” “Fastest,” or “High”), reduce it by one level and repeat the test content.
Step C — Re-evaluate after each adjustment. Inverse ghosting should visibly decrease as overdrive is reduced. Standard response-time ghosting (trailing blur) may increase slightly — find the setting that minimizes the leading-edge halo without creating unacceptable trailing blur for the athletic content the school will actually display.
Step D — If minimum overdrive still shows inverse ghosting. The display’s minimum overdrive setting may not be low enough to eliminate the artifact, or the panel may have firmware-level overdrive that cannot be fully adjusted through OSD controls. Document the specific artifact, the content that triggers it, and the current OSD settings. Contact the vendor before signing acceptance paperwork. HDMI-CEC configuration and signal chain settings may also affect how the source device delivers signal timing to the panel — confirm the signal chain is correctly configured before attributing the problem to the panel itself.
Step E — If the artifact is gone after OSD adjustment. Document the corrective overdrive setting precisely — make, model, and exact OSD path and value. Store this alongside the display’s installation documentation so future IT staff can restore it if a firmware update resets the OSD.
Tools Required
| Item | Purpose |
|---|---|
| Athletic video test content | Clips with fast horizontal motion — sprinting athletes, court or field footage, animated stat overlays |
| Animated text test file | Horizontally scrolling text at 30–60 pixels per second; dark text on light background and light text on dark background |
| Logo sweep animation | School logo or award graphic sweeping in from one side against a contrasting background |
| Display OSD access | Locate “Response Time,” “Overdrive,” or equivalent setting |
| Observation log | Document setting level and artifact presence at each step |
| Smartphone camera (optional) | Photograph the display during fast-motion sequences to capture the artifact for vendor documentation |
Recognition Display Inverse-Ghosting Test Procedure
Step 1: Baseline Display Configuration
Reset the display to factory defaults or document the current settings precisely if the vendor has already configured it. Record the current overdrive or response-time setting. Confirm the refresh rate is set to the display’s native rate — typically 60 Hz for commercial recognition displays. Enable the display for at least 15 minutes before testing to allow thermal stabilization.
Disable frame-interpolation and motion-smoothing features for this test — these features interact with overdrive settings in ways that can mask or amplify inverse ghosting. The goal is to evaluate the panel’s native overdrive behavior.
Step 2: High-Contrast Athletic Video Test
Play a sports highlight clip featuring fast-moving athletes against a high-contrast background. A sprinting track athlete against a white track, a basketball player in a light jersey driving across a dark floor, or a swimming athlete against blue water are all effective test sequences.
Observe from the standard visitor viewing distance (8–12 feet for a corridor display; 4–6 feet for a lobby kiosk). Look at the leading edge of each fast-moving subject — the edge in the direction of motion. A clean display shows a sharp, clean leading edge. Inverse ghosting appears as a contrasting fringe ahead of that leading edge.
Score: Pass (no visible fringe at leading edge from visitor distance) / Marginal (faint fringe visible only within 3 feet) / Fail (visible fringe from visitor distance).
Step 3: Animated Text and Stats Overlay Test
Play a horizontally scrolling text sequence — a list of athletic record holders or championship year credits is ideal, as these formats appear in most school recognition programs. Use a dark-text-on-light-background version and a light-text-on-dark-background version.
Observe text characters at the leading edge of the scroll direction. Inverse ghosting on text appears as a faint shadow of each character one to three character widths ahead of the actual character position. On light-on-dark text, the shadow is dark; on dark-on-light text, the shadow appears lighter than the background.
Score each text style separately. Youth athlete recognition programs often use scrolling stat overlays alongside photographic content — both content types should pass this step before acceptance.
Step 4: Logo and Award Graphic Sweep Test
Play an animation showing the school logo or an award graphic sweeping into frame from one side. Observe the leading edge of the graphic — the edge moving toward the center of the frame. A clean display shows a sharp graphic edge. Inverse ghosting produces a contrasting fringe ahead of that edge: a dark fringe ahead of a light graphic, or a light fringe ahead of a dark graphic.
Award reveals, team history intros, and championship announcement sequences are common places this artifact appears in a live recognition program. Testing it in acceptance prevents a visible quality problem from reaching the school community during recognition events, sports banquets, and hall of fame unveilings.
Step 5: Adjust Overdrive and Re-Test
If any step above scores Marginal or Fail, open the display OSD and reduce the overdrive or response-time setting by one level. Re-run the failing test content and re-score. Continue reducing the setting, one level at a time, and re-testing until either the artifact is eliminated or the minimum setting is reached.
Document each setting level tested and the resulting score. If reducing overdrive eliminates inverse ghosting but introduces visible trailing blur on the athletic video content, find the setting that produces the best balance for the school’s specific content mix — athletic programs that use more fast-motion video may prioritize lower trailing blur; programs primarily showing still photography and slow animations may accept a slightly lower overdrive setting.
Step 6: Final Configuration Documentation
Once the optimal overdrive setting is identified, photograph every relevant OSD screen. Record the full OSD path and value for the overdrive setting. Include the display’s serial number, installation location, firmware version, and the name of the IT coordinator who conducted the test. Structured color calibration logs document similar configuration details — the inverse-ghosting test record belongs alongside the color calibration record and cable continuity documentation in the school’s installation file.
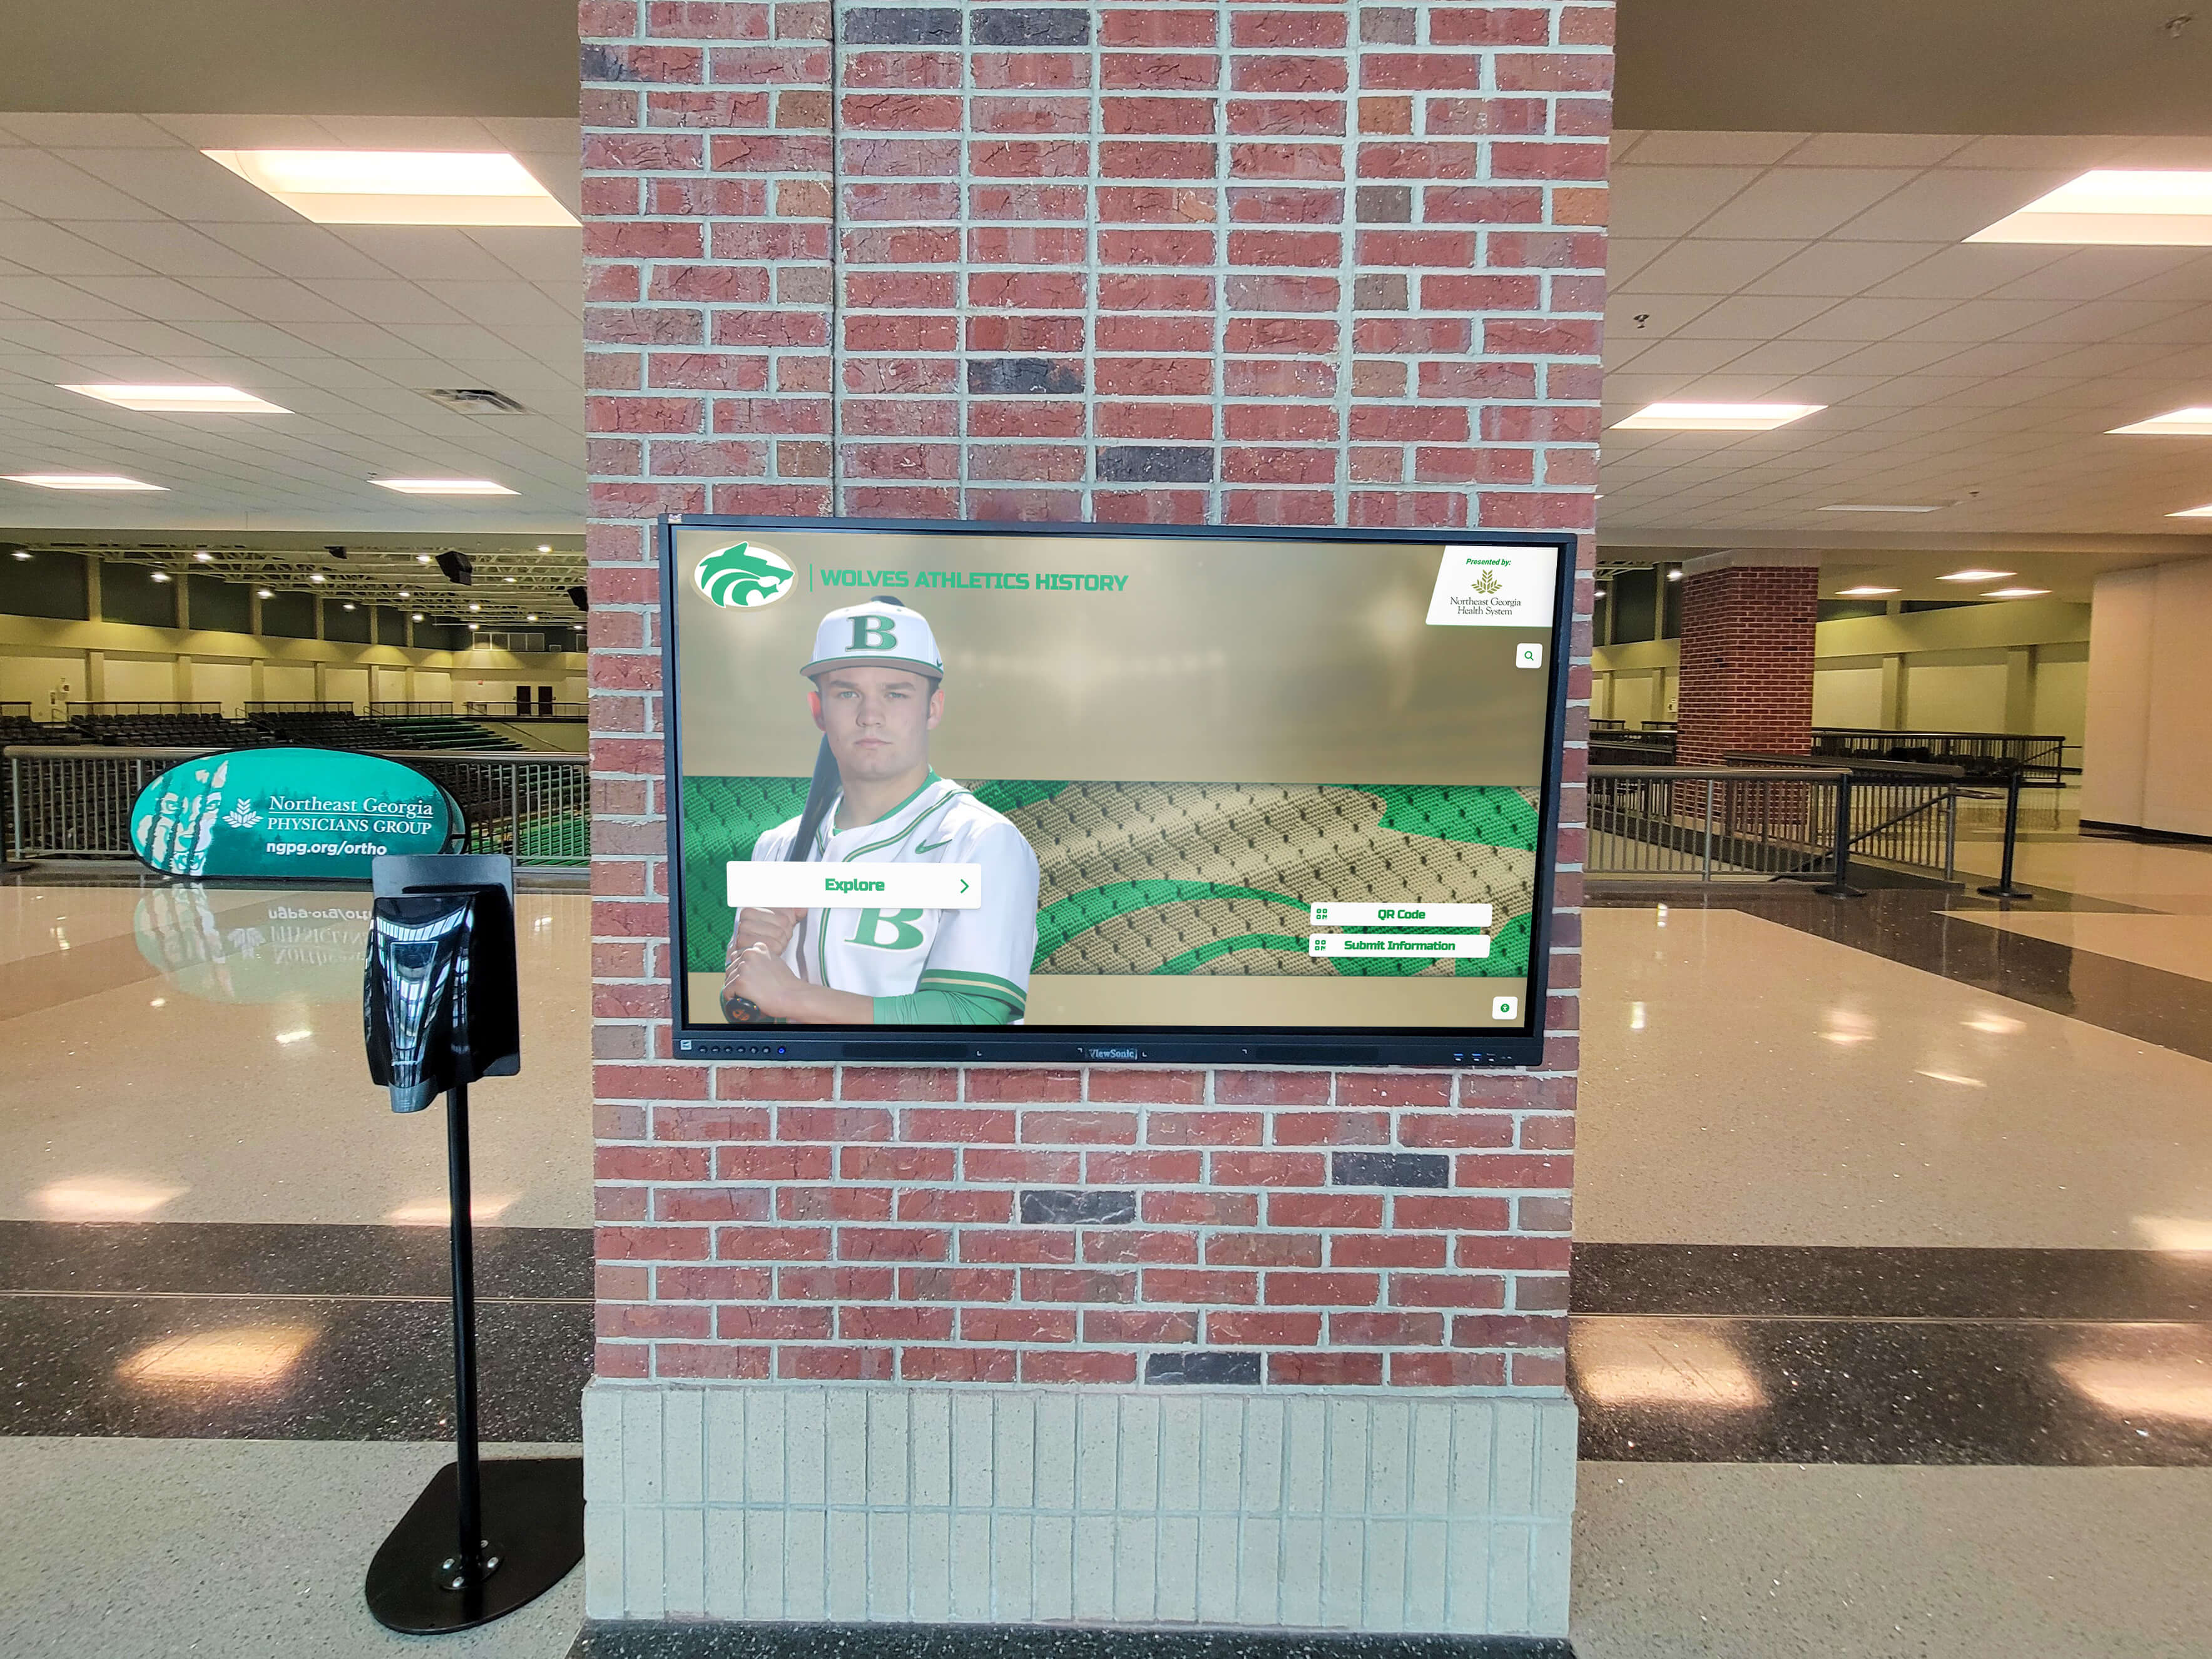
Arena and lobby recognition displays that show fast-action sports content are the most likely locations for inverse ghosting to become visible to the school community — testing before installation resolves the problem while options remain open
Acceptance Scoring Table
Score each test step as Pass, Marginal, or Fail. A single Fail or two or more Marginal scores should trigger an OSD adjustment attempt before accepting delivery. If adjustment resolves all Marginal and Fail scores, re-score and document the final result.
| Test Step | Content Used | Pass Criteria | Score | OSD Overdrive Setting | Action |
|---|---|---|---|---|---|
| High-contrast athletic video | Sprinting athlete or basketball drive | No visible contrasting fringe at leading edge from visitor distance | |||
| Animated text — light on dark | White record-holder scroll on dark background | No contrasting shadow ahead of character position | |||
| Animated text — dark on light | Dark award-name scroll on light background | No lighter-than-background shadow ahead of character position | |||
| Logo / award graphic sweep | School logo sweeping into frame | Leading edge of graphic is sharp with no contrasting fringe | |||
| Archived sports footage (24fps/30fps) | Historical highlight reel at lower frame rate | Inverse ghosting not amplified by frame interpolation at lower frame rates |
How Inverse Ghosting Affects the Athletic Recognition Experience
A recognition display exists to honor athletes and build school pride. Inverse ghosting degrades that experience in two specific ways.
It makes athletic achievement look technically defective. A display showing a sprinting athlete with a visible contrasting halo does not look like a professional recognition installation — it looks like a display with a problem. Family members, alumni, and community visitors notice display quality without being able to name the artifact. The conclusion they draw is that the school’s recognition program looks poor, regardless of the content quality behind the technical problem.
It creates distracting artifacts during recognition events. Sports banquets, hall of fame inductions, and athletic award ceremonies frequently use recognition displays as part of the presentation — video tributes, animated stat reveals, season highlight sequences. School sports banquet programs create moments of community recognition that these displays are meant to support, not undermine. Inverse ghosting visible on a gymnasium display during an induction ceremony is far more disruptive than the same artifact on a hallway display running unattended.
Running the acceptance test with content representative of the school’s actual recognition program — not generic test patterns — catches this artifact in the context where it actually matters.
Coordination with Other Display Acceptance Tests
Inverse ghosting testing integrates naturally with the broader display acceptance process. The display’s overdrive setting affects multiple quality dimensions simultaneously, so the order of testing matters.
Run the inverse ghosting test after completing the following:
- Cable and signal chain verification — confirm that the source device is delivering the correct refresh rate and color range before attributing motion artifacts to the panel
- Color fringing check — color fringing from chromatic aberration or pixel response issues can be confused with inverse ghosting; confirm the two artifacts are evaluated separately
Run the inverse ghosting test before completing the following, since the overdrive setting affects both:
- Color gamut and accuracy test — overdrive settings can interact with color rendering at high motion rates; confirm the overdrive setting is at its accepted value before recording color acceptance results
- Motion blur test — after identifying the optimal overdrive setting for inverse ghosting, record whether that setting produces acceptable trailing blur as well
This sequencing ensures that the final documented OSD configuration reflects all test outcomes, not just the most recently completed one.
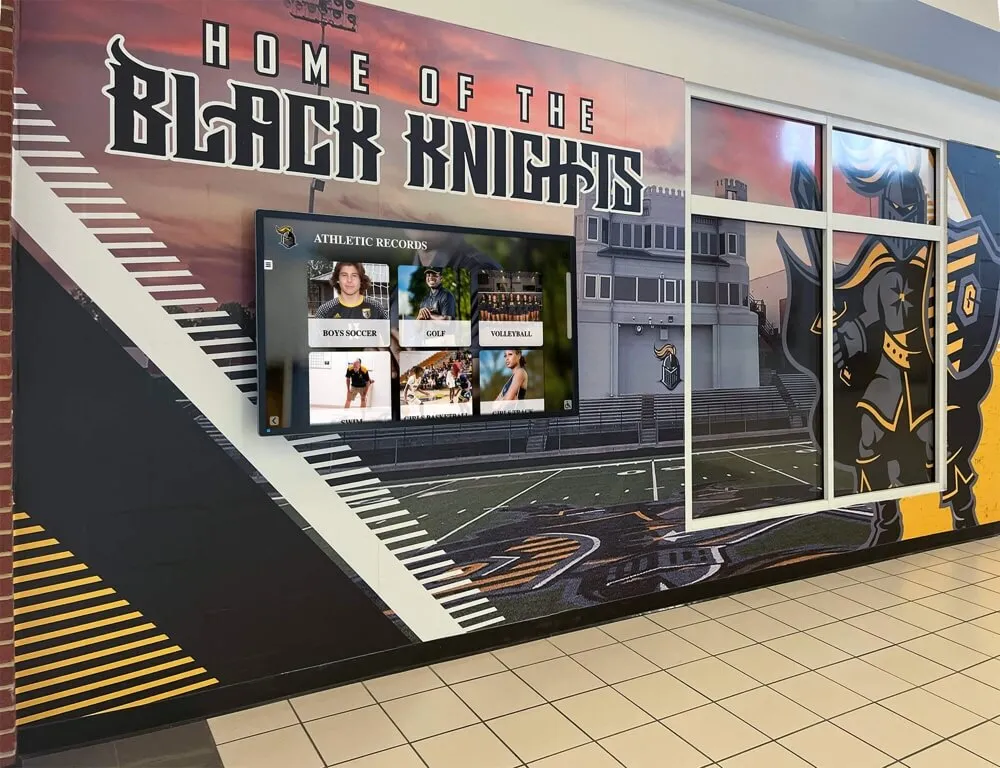
Hall of fame corridor displays running unattended carry animated content continuously — an inverse ghosting problem that is visible on a 10-second observation during acceptance testing is visible to every visitor for the life of the installation
Multi-Panel Installations
Schools installing multiple recognition displays in a single installation — an athletic hallway sequence, a gymnasium entrance with flanking panels, or a hall of fame with several sectional displays — face an additional consideration: panels from different production batches may have different default overdrive levels and may reach their optimal settings at different OSD positions.
For multi-panel installations, test each panel individually before the inter-panel consistency check. Two panels showing identical OSD overdrive settings may produce different artifact levels if the panels are from different production batches. Document the individual overdrive setting for each panel, not just a single value for all panels.
Schools adding new panels to an existing installation — upgrading a hallway display or adding a new section to a recognition program — should test new panels with the same procedure and compare results to the existing installation’s documented settings. Yearbook and multi-year recognition programs that grow incrementally over time apply the same principle to digital displays: maintaining consistent standards across additions over time preserves the quality the school established at the initial installation.
Frequently Asked Questions
What causes inverse ghosting on a recognition display?
Inverse ghosting is caused by a display panel’s overdrive circuit overshooting its target pixel voltage. Overdrive circuits accelerate pixel response time by temporarily driving pixels beyond the target color state, then allowing them to settle at the correct value. When the overshoot is too aggressive — either from a high factory setting or a specific panel batch — the pixel briefly passes through a contrasting state before settling, producing the visible halo ahead of moving content.
Is inverse ghosting the same as IPS glow or backlight bleed?
No. IPS glow and backlight bleed are static backlight characteristics visible on dark content at angles or in the corners of the display. Inverse ghosting is a motion artifact visible only during fast-moving content. A display can exhibit both, but they are unrelated problems with different causes and different corrective actions.
Can inverse ghosting be corrected through content settings rather than display settings?
Partially. Content that moves at lower pixel velocities — slower scrolling text, gentler transition effects — will produce less visible inverse ghosting on a display with a too-aggressive overdrive setting. However, adjusting content to avoid a display hardware artifact is a workaround, not a solution. The correct fix is adjusting the display’s overdrive setting. Content adjustments may be acceptable as a temporary measure while awaiting panel service or replacement, but should be documented as a workaround, not accepted as normal operation.
How do I photograph inverse ghosting for vendor documentation?
A smartphone camera with a fast shutter speed (use the sport or action mode if available) will capture the artifact during video playback. Photograph the display while the test animation is running, focusing on the leading edge of a fast-moving subject. Multiple frames improve the chance of capturing the artifact clearly. Include the OSD settings screen in the same photograph session so the vendor can see the overdrive setting at which the artifact occurred.
Does panel technology (IPS vs. VA vs. OLED) affect inverse ghosting risk?
Yes. VA panels typically have slower native pixel response times, which leads manufacturers to apply more aggressive overdrive settings to meet competitive response-time specifications — making VA panels somewhat more prone to visible inverse ghosting at factory settings. IPS panels generally have faster native response and may require less aggressive overdrive. OLED panels have very fast native response times and are less likely to exhibit inverse ghosting, though they can still produce overdrive artifacts at high settings. The test procedure described here applies to all panel types.
Should the inverse ghosting test be repeated after CMS updates?
Only if the CMS update changes how content is rendered or delivered to the display — for example, if a CMS update changes the video output encoding, color range, or refresh rate handshake between the media player and the display. In most cases, CMS updates do not affect the display’s overdrive behavior, which is controlled entirely by OSD settings. However, if a CMS update changes the playback refresh rate, re-verify that the display is still operating at its accepted configuration.
A recognition display inverse-ghosting test is a targeted, manageable addition to any school display acceptance process. Identify the artifact by its location (ahead of the moving subject), use the decision tree to narrow the cause to the overdrive setting, and adjust the OSD one level at a time with real athletic content running. Document the optimal setting before signing acceptance paperwork, and store that documentation with the display’s installation record — not just for warranty protection, but so any IT coordinator who inherits the display years later can restore the configuration without guesswork.
Looking for a recognition display partner that configures and validates display performance before go-live? Rocket Alumni Solutions deploys interactive hall-of-fame, athletic record board, and donor wall systems in schools nationwide, with structured installation processes that cover display hardware configuration alongside content quality verification. Request a demo to learn how their managed approach handles the technical details so your team can focus on the recognition program itself.