Intent: demonstrate — this checklist walks school IT coordinators and network administrators through a recognition display DHCP snooping compatibility test to confirm that a hall-of-fame kiosk, donor wall screen, or athletic record board successfully obtains a trusted DHCP lease on a switch where DHCP snooping is enabled — protecting the network from rogue DHCP servers while ensuring the display device can reach its cloud content management system (CMS) reliably.
A recognition display is a fixed-purpose device that typically powers on at a scheduled time and immediately issues a DHCP DISCOVER broadcast to obtain its IP address, default gateway, and DNS server. On a switch with DHCP snooping enabled, that broadcast is only forwarded to ports the switch trusts to originate valid DHCP server responses. If the port configuration, rate-limiting rules, or binding table entries for the display device are incorrect, the display fails to obtain an IP address and the recognition program goes offline. Running a structured DHCP snooping compatibility test before the display enters unattended operation — and re-running it after any switch configuration change — confirms the display can obtain leases reliably on the protected network.
The quick answer: confirm the switch port serving the display is configured as untrusted (which is correct for access ports — untrusted ports forward client DHCP DISCOVERs and block DHCP server replies arriving on non-trusted ports), verify the DHCP snooping binding table records a valid IP/MAC/port entry for the display, confirm the display renews its lease without packet-rate-limit interference, and verify that a display reboot produces a new binding table entry within the expected lease time. If any check fails, the port trust configuration, DHCP rate limiting, or binding table persistence settings need correction before the display enters unattended operation.
This procedure applies to recognition displays running Windows or Linux on dedicated media PCs, embedded media players, and kiosk-grade appliances connected to managed switches in a Cisco IOS, Juniper EX, HP/Aruba ProCurve, or similar enterprise switching environment. The test sequence is the same whether the installation is a 55-inch lobby hall-of-fame screen or an 86-inch corridor record board.
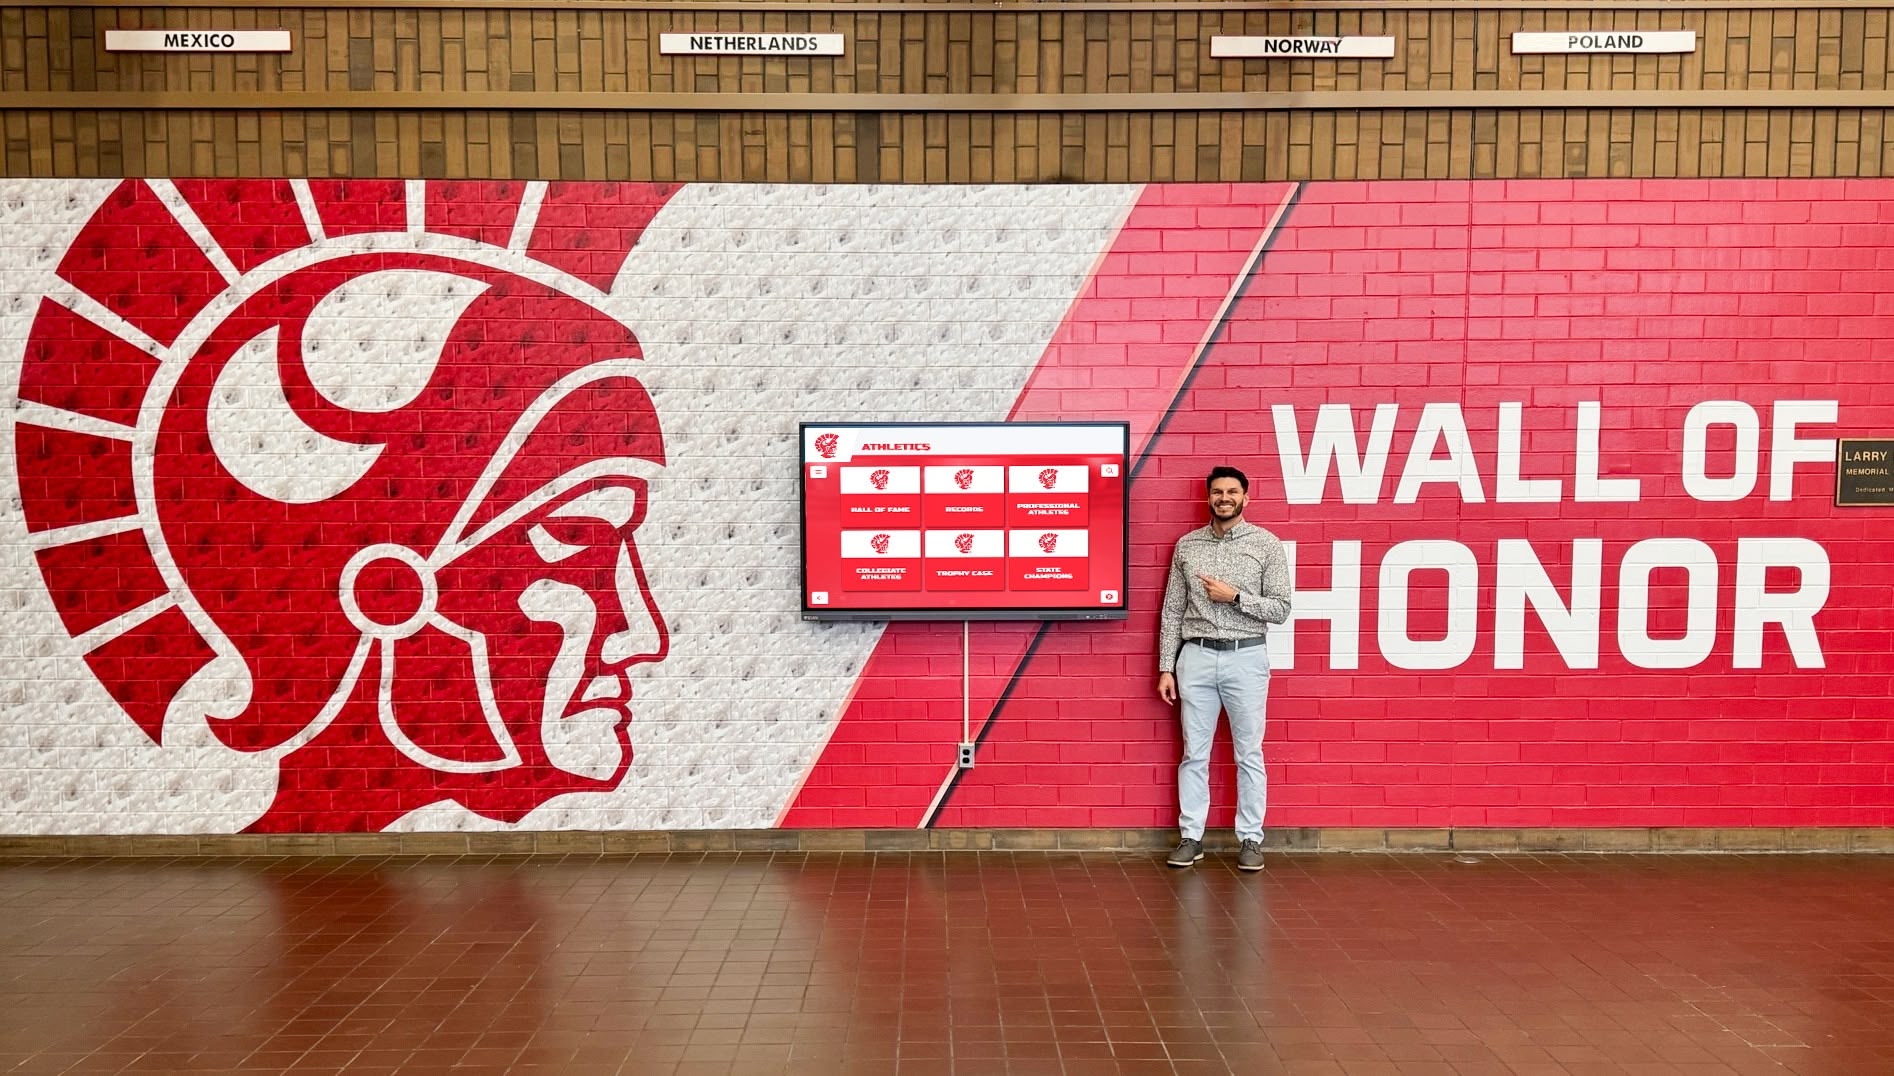
A recognition display that fails to obtain a DHCP lease on a snooping-protected switch goes offline silently — testing compatibility before the display enters unattended operation prevents unexpected recognition program outages
What Is DHCP Snooping?
DHCP snooping is a Layer 2 security feature available on managed network switches that prevents rogue DHCP servers from issuing forged IP address leases to devices on the school network. When enabled on a VLAN, the switch divides its ports into two trust categories:
- Trusted ports — authorized to originate and forward DHCP server replies (DHCPOFFER, DHCPACK). Uplink ports to the router or the legitimate DHCP server should be trusted.
- Untrusted ports — access ports connecting end devices such as computers, printers, and recognition displays. DHCP server-type replies arriving on untrusted ports are dropped by the switch before they reach other devices on the VLAN.
The switch builds and maintains a DHCP snooping binding table — a database of entries that each map a MAC address, IP address, VLAN, and switch port to an active DHCP lease. This binding table is consumed by two related security features: Dynamic ARP Inspection (DAI), which validates ARP packets against the binding table to prevent ARP spoofing, and IP Source Guard, which restricts traffic from each port to the source IP/MAC pair recorded in the binding table.
For a recognition display, three DHCP snooping behaviors are relevant to compatibility testing:
Port trust level. The switch port connecting the display should be an untrusted port. This is the correct configuration for access ports — it prevents the display from accidentally or maliciously acting as a DHCP server. Misunderstanding this and marking the display port as trusted creates a security gap.
DHCP rate limiting. Most DHCP snooping implementations apply a per-port rate limit to DHCP packets (commonly 15 packets per second on Cisco IOS) to prevent DHCP starvation attacks. If the display’s OS sends rapid DHCP DISCOVERs during boot — common on Windows 11 and some Linux distributions — the rate limiter may trigger an
err-disabledstate on the port, preventing the display from obtaining any lease.Binding table persistence. DHCP snooping binding tables are stored in RAM by default on most switches. If the switch reboots without the binding table having been written to non-volatile storage (Cisco:
ip dhcp snooping database flash:snooping.db), the display’s entry is lost. A display that attempts to renew a lease recorded in a deleted binding table may receive an unexpected DHCPNAK from the DHCP server — or DAI/IP Source Guard may block the display’s traffic because the binding entry no longer exists.
Why DHCP Snooping Matters for School Recognition Displays
A hall-of-fame kiosk, donor wall display, or athletic record board installed in a school lobby has characteristics that make DHCP-layer compatibility particularly important for consistent operation.
The display powers on without a user present. Recognition displays typically boot on a schedule — powering on before school begins and shutting down after closing. Each power cycle triggers a DHCP DISCOVER. If the switch port enters err-disabled state due to rate limiting during the burst of DHCP traffic from Windows startup, the display boots to a network-unavailable state with no staff member nearby to intervene. Schools that rely on interactive recognition exhibit displays for consistent public-facing programming depend on the display’s network access surviving every power cycle without manual IT intervention.
The display holds a fixed physical location with a known MAC address. Unlike general-purpose devices that move between classrooms and access points, a recognition display occupies a fixed port on a specific access switch for the duration of its installation. This predictability makes DHCP snooping binding table management straightforward — the binding entry for the display should be stable and verifiable. If the entry is absent from the binding table, the cause is almost always a switch reboot without binding table persistence configured rather than a legitimate lease expiration.
School network equipment maintenance often occurs during summer. Switches are frequently replaced, firmware-updated, or reconfigured during summer maintenance windows before the new school year begins. Any of these events can delete a display’s DHCP snooping binding table entry. Schools that deploy recognition displays for sports hall-of-fame programs and year-round athletic recognition expect the display to be ready at the start of the school year — not requiring an IT troubleshooting visit because a summer switch replacement cleared the snooping database.
DHCP snooping interacts with content filter VLANs. Many schools place recognition displays on a dedicated display VLAN or an IoT device VLAN. If DHCP snooping is enabled on that VLAN but the upstream port connecting the access switch to the distribution switch is not configured as trusted, all DHCP server replies are dropped — leaving every device on the VLAN without an IP address. This is one of the most common DHCP snooping misconfiguration patterns in multi-VLAN school environments and one of the most disruptive, since it prevents every display on the affected VLAN from obtaining a lease simultaneously.
DHCP Snooping Compatibility Decision Tree
Use this decision tree to determine whether the display’s DHCP configuration requires corrective action before proceeding to the detailed checklist.
1. Is DHCP snooping enabled on the VLAN serving the display?
- NO → DHCP snooping is not in scope; proceed to standard DHCP connectivity testing
- YES → continue
↓
2. Is the uplink port (carrying DHCP server replies) configured as trusted?
- NO → mark the uplink port as trusted (
ip dhcp snooping truston Cisco IOS) and re-test - YES → continue
↓
3. Does the display obtain a DHCP lease after a cold boot?
- NO → check port rate limiting (Step 4 of the checklist); confirm the port is not in
err-disabledstate - YES → continue
↓
4. Is the display’s IP/MAC entry present in the DHCP snooping binding table?
- NO → the switch rebooted and cleared the binding table; configure binding table persistence; re-test after a lease renewal cycle
- YES → continue
↓
5. Does the display renew its lease cleanly at the lease half-life without err-disabled triggering?
- NO → reduce the DHCP rate limit or increase the threshold on the display’s access port
- YES → continue
↓
6. Result: DHCP snooping is compatible with this display — proceed to the full checklist to test each step and record results
Tools Required
| Tool | Use | Notes |
|---|---|---|
| Switch CLI access (SSH or console) | Run DHCP snooping show commands (show ip dhcp snooping binding, show ip dhcp snooping statistics, show interfaces status) to verify binding table entries, port state, and packet counters | Administrative access required; Cisco IOS syntax used as the reference throughout this checklist; Juniper EX and HP ProCurve equivalents noted where they differ |
| Windows PowerShell or CMD (display media PC) | Run ipconfig /release and ipconfig /renew to trigger DHCP cycles from the display; confirm assigned IP, subnet mask, default gateway, and DNS server | Available on all Windows 10/11 installations; use to simulate power-cycle DHCP behavior without physically rebooting the media PC when testing lease renewal |
| Network documentation (VLAN map, switch port assignments) | Identify the access switch, switch port, and VLAN serving the display; confirm the uplink port designation between the access switch and the distribution layer | Required before testing; without knowing which port and which switch, the binding table cannot be verified and trust configuration cannot be confirmed |
| DHCP server management console or log | Confirm the display's lease in the DHCP server's active lease table; verify the lease duration and renewal time; confirm the MAC address in the DHCP lease matches the display's NIC MAC | Accessible from the school's DHCP server (Windows Server DHCP, ISC DHCP, or a router-based DHCP service); lease table confirms the server side independently of the switch binding table |
| CMS management portal | Confirm the display appears online after each compatibility test step; verify the last content synchronization timestamp to confirm the display successfully reached the CMS after obtaining its lease | Application-layer confirmation that the IP address obtained through the snooping-protected path supports CMS connectivity; not a substitute for the switch-side checks but confirms end-to-end success |
Pre-Test: Document the Expected DHCP Configuration
Before testing DHCP snooping compatibility, record the baseline network configuration for the display so each test step has a clear pass criterion.
- From the display media PC, run
ipconfig /all(Windows) orip addr show(Linux). Record the current IP address, MAC address of the network adapter, default gateway, and DNS server IPs. - Identify the access switch and the specific switch port the display connects to. This information should be in the school’s network documentation or can be confirmed by checking the cable run and access switch port labels.
- Log into the access switch and run
show ip dhcp snoopingto confirm DHCP snooping is enabled and on which VLANs. - Run
show interfaces <port-id> statusto confirm the display’s access port is not currently inerr-disabledstate. - Run
show ip dhcp snooping bindingand note whether the display’s MAC address appears in the binding table. Record the IP address, VLAN, interface, and lease expiry time listed. - Confirm the DHCP lease duration assigned to the display’s VLAN from the DHCP server. A 24-hour or 8-hour lease is common for display VLANs; an 8-hour lease aligns with a typical school operating day.
Record all six items before beginning Step 1 of the checklist.
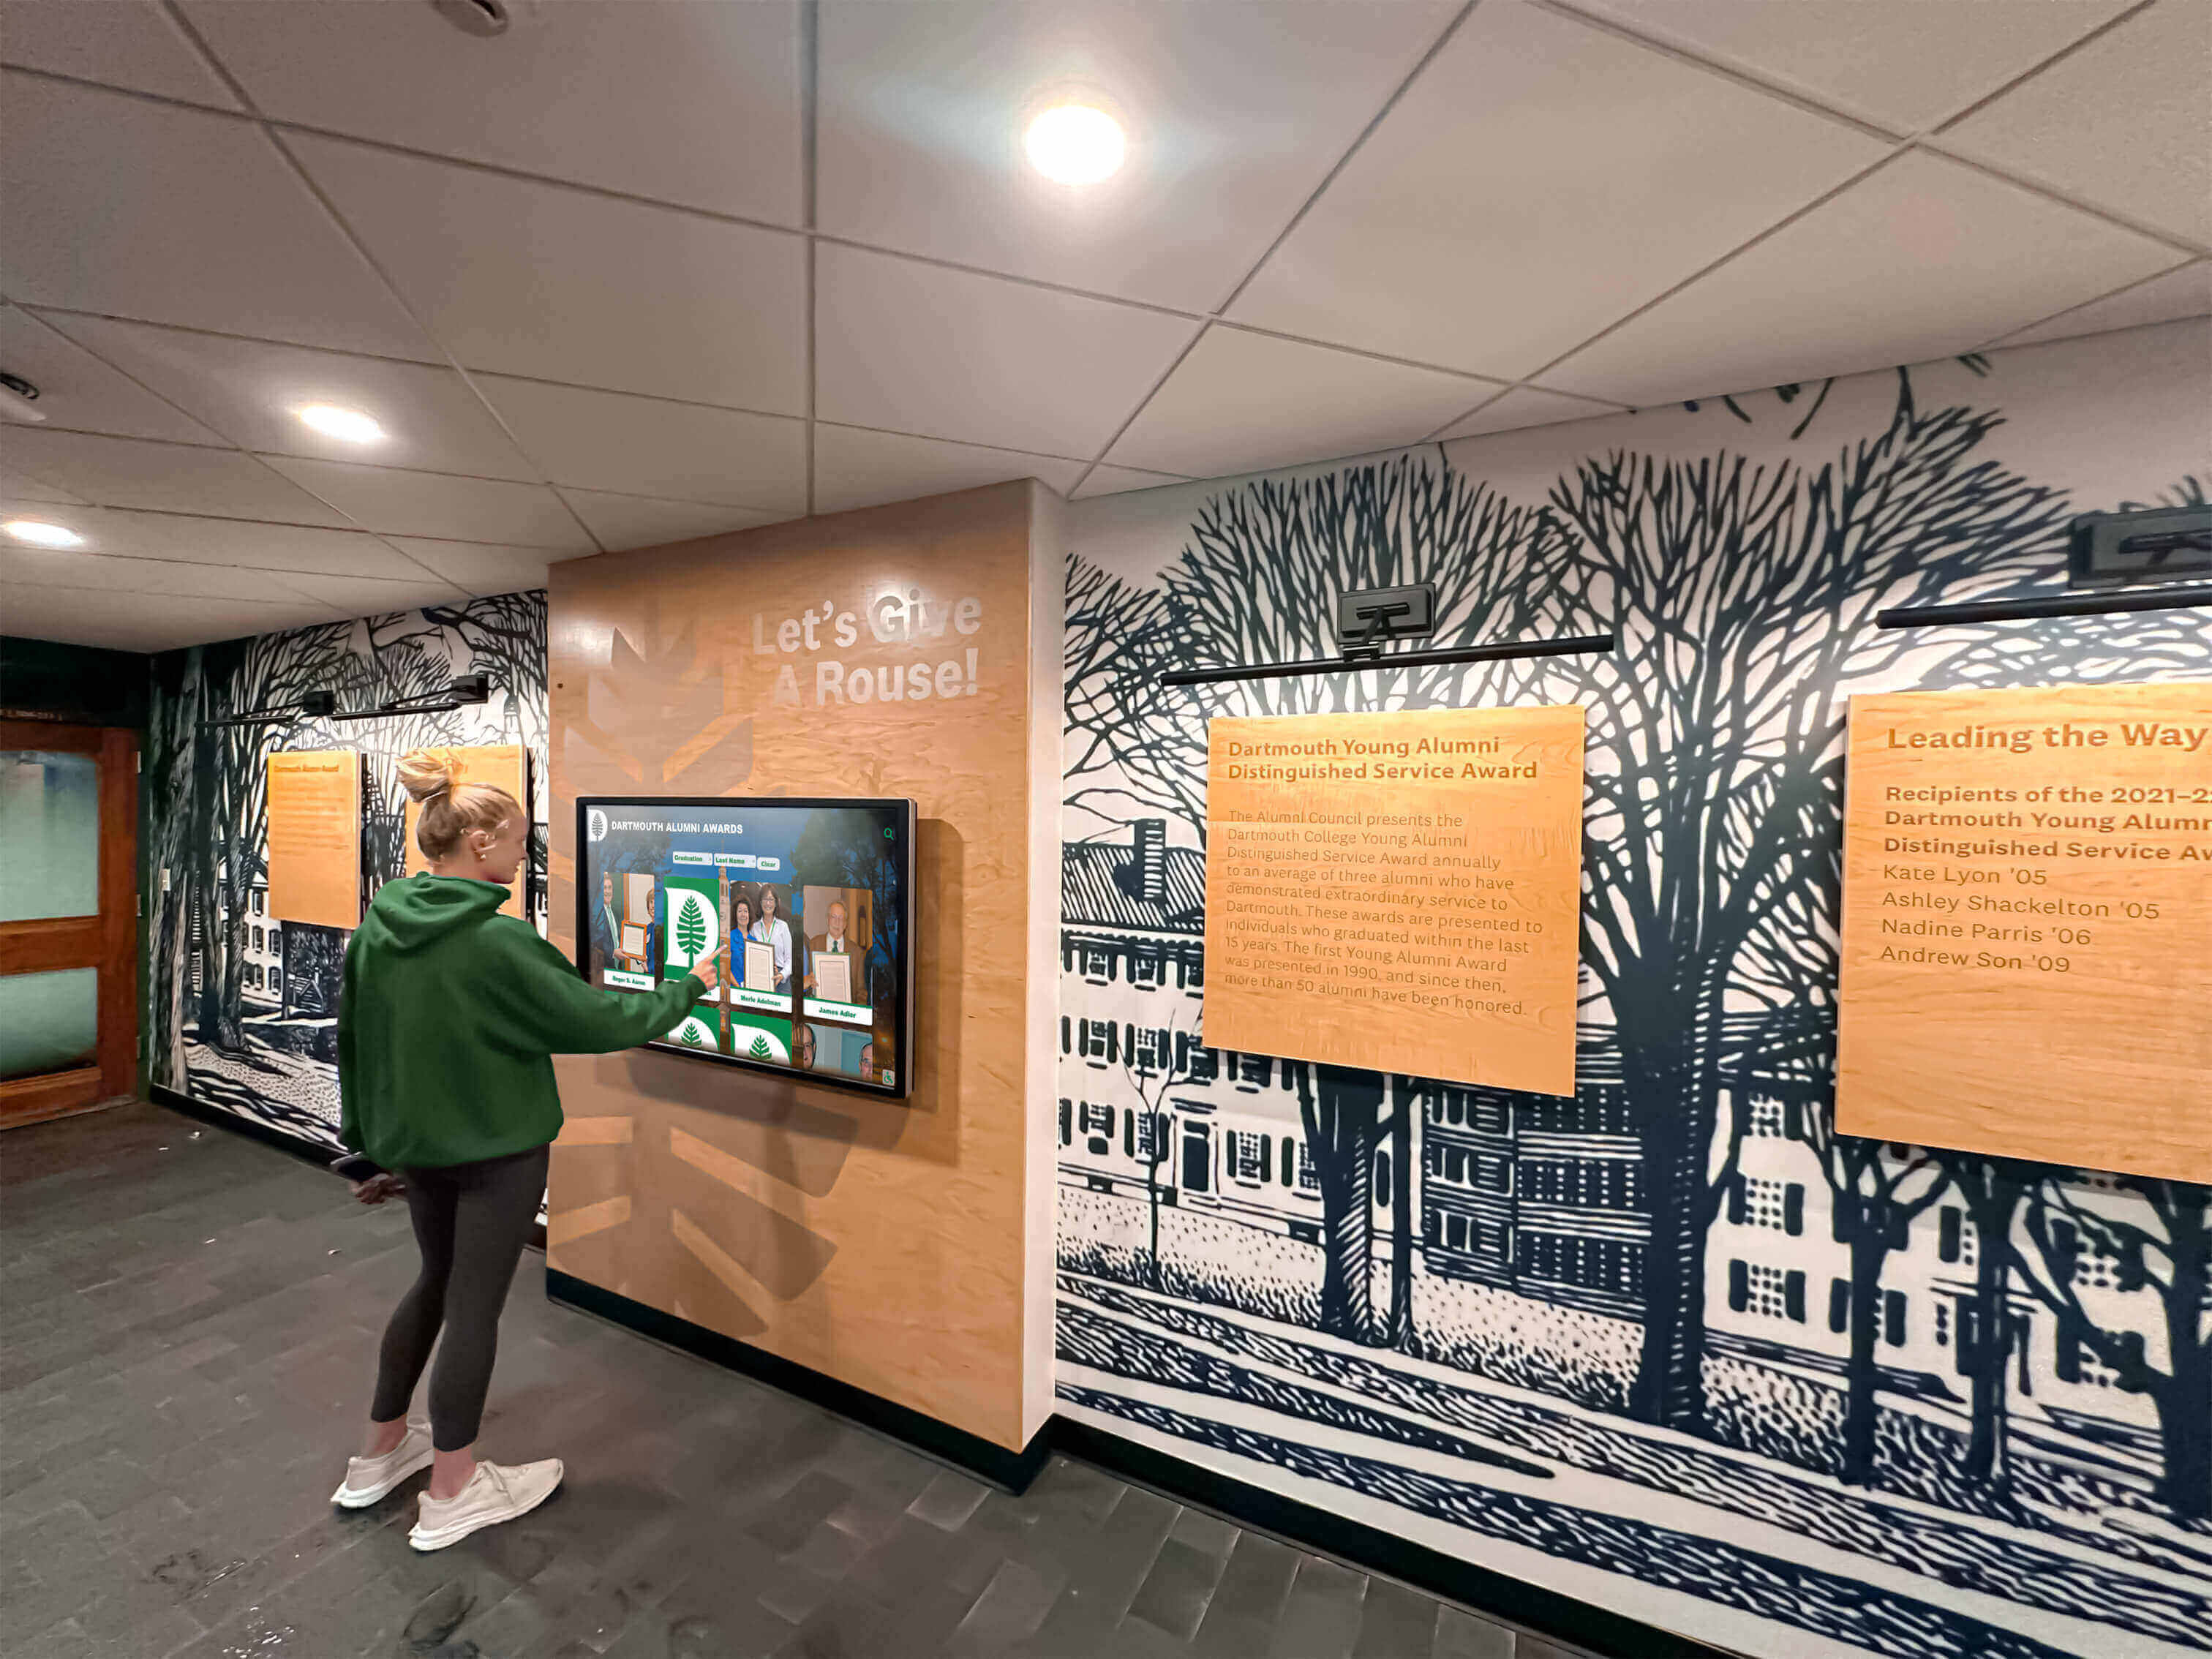
Documenting the switch port, VLAN, and current binding table entry before testing gives each checklist step a clear expected result and speeds resolution if a step fails
Recognition Display DHCP Snooping Compatibility Checklist
Step 1: Confirm DHCP Snooping Is Enabled on the Display VLAN
Verify that DHCP snooping is active on the VLAN assigned to the recognition display before testing how the display interacts with that protection.
- Log into the access switch via SSH or console connection.
- Run:
show ip dhcp snooping - In the output, locate the Snooping is configured on following VLANs line. Confirm the display’s VLAN number appears in the list.
- If the display VLAN is absent from the DHCP snooping VLAN list, DHCP snooping is not active on that VLAN. The display will obtain DHCP leases without snooping enforcement — proceed to standard DHCP connectivity testing rather than this checklist.
- Note whether DHCP snooping is globally enabled appears in the output. On Cisco IOS, both the global feature and the per-VLAN configuration must be enabled for snooping to take effect.
On Juniper EX: show dhcp snooping binding and show ethernet-switching interface provide the equivalent state. On HP ProCurve: show dhcp-snooping displays the VLAN list.
Pass criteria: DHCP snooping globally enabled; display VLAN present in the snooping VLAN list.
Step 2: Confirm Port Trust Configuration
Verify that the switch port connecting the display is configured correctly — as an untrusted access port — and that the uplink port carrying DHCP server replies is configured as trusted.
- On the access switch, run:
show ip dhcp snoopingand locate the Interface section listing trusted ports. Confirm the uplink port (typically a trunk or uplink port in the school’s documentation) appears as trusted. - Confirm the display’s access port does NOT appear in the trusted interface list. An access port connecting a recognition display should be untrusted — this is the secure and correct configuration.
- If the display’s access port is incorrectly marked as trusted, remove the trust configuration:
interface <port-id>
 no ip dhcp snooping trust
- If the uplink port is not marked as trusted, DHCP server replies from the legitimate DHCP server are dropped before they reach the display VLAN. Add trust to the uplink:
interface <uplink-port-id>
 ip dhcp snooping trust
- After any trust configuration change, trigger a DHCP release and renew from the display media PC:
ipconfig /releasefollowed byipconfig /renew. Confirm the display obtains an IP address.
Pass criteria: Uplink port appears as trusted; display access port is untrusted (absent from the trusted port list); display obtains a valid IP address from the DHCP server.
Step 3: Confirm the Display Obtains a Lease After a Cold Boot
Simulate the display’s startup DHCP behavior to confirm the snooping-protected port does not enter err-disabled state during the DHCP burst generated by the display’s OS at boot.
- From the display media PC, open PowerShell as administrator and run:
ipconfig /release
Wait five seconds, then run:
ipconfig /renew
This simulates the DHCP DISCOVER–OFFER–REQUEST–ACK exchange the display’s NIC performs at each boot.
- Immediately after
ipconfig /renewcompletes, return to the switch and run:show interfaces <port-id> status - Confirm the port state is
connected. If the state iserr-disabled, DHCP rate limiting triggered during the DHCP burst. Proceed to Step 4. - If the port remains connected, confirm the display received an IP address:
ipconfigon the display media PC should show a valid IP in the display’s VLAN subnet. - If possible, perform a full media PC reboot rather than a software lease release-renew to simulate the actual startup DHCP burst including all NIC initialization traffic.
Pass criteria: Switch port remains connected after DHCP release/renew; display receives a valid IP address in the expected VLAN subnet.
Step 4: Confirm DHCP Rate Limiting Is Not Blocking Lease Acquisition
Test whether the per-port DHCP packet rate limit allows the display to complete lease acquisition without triggering err-disabled port state.
- On the access switch, run:
show ip dhcp snooping statistics - Locate the counter for DHCP packets dropped or Forwarded Dropped (Rate Limit). If the counter increments during a display lease release/renew cycle, the rate limit is actively dropping DHCP packets from the display port.
- Check the current rate limit on the display’s access port:
show running-config interface <port-id>
Look for the ip dhcp snooping limit rate <N> line. The default on Cisco IOS is 15 packets per second per port.
4. If the port has entered err-disabled state due to a previous rate limit violation, recover it:
interface <port-id>
 shutdown
 no shutdown
- If rate-limit drops are occurring but the port has not yet entered
err-disabled, increase the limit on the display’s access port:
interface <port-id>
 ip dhcp snooping limit rate 50
A limit of 50 pps is sufficient for recognition display DHCP traffic while still protecting against DHCP starvation attacks. 6. After adjusting the rate limit, repeat the DHCP release/renew test from Step 3 and confirm the port remains connected and no drops are recorded.
Pass criteria: No DHCP packet drops attributed to rate limiting during a display lease release/renew cycle; switch port does not enter err-disabled state.
Step 5: Confirm the Binding Table Entry for the Display
Verify that the DHCP snooping binding table records a valid entry for the display’s MAC address, IP address, VLAN, and port.
- On the access switch, run:
show ip dhcp snooping binding - Locate the entry for the display’s MAC address (from
ipconfig /allon the display media PC). Confirm all four fields match the expected values:- MAC Address — matches the display NIC’s MAC exactly
- IP Address — matches the IP address currently assigned to the display
- VLAN — matches the display’s access VLAN
- Interface — matches the specific switch port the display is connected to
- If the MAC address is absent from the binding table, trigger a DHCP renew from the display (
ipconfig /renew) and re-run the show command. A successful DHCP lease acquisition creates the binding table entry automatically. - If the binding table entry exists but shows an incorrect port, the display’s cable is connected to a different port than documented. Update the network documentation to reflect the correct port and confirm that port’s trust and rate-limit configuration.
- Note the lease expiry time in the binding table output. Confirm it matches the lease duration configured on the DHCP server for the display’s VLAN scope.
Pass criteria: Binding table entry present with correct MAC address, IP address, VLAN, and interface values; lease expiry time consistent with the DHCP server’s lease duration setting.
Step 6: Confirm Binding Table Persistence Across Switch Reboots
Verify that the DHCP snooping binding table is written to persistent storage so that a switch reboot does not delete the display’s binding entry and disrupt its network access.
- On the access switch, run:
show running-config | include snooping database - Look for a line such as:
ip dhcp snooping database flash:snooping.dborip dhcp snooping database tftp://<tftp-server>/snooping.db - If no database persistence is configured, the binding table is stored only in RAM and is lost when the switch reboots. Add persistence:
ip dhcp snooping database flash:snooping.db
ip dhcp snooping database write-delay 300
The write-delay 300 parameter writes the binding table to flash every 300 seconds, preventing excessive flash writes while ensuring the table is saved within five minutes of any lease acquisition.
4. After configuring persistence, trigger a DHCP renew from the display to create a current binding entry, wait 300 seconds, then run: show ip dhcp snooping database to confirm the file was written and the entry count is greater than zero.
5. Verify the write-delay timer is appropriate for the switch’s flash endurance rating. On switches with flash write endurance concerns, use a TFTP server as the persistence target rather than the switch’s own flash storage.
Pass criteria: Binding table persistence configured to flash or TFTP; show ip dhcp snooping database confirms the file is being written and entry count matches active display leases.
Step 7: Confirm Lease Renewal Does Not Trigger Port Issues
Verify that the display’s periodic DHCP lease renewal (which occurs at the half-life of the lease, typically every 4 hours for an 8-hour lease) does not trigger rate limiting or port state changes on the switch.
- Note the current lease time remaining for the display’s binding table entry from Step 5. Calculate when the next DHCP REQUEST (renewal attempt) will occur: at 50% of the lease duration.
- At the calculated renewal time, monitor the switch:
show ip dhcp snooping statisticsandshow interfaces <port-id> status. - Confirm that DHCP packet drop counters do not increment during the renewal exchange and that the port remains in a
connectedstate. - After the renewal completes, run:
show ip dhcp snooping bindingand confirm the lease expiry time has been updated, confirming the renewal succeeded. - If the school’s IT team cannot wait for the natural renewal cycle, shorten the DHCP scope’s lease duration temporarily for the display’s MAC address in the DHCP server to trigger a faster renewal cycle for testing purposes only, then restore the normal lease duration after the test.
Pass criteria: DHCP lease renewed at the half-life without rate limit drops or port state changes; binding table entry updated with a new expiry time.
Step 8: Record Results and Make a Go / No-Go Decision
Document the full DHCP snooping compatibility test before releasing the display to unattended operation.
| Test Item | Expected Result | Actual Result | Pass / Fail | Tested By | Date |
|---|---|---|---|---|---|
| DHCP snooping enabled on display VLAN | Feature globally enabled; display VLAN in snooping VLAN list | ||||
| Uplink port trust configuration | Uplink marked as trusted; display access port untrusted | ||||
| Lease acquisition after cold boot | Port connected; display receives valid IP in VLAN subnet | ||||
| DHCP rate limiting — no drops | No rate-limit packet drops; port not in err-disabled state | ||||
| Binding table entry present | MAC, IP, VLAN, interface all match expected values | ||||
| Binding table persistence | Database file configured and written to flash or TFTP | ||||
| Lease renewal — no disruption | Renewal completes without rate-limit drops or port state change |
Go / No-Go rule: All seven items must show a passing result before the display enters unattended operation. A display that fails the lease acquisition test or produces err-disabled port state during DHCP activity should not be placed in an unattended public location until the rate-limit configuration or port trust settings are corrected.
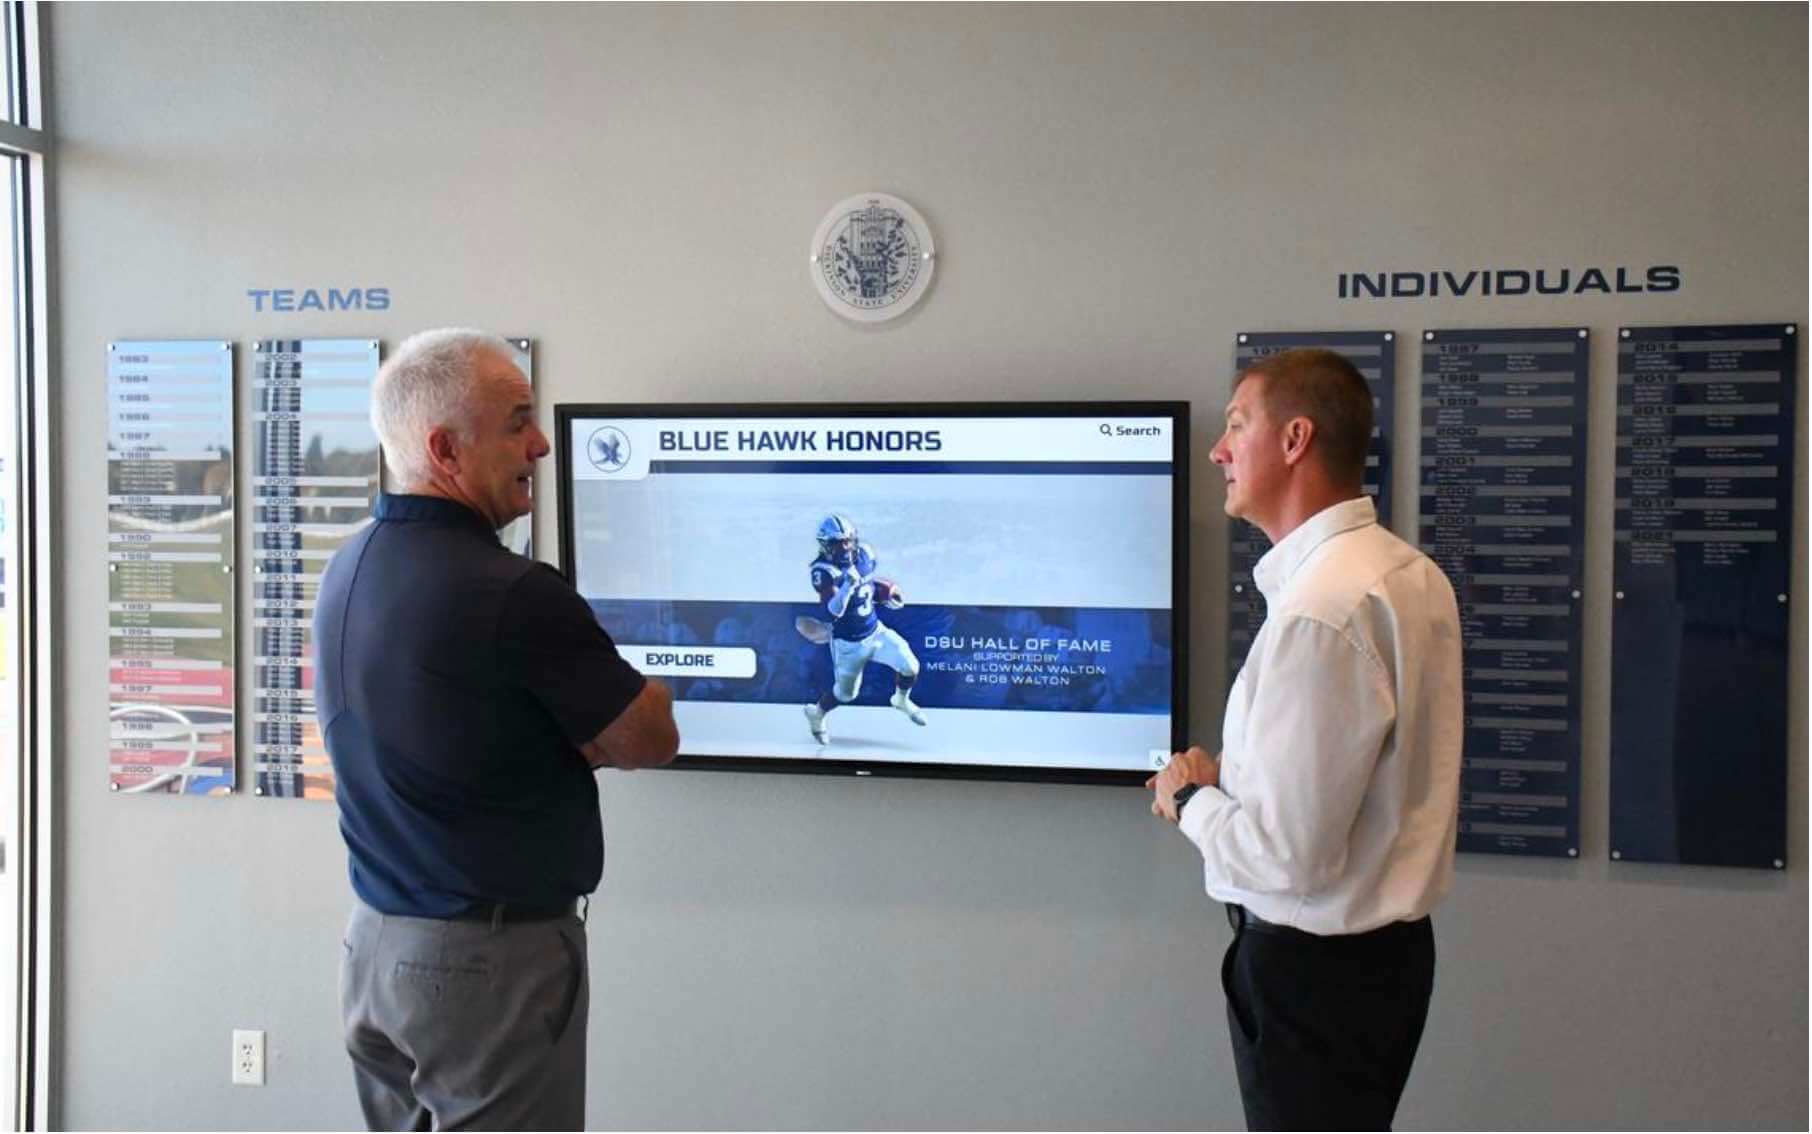
A completed DHCP snooping compatibility record gives network administrators a documented baseline for the display's Layer 2 network behavior, speeding diagnosis if lease failures occur after a switch maintenance window
Troubleshooting: Common DHCP Snooping Compatibility Failures
| Symptom | Probable Cause | Resolution |
|---|---|---|
| Display fails to obtain IP address; port remains connected but no DHCP response received | Uplink port (carrying DHCP server responses) not configured as trusted; switch drops all DHCPOFFER and DHCPACK frames before they reach the display's VLAN | Run show ip dhcp snooping and verify the uplink port appears in the trusted interface list. Add ip dhcp snooping trust to the uplink port interface. Re-run ipconfig /renew from the display after correcting the trust configuration |
Display port enters err-disabled state during boot | DHCP packet rate limit (default 15 pps on Cisco IOS) triggered by the burst of DHCP DISCOVERs generated by Windows or Linux NIC initialization during startup | Recover the port with shutdown / no shutdown. Increase the rate limit on the display access port: ip dhcp snooping limit rate 50. Consider configuring errdisable recovery cause dhcp-rate-limit with a short recovery interval for display ports so future rate-limit events auto-recover without IT intervention |
| Display obtained an IP address but traffic is blocked after a switch reboot | Switch rebooted without binding table persistence; DHCP snooping binding table was in RAM and cleared; DAI or IP Source Guard is now blocking the display's traffic because its MAC/IP pair is absent from the binding table | Configure binding table persistence (ip dhcp snooping database flash:snooping.db). Recover the display immediately by triggering a DHCP release/renew from the display media PC — this creates a new binding table entry. Verify the new entry in show ip dhcp snooping binding |
| Binding table entry present but shows wrong IP address | The display's DHCP lease was renewed and a new IP was assigned from the DHCP server; the DHCP server scope does not use a reservation for the display, so the display received a different IP from its previous assignment | Create a DHCP reservation (MAC address binding) for the display in the DHCP server scope to ensure it always receives the same IP address. This eliminates IP-address churn in the binding table and simplifies firewall rules and CMS device registration that depend on a stable IP |
| DHCP works but Dynamic ARP Inspection (DAI) blocks display traffic | DAI is enabled on the display VLAN and the binding table was cleared by a switch reboot; the display's ARP traffic is blocked because its IP/MAC pair is not in the binding table even though a DHCP lease exists on the server | Recover the display by triggering a DHCP renew, which re-populates the binding table. Then configure binding table persistence to prevent recurrence. Alternatively, create a static ARP inspection entry: arp access-list DISPLAY-ARP with permit ip host <display-ip> mac host <display-mac> |
| DHCP snooping binding shows correct entry but display cannot reach the CMS | DHCP snooping is working correctly; the connectivity issue is at a higher network layer — routing, firewall policy, or DNS — not the Layer 2 snooping configuration | Confirm the display can reach its default gateway: ping <gateway-ip>. If the gateway is reachable but the CMS is not, check firewall rules on the distribution or perimeter firewall. Also verify DNS resolver reachability. Review recognition display certificate expiration monitoring as an adjacent concern if HTTPS connectivity to the CMS is the specific failure point |
| Binding table entry disappears between test steps without a switch reboot | DHCP lease expired and the display did not renew in time; or the DHCP server rejected a renewal request (DHCPNAK); or the display OS released the lease when entering a low-power state | Check the DHCP server's active lease log for the display's MAC address. If the display's OS released the lease unexpectedly, check NIC power management settings in Device Manager on Windows — disable "Allow the computer to turn off this device to save power" for the network adapter |
Post-Test Steps Before Returning to Unattended Operation
After all test items pass, complete these steps before closing the commissioning session.
Save the switch configuration. On Cisco IOS, run
write memoryorcopy running-config startup-configto save the DHCP snooping trust configuration, rate limit settings, and database persistence configuration to the switch’s startup config. A switch reboot from a power loss would otherwise lose all configuration changes made during testing.Save the binding table immediately. Run
ip dhcp snooping database flash:snooping.dbto write the current binding table to flash storage now, rather than waiting for the next write-delay interval. This ensures the display’s binding entry is persisted before the commissioning session ends.Document the port, VLAN, and binding entry. Record the display’s switch name, port ID, VLAN, assigned IP address, and MAC address alongside the display’s serial number and physical location. Schools running athletic recognition and service award programs and year-round display programs benefit from a Layer 2 network record that IT staff can reference without re-surveying the network if a future maintenance window changes the switch or port assignment.
Confirm CMS connectivity after the final DHCP renew. Open the recognition display’s CMS management portal and confirm the display appears online and the last content synchronization timestamp reflects a current sync. Application-layer confirmation that the IP address obtained through the snooping-protected path supports full CMS connectivity is the final end-to-end verification of the test. Schools showcasing academic achievement and award recognition programs that update regularly need CMS sync confirmed at commissioning so new content displays correctly on the first school day.
Looking for a recognition display partner that manages the complete network commissioning process — DHCP configuration, switch requirements, and ongoing remote monitoring — for your school’s hall of fame or athletic record board? Rocket Alumni Solutions handles installation, network setup, and remote management so your recognition display reaches students and visitors reliably from day one. Request a network-ready demo to see how their managed approach simplifies network configuration for school IT teams.
- Schedule a post-summer verification. Add a note to the school’s IT maintenance calendar to re-run Steps 3 and 5 (lease acquisition and binding table verification) at the start of each school year, particularly after any summer network equipment replacement, firmware updates, or VLAN reconfiguration. Schools that install interactive touchscreen recognition displays to serve students and families at the start of a new school year need the display ready on opening day — not waiting for a post-summer troubleshooting visit to restore a cleared binding table.
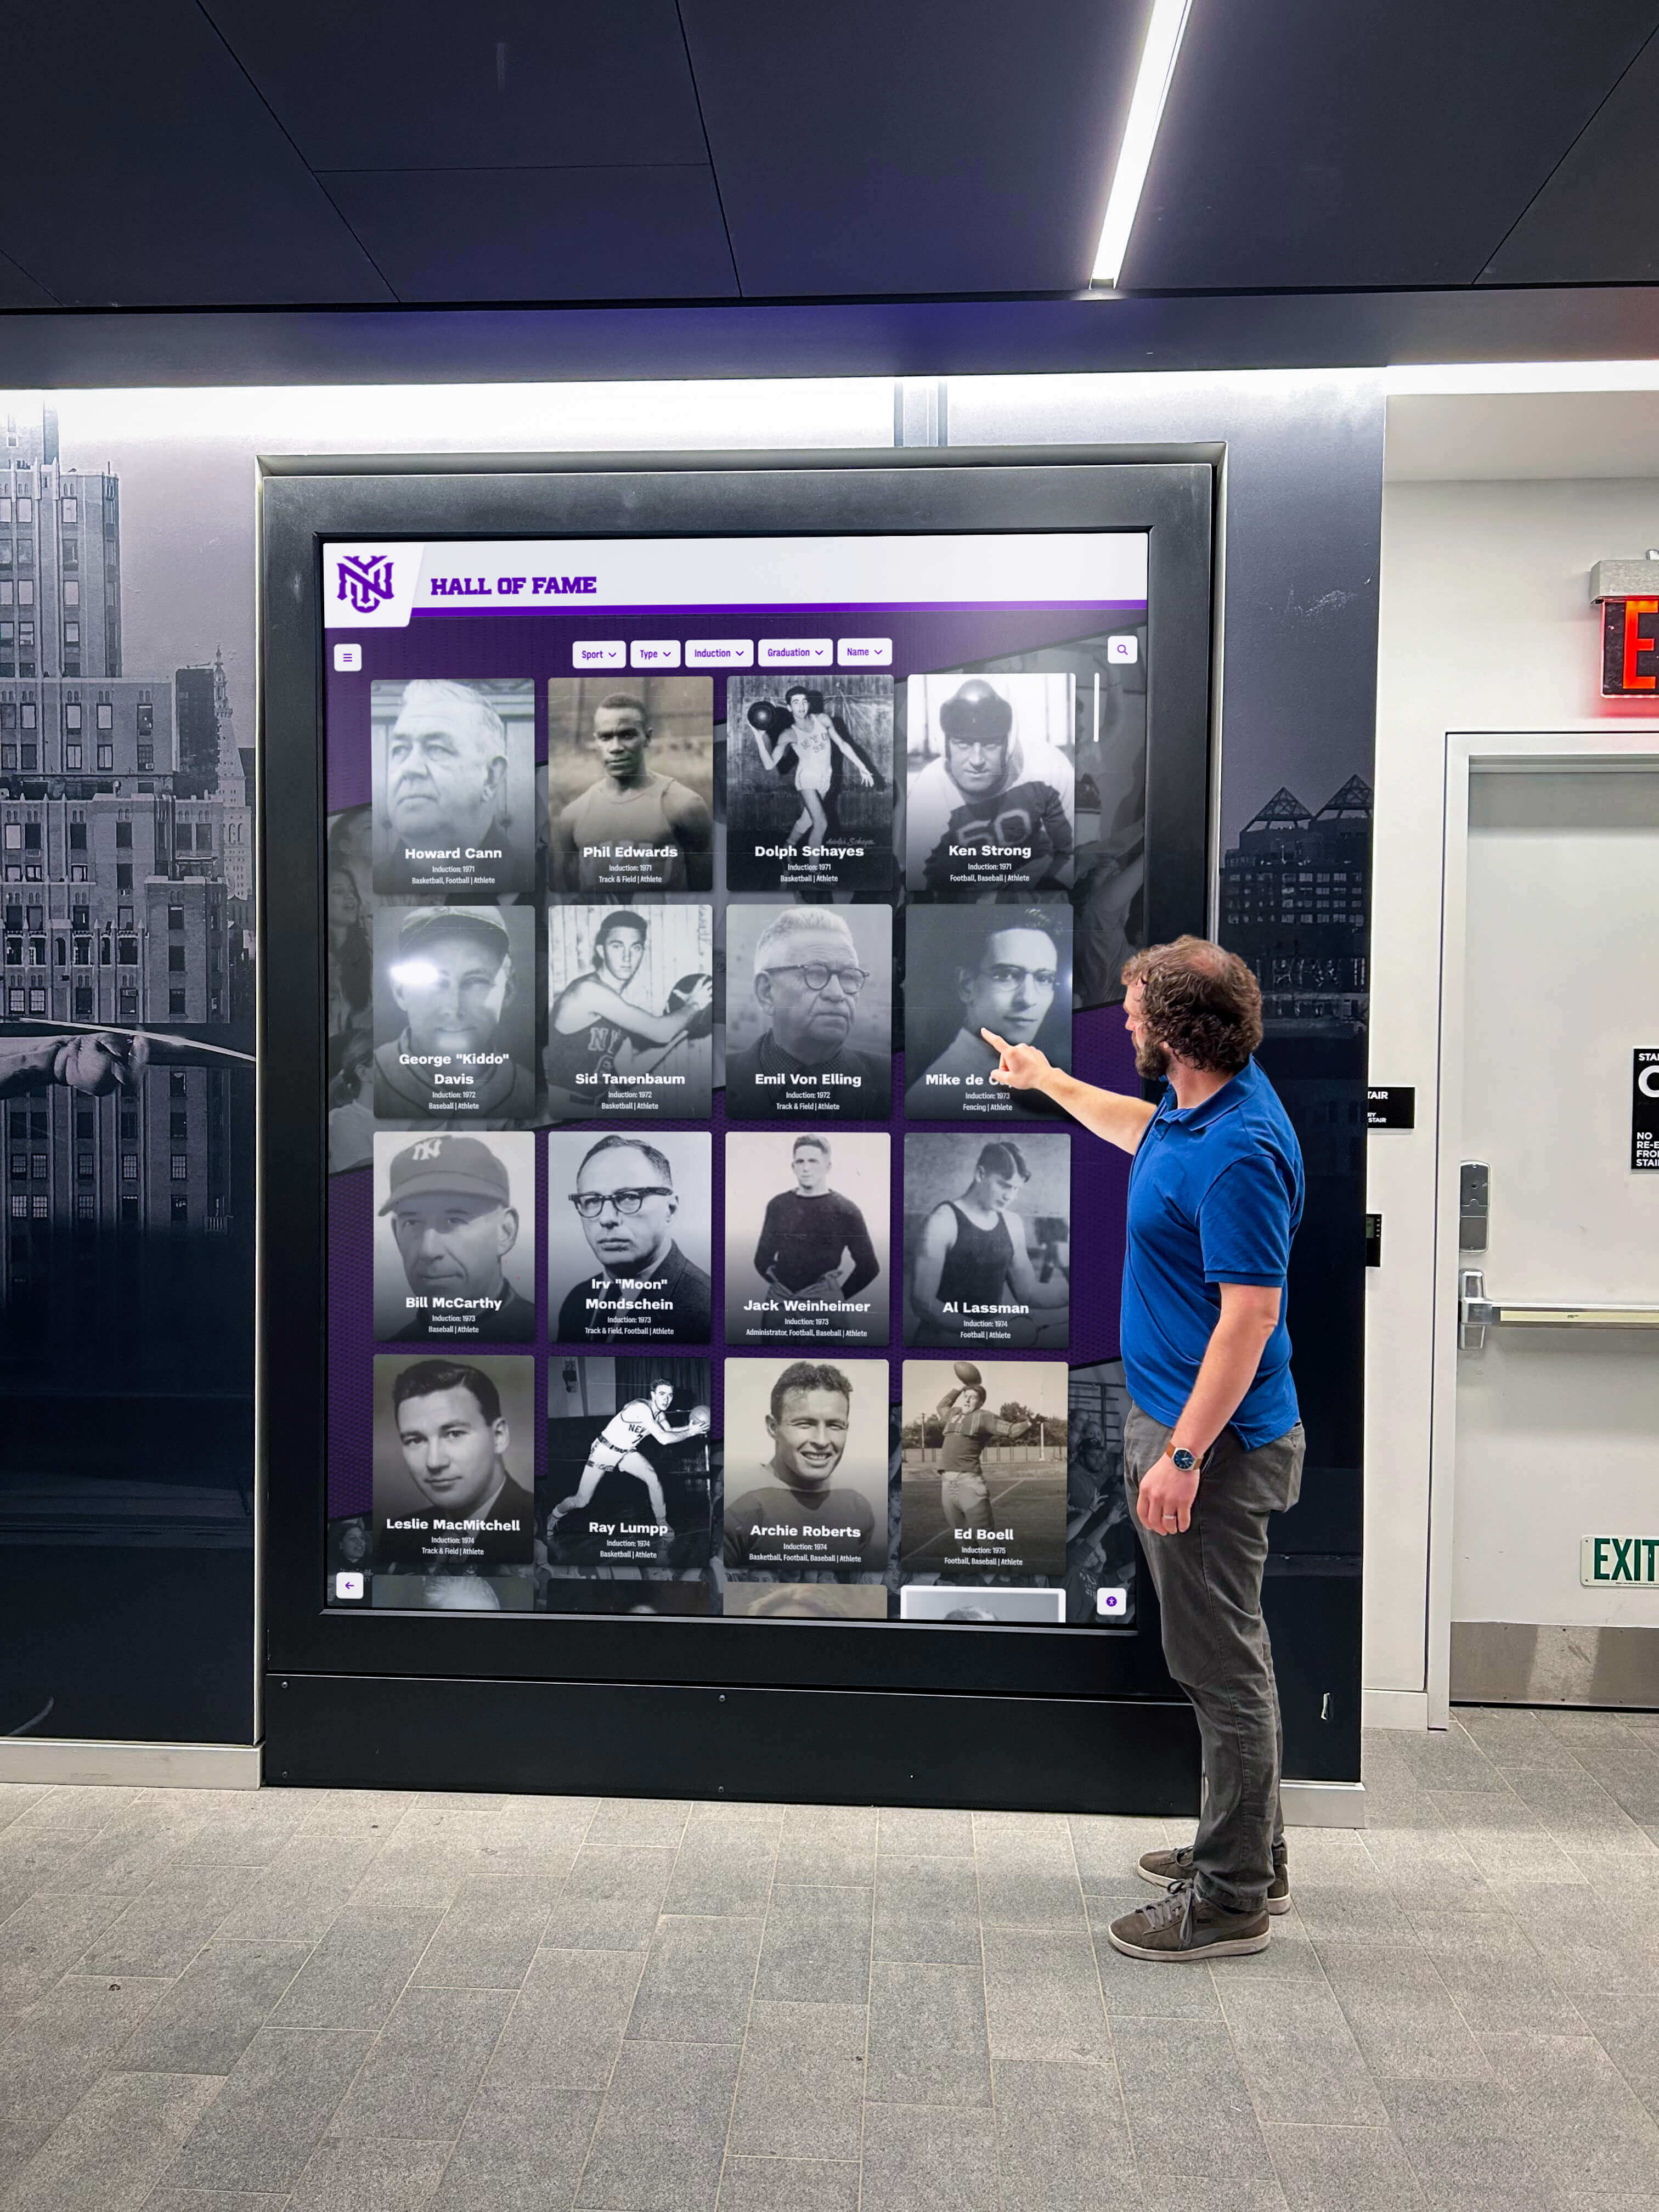
Post-test CMS connectivity verification confirms that the IP address obtained through the DHCP snooping-protected path supports full recognition program content delivery to students, staff, and visitors
DHCP Snooping Considerations for Multi-Display Installations
Schools running recognition displays in multiple locations — a main lobby hall-of-fame wall, an athletics corridor record board, and a donor recognition screen in the administrative wing — may serve those displays from different access switches, different VLANs, or different content filter zones. Do not assume that a passing DHCP snooping compatibility result on one display applies to all others.
For multi-display deployments, run Steps 1 through 7 on each display and its access switch independently. Pay particular attention to:
Different access switches with inconsistent snooping configurations. A display in the gymnasium served by a different access switch than the main lobby display may have different rate-limit thresholds, different database persistence configurations, or a different uplink trust configuration if the gymnasium switch was installed or updated at a different time. Run show ip dhcp snooping on each access switch independently to confirm consistent configuration.
Multiple VLANs with separate snooping scope. If recognition displays are distributed across a display VLAN, an athletics VLAN, and an administrative VLAN, DHCP snooping must be enabled and correctly configured on each VLAN independently. A passing result on one VLAN does not confirm snooping is correctly configured on the other VLANs serving other displays.
Staggered boot times during school power-up. If a school starts all recognition displays simultaneously on a scheduled power-up (common with smart power strips or UPS outlet switching), multiple displays may generate DHCP DISCOVER bursts at the same time. Per-port rate limiting protects individual ports, but a school with eight displays on the same access switch should confirm the switch’s total DHCP processing capacity is sufficient for simultaneous multi-port lease acquisition without excessive delay.
Schools that maintain digital hall-of-fame displays across multiple buildings benefit from a standardized DHCP snooping configuration template applied consistently to all access switches serving recognition displays, rather than relying on ad-hoc per-switch configuration that may drift over time.
Frequently Asked Questions
Does DHCP snooping affect the display after it has obtained a lease?
After the display obtains a DHCP lease and the binding table entry is populated, DHCP snooping itself does not interfere with normal traffic — it only inspects DHCP packets. However, two related features that use the DHCP snooping binding table — Dynamic ARP Inspection (DAI) and IP Source Guard — continue to inspect non-DHCP traffic based on the binding table entries. If the binding table entry for the display is lost due to a switch reboot without persistence configured, DAI or IP Source Guard will block the display’s traffic even though DHCP snooping itself is not the direct cause. Always treat binding table persistence as part of the DHCP snooping compatibility configuration.
Should the recognition display port be configured as a DHCP snooping trusted port?
No. The display’s access port should be untrusted, which is the default for access ports. Untrusted ports are permitted to send DHCP client messages (DISCOVER, REQUEST) but not DHCP server messages (OFFER, ACK). The display is a DHCP client, not a server, so the untrusted configuration is correct and secure. Marking an access port as trusted creates a security risk — any device connected to that port could act as a rogue DHCP server and issue forged leases to other devices on the VLAN. The uplink port connecting the access switch to the distribution layer is the port that should be trusted.
What is the recommended DHCP rate limit for a recognition display access port?
A rate limit of 50 packets per second per port is a reasonable baseline for recognition display access ports. The default 15 pps on Cisco IOS is sufficient for most clients but may be too low for Windows 10/11 media PCs that generate rapid DHCP retransmissions during NIC initialization. A limit of 50 pps still protects against DHCP starvation attacks (which require thousands of packets per second to exhaust a DHCP scope) while providing enough headroom for normal display boot traffic. If err-disabled events occur at 50 pps, inspect the display’s NIC driver settings — some Windows NIC drivers retry DHCP DISCOVERs at a configurable interval that can be reduced to lower the burst rate.
Does DHCP snooping work differently on Juniper EX or HP ProCurve switches?
The core security model is the same — trusted and untrusted ports, binding table construction, and packet filtering — but the CLI syntax differs. On Juniper EX, DHCP snooping is configured under [edit vlans <vlan-name> forwarding-options dhcp-security] and binding tables are viewed with show dhcp snooping binding. On HP/Aruba ProCurve, the feature is configured with ip dhcp snooping vlan <vlan-id> at the global config level, with binding tables viewed with show dhcp-snooping binding. The test steps in this checklist apply to all three platforms; substitute the appropriate CLI syntax for the switch vendor installed at your school.
How does DHCP snooping interact with a statically configured display IP?
A recognition display configured with a static IP address does not generate DHCP traffic and therefore does not interact with DHCP snooping directly. However, Dynamic ARP Inspection — which uses the DHCP snooping binding table — will not have a binding entry for the display and will block all ARP traffic from the display’s port by default if DAI is enabled on the display VLAN. For statically configured displays on DAI-enabled VLANs, create a static ARP access list entry that permits the display’s IP/MAC pair and apply it to the DAI configuration for the display port. Alternatively, configure the display port as a DAI-trusted port — but note that DAI-trusted ports bypass ARP validation entirely, which is a weaker security posture than a static ARP entry.
What happens if the school replaces the access switch during summer maintenance?
A new access switch has no DHCP snooping binding table entries. When the displays power on at the start of the school year, each will issue a DHCP DISCOVER and obtain a new lease normally — the new binding entries will be created as part of the lease acquisition process. The compatibility risk is in the new switch’s baseline configuration: confirm DHCP snooping is enabled on the correct VLANs, the uplink port is configured as trusted, rate limits are set appropriately for display ports, and binding table persistence is configured before the first school day. Running Steps 1 through 6 of this checklist on the new switch before recognition displays are powered on prevents a first-day outage. Schools presenting athletic achievement and hall-of-fame programs to students and community members on opening day cannot afford a morning troubleshooting session caused by an unconfigured replacement switch.
How often should this DHCP snooping compatibility test be repeated?
Run the full checklist at commissioning and after any of the following: access switch replacement or firmware update, VLAN reconfiguration or renumbering, DHCP server scope modification, or any reported display network connectivity failure not explained by standard layer-3 connectivity tests. At minimum, run a spot-check of Steps 3 and 5 (lease acquisition and binding table entry) at the start of each school year after summer network maintenance. Schools that host ongoing recognition programs with regular content updates need the Layer 2 network to be verified as part of the annual display commissioning routine, not discovered to be broken when content fails to synchronize on the first day of school.
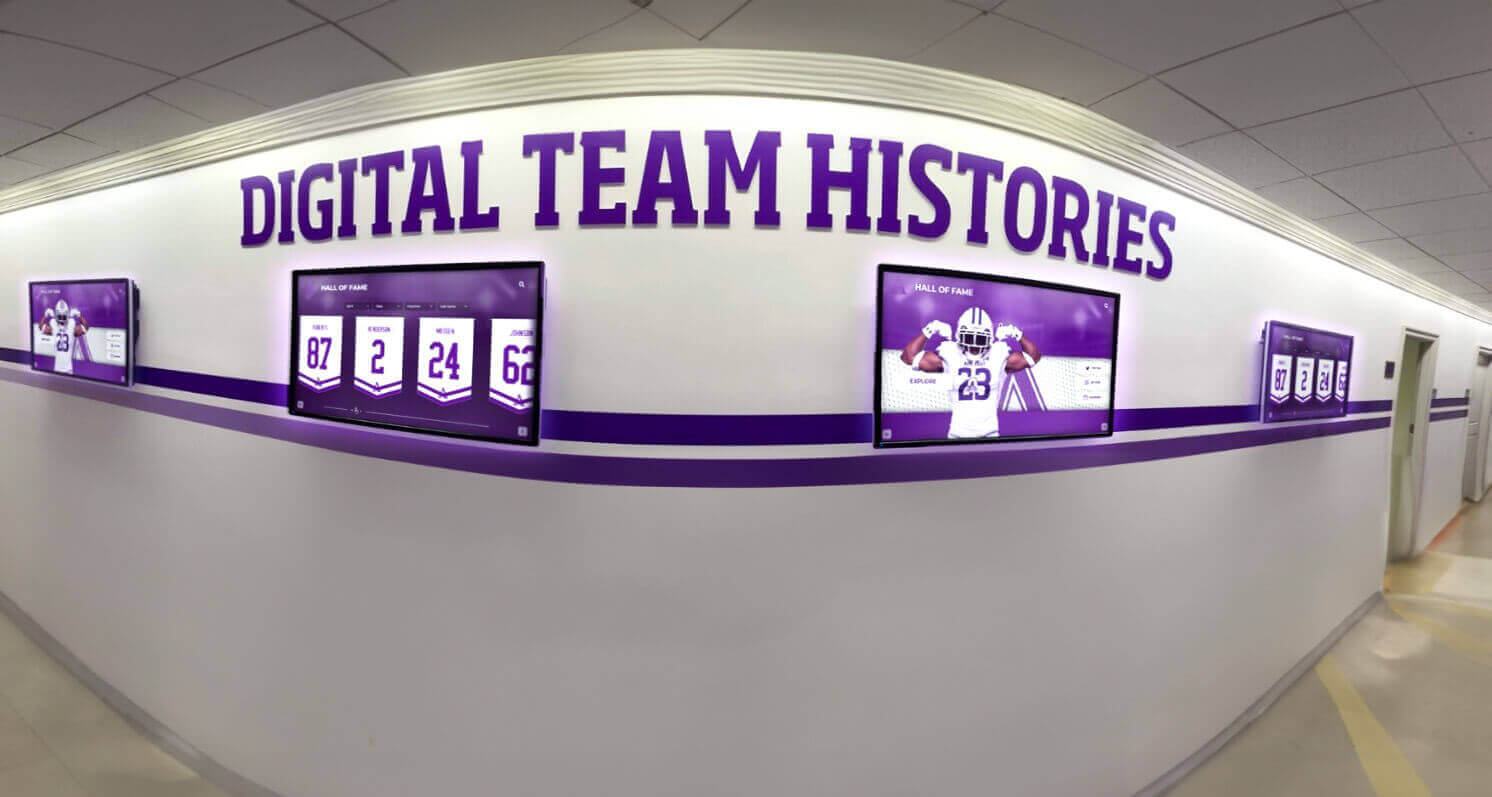
Schools running recognition displays across multiple hallways and access switches benefit from a standardized DHCP snooping configuration template applied consistently at each display location
A recognition display’s Layer 2 network compatibility with DHCP snooping is rarely visible to program administrators until a lease failure leaves the display offline at the start of a school day. Running this recognition display DHCP snooping compatibility test at commissioning — and revisiting it after summer network maintenance — confirms the display can obtain and renew DHCP leases reliably on the snooping-protected school network. Verify the uplink trust configuration, confirm lease acquisition after a cold boot, check for rate-limit err-disabled events, validate the binding table entry, and configure persistence before returning the display to unattended operation. Record every result before the display enters the recognition program’s live schedule.
Interested in a recognition display solution that arrives pre-configured for common school network environments — including managed switch compatibility guidance and ongoing remote monitoring support? Rocket Alumni Solutions deploys hall-of-fame displays and athletic recognition systems for schools with full network configuration guidance and ongoing remote support throughout the school year. Schedule a demo to learn how Rocket Alumni Solutions simplifies recognition display deployment for school IT teams and program administrators.