Intent: demonstrate — this guide walks school IT coordinators, athletic directors, and AV installation staff through a recognition display black crush test so dark athlete portraits, gymnasium game footage, and night-sport photography render with full shadow detail on a touchscreen hall of fame, athletic record board, or corridor recognition display before the program goes live.
Black crush is the loss of visible difference between very dark gray tones — shades that should be distinguishable from each other collapse into a single uniform black. On a recognition display, this erases detail that viewers depend on: the texture of a dark jersey against a dark background, the shadow contour on an athlete’s face in a dimly lit arena photo, the gradient behind a championship title card, or the depth in a night-game highlight clip. The artifact is almost always caused by a mismatch between the signal source’s color range and the display’s expected range, or by aggressive gamma, contrast, or dynamic contrast settings in the display’s on-screen display (OSD) menu.
Running a structured black crush test before the installer leaves catches this problem while settings corrections are still straightforward and, if necessary, before the school community sees a display that makes dark athletic photography look washed out or featureless.
On a correctly configured recognition display, a dark athlete portrait shows clear facial contours, jersey texture, and background separation even when the overall image is dimly lit. Black crush erases those details: shadows that should vary from near-black to true black merge into a single flat tone. The result looks less like a display problem and more like a photograph taken in poor lighting — which makes the recognition program appear to have an archive quality problem when the actual issue is a display settings mismatch.
Catching this artifact requires content that exercises the near-black region of the display’s tonal range. Generic bright test patterns will not reveal black crush. The test must include dark portrait photography, dark video footage, and a near-black gradient sequence. All three are described in the procedure below.
This procedure is hardware-neutral and applies to IPS, VA, and OLED recognition displays connected through HDMI, DisplayPort, or built-in media player hardware. The most common cause — signal range mismatch — appears across all panel technologies and is correctable through OSD settings without hardware changes.
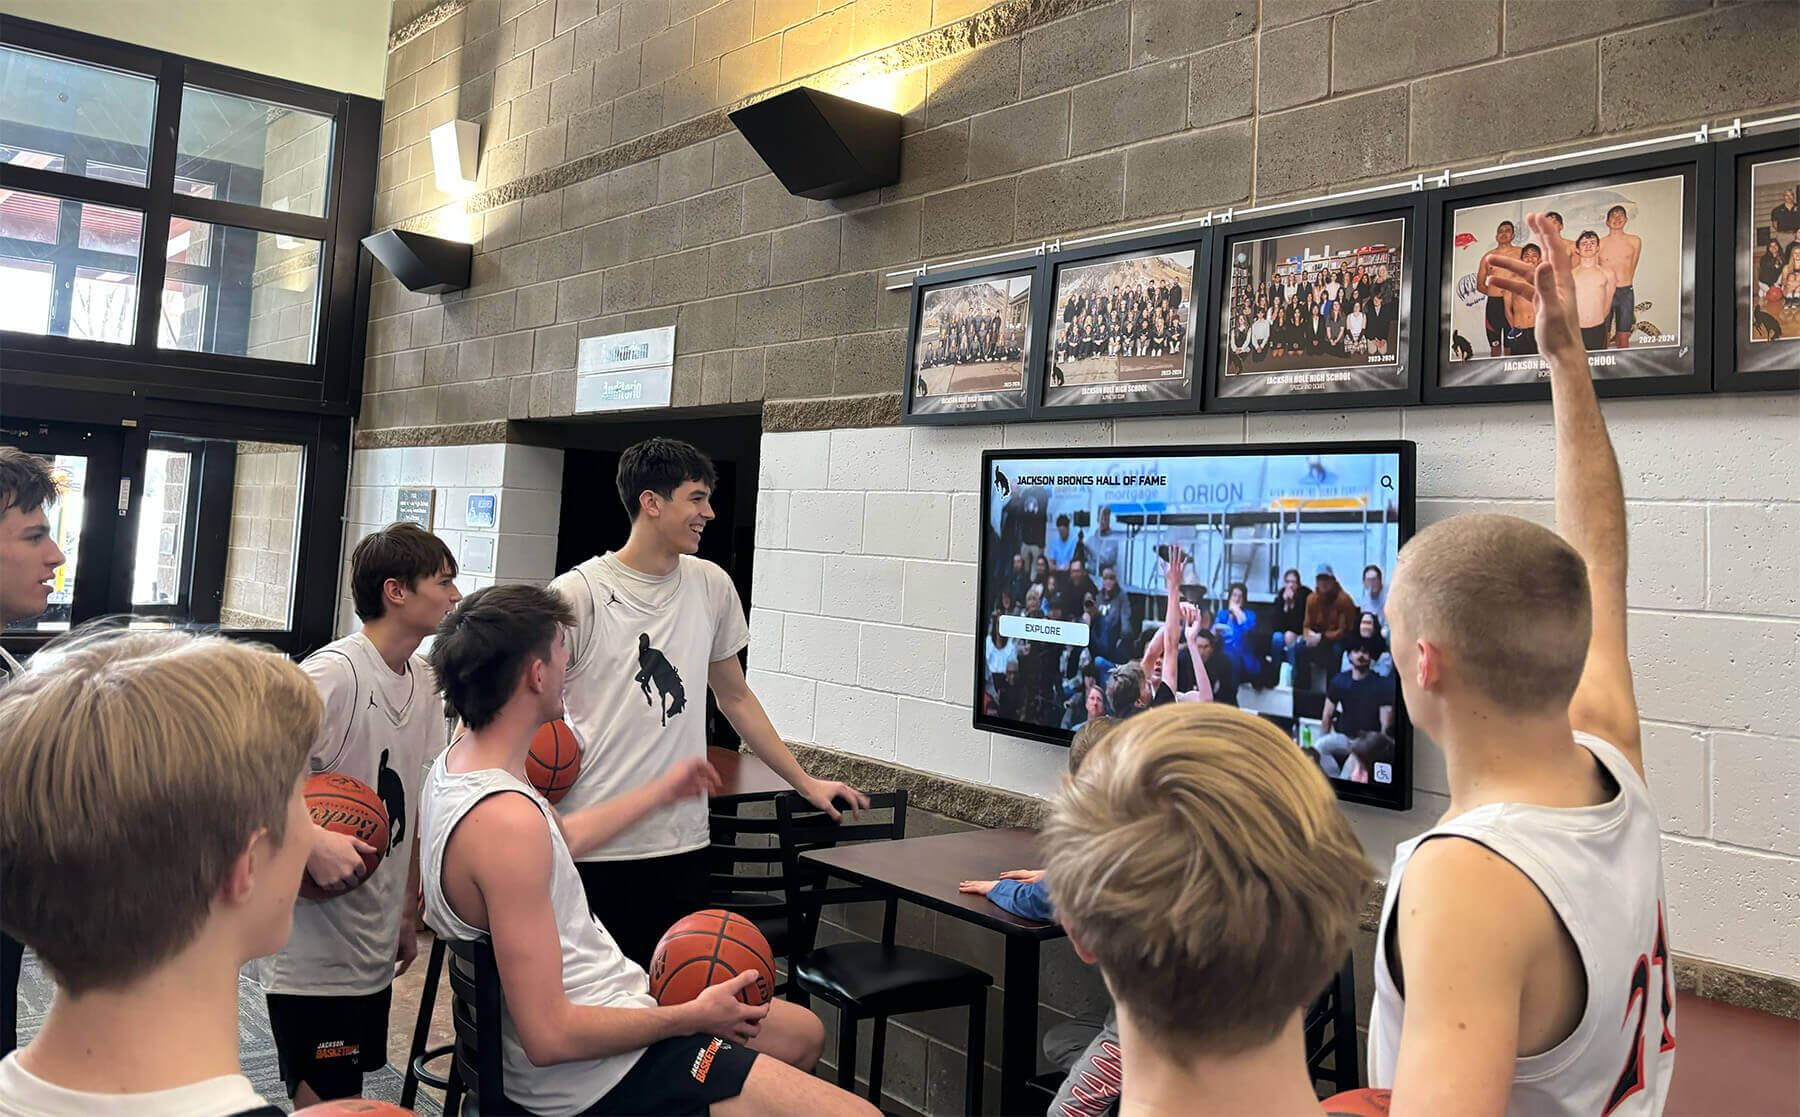
Dark sports footage displayed in lobby recognition systems is among the most demanding content for shadow accuracy — a black crush problem that passes unnoticed during a bright-content review becomes obvious when the program shows gymnasium game footage or night-sport photography
What Black Crush Looks Like on Athletic Recognition Content
Black crush manifests differently depending on the type of content being displayed.
On dark athlete portraits: An athlete photographed in a dimly lit gymnasium or against a dark background will lose facial shadow detail. The shadowed side of the face merges with the background in a flat, featureless tone. A uniform dark jersey against a dark background loses texture and appears as a single black mass. The athlete may look like a cutout rather than a three-dimensional subject.
On gymnasium and indoor game footage: Video clips from indoor athletic events — basketball, wrestling, gymnastics, volleyball — often have dark areas in the crowd, under the bleachers, or in the corners of the gymnasium floor. Black crush flattens these areas uniformly. More critically, athlete uniforms on a dark court or dark mat lose their edge definition, making the video look underexposed even when it was correctly shot.
On night-sport and outdoor evening photography: Football, soccer, lacrosse, and track photography taken under stadium lights typically shows a dark sky and shadowed areas on the field. Black crush collapses the tonal range in these areas, removing the sense of depth and atmosphere from the photograph. Award content built around team photography from evening games is particularly vulnerable.
On title cards and graphic overlays with dark backgrounds: Championship announcement cards, record board graphics, and donor recognition overlays that use a dark background with text often include subtle gradients in the background — a slight vignette, a textured dark surface, or a gradient from near-black to true black. Black crush renders these gradients as uniform black, eliminating the design quality of the graphic.
The diagnostic characteristic that separates black crush from other dark-image problems is that it affects only the lowest end of the tonal range. Content that is uniformly bright — white text on a light background, fully lit athlete photographs — appears normal. The artifact is visible exclusively in content containing very dark gray tones near true black.
Black Crush vs. Related Display Artifacts
Several display artifacts can make dark content look problematic. Identifying black crush specifically determines the correct corrective action.
| Artifact | Appearance | Affected Content | Primary Cause | Corrective Action |
|---|---|---|---|---|
| Black crush | Near-black gray tones collapse to pure black; shadow detail disappears | Dark portraits, indoor sports footage, night-game photography, dark graphic backgrounds | Signal range mismatch (Full vs. Limited RGB), excessive gamma, dynamic contrast, or low black level setting | Correct HDMI black level / RGB range setting; reduce gamma; disable dynamic contrast |
| Crushed whites (white clipping) | Bright highlight areas merge into uniform white; specular detail disappears | Outdoor bright-sky photography, white jersey detail, backlit subjects | Contrast set too high; source outputting Full range while display expects Limited range | Reduce contrast setting; verify signal range alignment |
| IPS glow | A static bright glow visible in corners of a dark screen when viewed at an angle | Any uniformly dark or black content at off-axis viewing angles | IPS panel backlight leakage — not a settings issue | Adjust viewing angle; accept as a characteristic of IPS panels; no settings correction |
| Backlight bleed | Bright patches along the edges or corners of the display on dark content | Uniformly dark or black full-screen content | Physical backlight uniformity variation — not a settings issue | Escalate to vendor for panel evaluation; minor bleed may be within acceptance tolerance |
| Low-gamma muddy darks | Dark areas appear lighter or grayed out rather than deep black | Dark content that looks washed out rather than crushed | Gamma set too low (e.g., 1.8 or 2.0 instead of 2.2) | Increase gamma setting toward 2.2; verify picture mode is not in a "vivid" preset |
Settings Decision Table for Black Crush Correction
Before running the test procedure, review this table of OSD settings that directly affect dark-tonal accuracy. Many black crush problems are correctable through a single setting change. Use this table as a checklist when a dark content issue is identified.
| OSD Setting | Common Label Variants | Black-Crush Risk Setting | Recommended Starting Value | How to Verify |
|---|---|---|---|---|
| HDMI Black Level / RGB Range | "HDMI Black Level," "Black Level," "RGB Range," "Input Range," "Quantization Range" | "Low" or "Limited" when source outputs Full range (0–255); "High" or "Full" when source outputs Limited range (16–235) | Match to source: set "Full" if the connected PC or media player outputs Full range; set "Limited" if the source outputs Limited range | Play a near-black gradient test clip; adjust until the darkest visible shade is distinctly lighter than pure black |
| Brightness | "Brightness," "Black Level," "Picture Brightness" | Set too low — below 45 on a 0–100 scale on most commercial displays | 50 as a starting point; adjust down only after confirming black crush is absent | Near-black gradient test clip: all gradient steps near black should be individually distinguishable |
| Gamma | "Gamma," "Gamma Correction," "BT.1886" | 2.4 or higher — steepens the tone curve and darkens midtones and shadows | 2.2 for most recognition display environments with mixed ambient light | Dark portrait test: shadow detail on face and dark uniform should be visible |
| Dynamic Contrast | "Dynamic Contrast," "Smart Contrast," "ASCR," "DCR," "Mega Contrast" | Any setting other than Off — dynamic contrast adjusts black level per-frame and can crush dark scenes | Off (disabled) | Dark video test clip: disable dynamic contrast and confirm shadows stabilize rather than fluctuating |
| Picture Mode | "Picture Mode," "Scene Mode," "Display Mode" | "Movie," "Cinema," or "Theater" presets — these often increase gamma and lower black level | "Custom," "Standard," or "sRGB" as a starting point for recognition display use | Compare the same dark portrait in "Movie" mode vs. "Standard" mode and verify shadow retention |
| Local Dimming | "Local Dimming," "FALD," "Direct-Lit Local Dimming" | High or Maximum — aggressive local dimming can crush near-black areas near bright elements | Low or Off for content with mixed dark and light elements on the same screen | Content with a dark portrait next to a bright name overlay — verify the dark area is not dimmed excessively by the bright neighbor |
Tools Required
| Item | Purpose |
|---|---|
| Near-black gradient test clip or PLUGE pattern | Reveals whether the display can distinguish tones from 0 to approximately 30 on a 0–255 scale |
| Dark athlete portrait image | Tests shadow detail retention in real recognition content |
| Indoor sports video clip (gymnasium or arena footage) | Tests dark shadow areas in motion and low-light athlete content |
| Night-game or outdoor evening photography | Tests tonal range in stadium-lighting conditions |
| Display OSD access | Locate HDMI Black Level, Brightness, Gamma, Dynamic Contrast, and Picture Mode settings |
| Observation log | Document each setting value and test result at each step |
| Calibrated display for comparison (optional) | A laptop or tablet showing the same content provides a reference for what the content should look like |
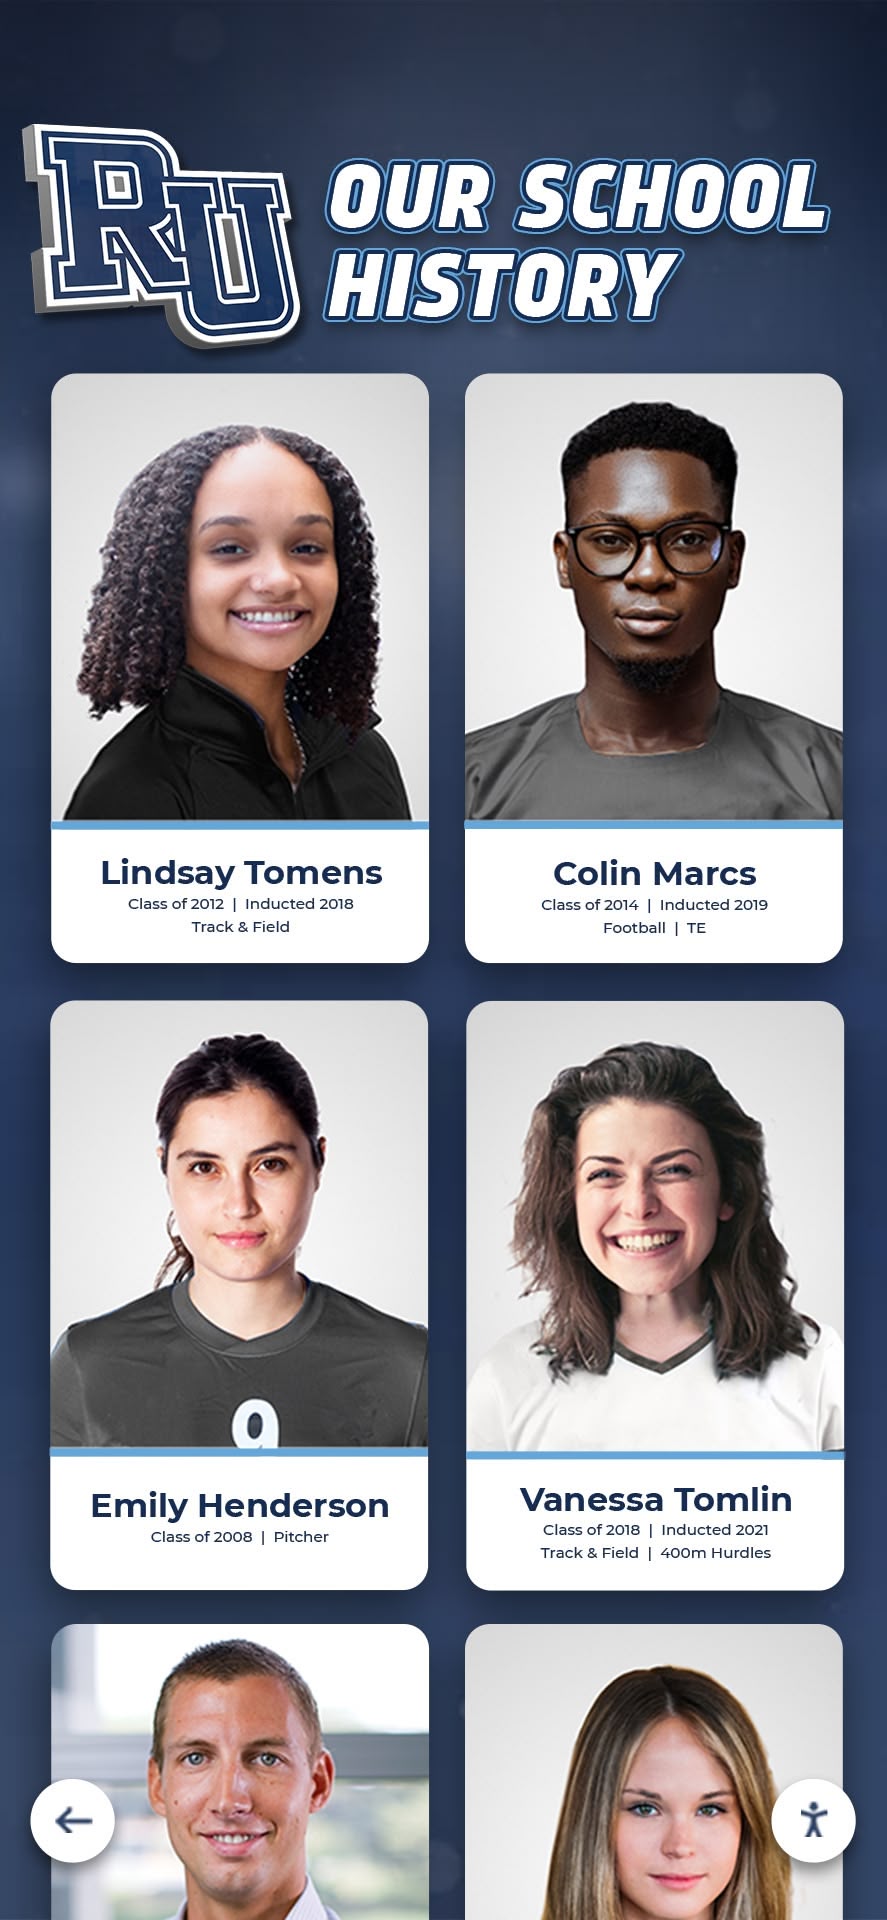
Portrait-format recognition content is among the most likely to be damaged by black crush — shadow contours that distinguish a face from its background depend on the display accurately rendering very dark gray tones
Recognition Display Black Crush Test Procedure
Step 1: Baseline Display Configuration
Reset the display to factory defaults or document the existing settings precisely if the vendor has already configured the display for installation. Record the current values for HDMI Black Level, Brightness, Gamma, Dynamic Contrast, Picture Mode, and any Local Dimming setting.
Allow the display to warm up for at least 15 minutes before beginning the test. Thermal stabilization affects backlight uniformity and brightness output, which can affect near-black tonal accuracy. Dim the room to approximately the ambient light level expected during normal recognition program operation — a fully lit room can mask black crush that becomes visible under standard corridor or lobby lighting.
Disable any automatic brightness adjustment or ambient-light sensor features for the duration of the test. These features change the display’s brightness in response to a light sensor, which can mask or amplify black crush depending on where the sensor is positioned.
Step 2: Near-Black Gradient Test
Play or display a near-black gradient test pattern — a ramp showing a continuous gradation from pure black (0, 0, 0 in RGB Full range) through progressively lighter dark grays up to approximately 10–15% brightness. The test pattern should include discrete step markers so individual tonal steps can be counted.
From the standard visitor viewing distance for this display location (8–12 feet for a corridor display, 4–6 feet for a lobby kiosk), count how many distinct tonal steps are visible above pure black. A correctly configured display should show at least eight distinguishable steps in the near-black region. Fewer visible steps indicate black crush.
Score: Pass (eight or more distinct steps visible from visitor distance) / Marginal (four to seven steps visible) / Fail (fewer than four steps visible; most near-black tones appear identical to pure black).
If this step fails, the most likely cause is a signal range mismatch. Before adjusting Brightness or Gamma, first verify the HDMI Black Level setting matches the signal range of the connected source device. Correcting this mismatch often resolves the gradient test in a single setting change.
Step 3: Dark Athlete Portrait Test
Display an athlete portrait photograph with a dark background — a player photographed under gymnasium lighting, a team photo against a dark wall or dark turf surface, or an archival photo from a night-game event. The photograph should include areas of genuine shadow where facial features, jersey detail, and background texture are present but in low light.
From visitor distance, evaluate three specific areas:
Facial shadow contours: Can you see the shape of the face, the distinction between cheek and background, and the shadow under the chin against a dark jersey or background? Black crush makes the face appear to merge with the background at the shadow boundary.
Dark uniform detail: Can you see the texture or shading on a dark jersey, pants, or uniform element against a similarly dark background? Black crush renders both the uniform and background as a single flat black.
Background gradient: If the photograph has a dark background with any graduation from one dark shade to another — a dark wall, a lit floor fading to shadow, an out-of-focus dark crowd — can you see the gradation? Black crush collapses these gradations to uniform black.
Score each area as Pass (detail visible from visitor distance), Marginal (detail visible only within 3 feet), or Fail (area appears uniform black with no distinguishable detail).
Step 4: Dark Video Footage Test
Play a video clip from an indoor athletic event — a gymnasium basketball game, a wrestling match under arena lighting, or a gymnastics competition. Choose footage with dark areas: under the bleachers, at the edges of the court or mat, or on the floor surface in shadow.
Observe whether the shadow regions of the video show the expected depth and texture of a real space, or whether they collapse into uniform black. Watch for the following specifically:
- Athletes emerging from shadow: A player running from a dark area toward the lit court should show visible body detail as they transition — black crush makes athletes appear to materialize suddenly at the edge of the lit area rather than gradually becoming visible.
- Floor and surface texture in shadow: The texture of the gymnasium floor, the mat, or the field turf in darker areas should be faintly visible. Black crush renders surface texture invisible.
- Crowd and bleacher detail: Spectators in the stands, particularly in upper rows or under overhang lighting, add context to event footage. Black crush renders crowd areas as uniform darkness.
Score: Pass (shadow regions show expected depth and texture from visitor distance) / Marginal (shadow detail partially visible with close observation) / Fail (shadow areas uniformly black with no distinguishable detail).

Portrait card formats used in recognition programs are tested against dark background content during acceptance — shadow detail visible on the portrait card at printing or web viewing should be equivalently visible on the recognition display
Step 5: Adjust Settings and Re-Test
If any step in the procedure scores Marginal or Fail, work through the Settings Decision Table in the order shown below. Change one setting at a time and re-run the affected test content before proceeding to the next setting.
First: Verify and correct HDMI Black Level / RGB Range. If the source device (PC, media player, or AV receiver) outputs Full RGB range (0–255) and the display is set to “Limited” or “Low,” the display clips the lowest 16 tonal steps entirely — producing severe black crush that cannot be corrected through Brightness or Gamma alone. Match the display setting to the source output. Most dedicated media players for recognition displays output Full range by default; verify in the source device’s display or video output settings.
Second: Adjust Brightness. If the signal range is correctly matched and black crush persists, increase the display’s Brightness setting (which controls black level, not overall luminance) by 5–10 points and re-run the gradient test. Continue increasing until the gradient test passes or until the black level appears gray on a true-black screen, then back off by 5 points.
Third: Check Gamma. A gamma setting above 2.2 darkens the tone curve and can produce apparent black crush in the lower tonal range. Reduce gamma toward 2.2 and re-run the dark portrait test.
Fourth: Disable Dynamic Contrast and Local Dimming. If either of these features is enabled, disable them and re-test. Dynamic contrast adjusts black level per scene and can crush near-black tones in dark scenes even when the static settings are correct.
Document each setting change and the resulting test score. Academic recognition programs — programs displaying portrait photography of students and athletes in a variety of lighting conditions — are most affected by black crush because the content regularly includes low-light and shadow-heavy photography that exposes the artifact.
Step 6: Final Configuration Documentation
Once all test steps pass or reach their best achievable score after settings adjustment, photograph every relevant OSD screen. Record the full OSD path and value for each setting changed: HDMI Black Level, Brightness, Gamma, Dynamic Contrast, Picture Mode, and Local Dimming. Include the display’s serial number, installation location, firmware version, and the date and name of the staff member who completed the test.
Store this documentation with the display’s installation record — alongside cable continuity logs, color calibration records, and mounting documentation. A display that passes the black crush test with a non-default Brightness or Gamma setting will revert to its original state after a factory reset or firmware update. The documented settings allow IT staff to restore the configuration without repeating the full test procedure.
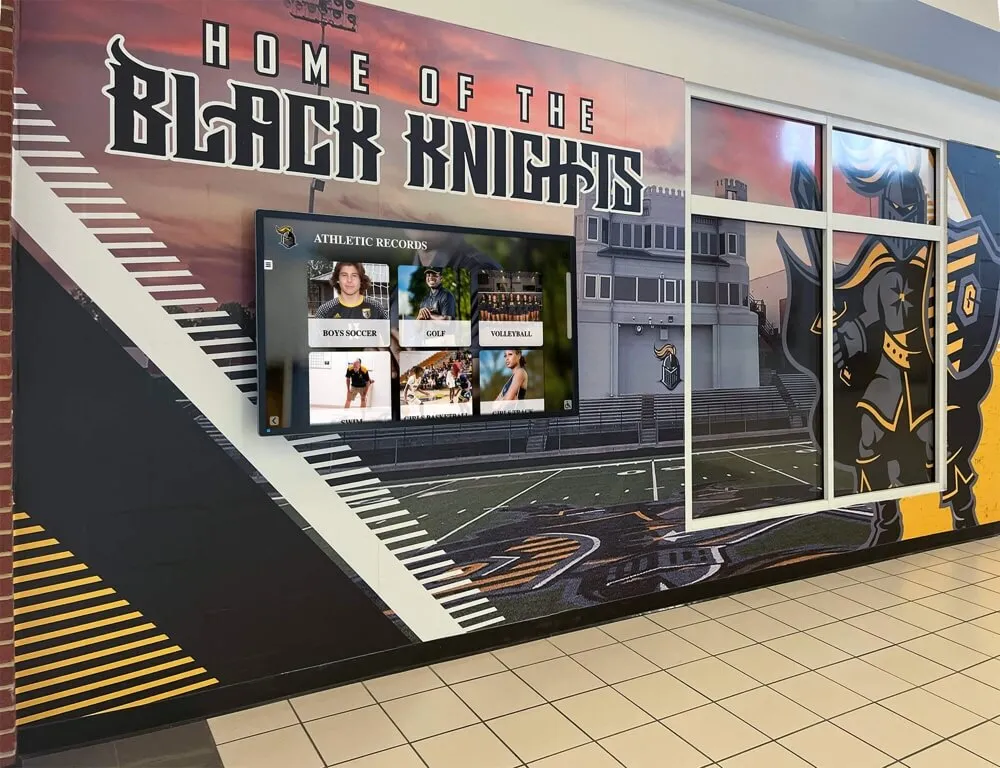
Hallway recognition displays with dark-themed murals and graphics are common in school athletic programs — validating that the display renders near-black tones accurately ensures the installed visual environment matches the design intent
Acceptance Scoring Table
Score each test step as Pass, Marginal, or Fail. A single Fail or two or more Marginal scores should trigger the settings adjustment sequence in Step 5 before accepting delivery. After adjustment, re-run all failed and marginal steps and record the final scores.
| Test Step | Content Used | Pass Criteria | Score (Pre-Adjust) | Score (Post-Adjust) | OSD Settings at Final Score |
|---|---|---|---|---|---|
| Near-black gradient | 0–30/255 gradient ramp or PLUGE pattern | Eight or more distinct tonal steps visible above pure black from visitor distance | |||
| Dark portrait — facial shadow | Athlete portrait with shadowed face against dark background | Shadow contours visible; face distinguishable from background at shadow boundary | |||
| Dark portrait — uniform detail | Dark jersey or uniform against dark background | Uniform texture or shading visible; not merged into background as uniform black | |||
| Dark portrait — background gradient | Dark photographic background with graduation | Background gradation visible; not collapsed to uniform black | |||
| Indoor sports video — shadow regions | Gymnasium or arena footage with dark areas | Shadow regions show depth and texture; athletes visible as they emerge from shadow | |||
| Indoor sports video — surface detail | Same clip; observe floor/mat/surface in shadow areas | Surface texture faintly visible in shadow; not uniformly black |
How Black Crush Affects the Athletic Recognition Experience
A recognition display communicates the school’s commitment to honoring its athletes and community. Black crush degrades that communication in ways that community members notice even without the vocabulary to name the problem.
It degrades the quality of historical archive photography. Many school recognition programs include photographs from decades-old athletic events — photographs that were taken on film, under older gymnasium lighting, and often in lower-light conditions than modern digital photography. These archive images are disproportionately likely to have dark, shadowed, or limited-tonal-range qualities that make them vulnerable to black crush. Academic achievement awards and athletic recognition programs that archive significant visual history depend on accurate display of this material — black crush can make a decades-old athletic achievement photo look degraded in a way that reflects poorly on the program’s archival care.
It makes intentionally designed dark content look like a mistake. Recognition program designers often use dark backgrounds deliberately — they create contrast, draw attention to text, and provide visual weight behind athlete names and championship years. When black crush collapses a designed gradient into flat black, it makes the design look accidental rather than intentional. The recognition program’s visual quality appears unpolished. Hall of fame display resources that address design principles for recognition programs note the importance of preserving the visual intent of each recognition element — display accuracy is part of that preservation.
It creates inconsistency between how content looks on design tools and how it looks on the installed display. Staff creating recognition content — athletic directors, communications coordinators, or AV staff — preview content on a computer monitor before publishing to the display. If the display has uncorrected black crush, the installed content will look darker and less detailed than the preview. This creates a recurring quality management problem: staff adjust content based on what they see on the recognition display (lightening dark backgrounds, reducing shadow depth) to compensate for a hardware artifact rather than a content quality issue.
Coordination with Other Display Acceptance Tests
The black crush test integrates with the broader acceptance process. Settings that affect black crush also interact with other display quality dimensions.
Run the black crush test after completing:
- Cable and signal chain verification — confirm that the source device is delivering the correct color depth, refresh rate, and color range before attributing tonal issues to the panel. A misconfigured cable or source device can produce apparent black crush independently of the display’s OSD settings.
- Backlight uniformity check — confirm that observed dark areas in test content are not corners of the display showing backlight bleed rather than actual black crush in the image signal.
Run the black crush test before completing:
- Color accuracy and gamut test — gamma and black level settings adjusted during the black crush test affect color rendering throughout the tonal range; finalize these settings before recording color acceptance results.
- Bright content and highlight review — confirm that Brightness adjustments made to correct black crush have not elevated the black level to a point where true black content appears gray; balance both ends of the tonal range before signing acceptance.
Interactive hall of fame platforms that combine photographic archives, video highlights, and typographic recognition content exercise the full tonal range of a display. Acceptance testing that covers both the near-black and near-white regions of the tonal range catches both black crush and white clipping before the program launches.
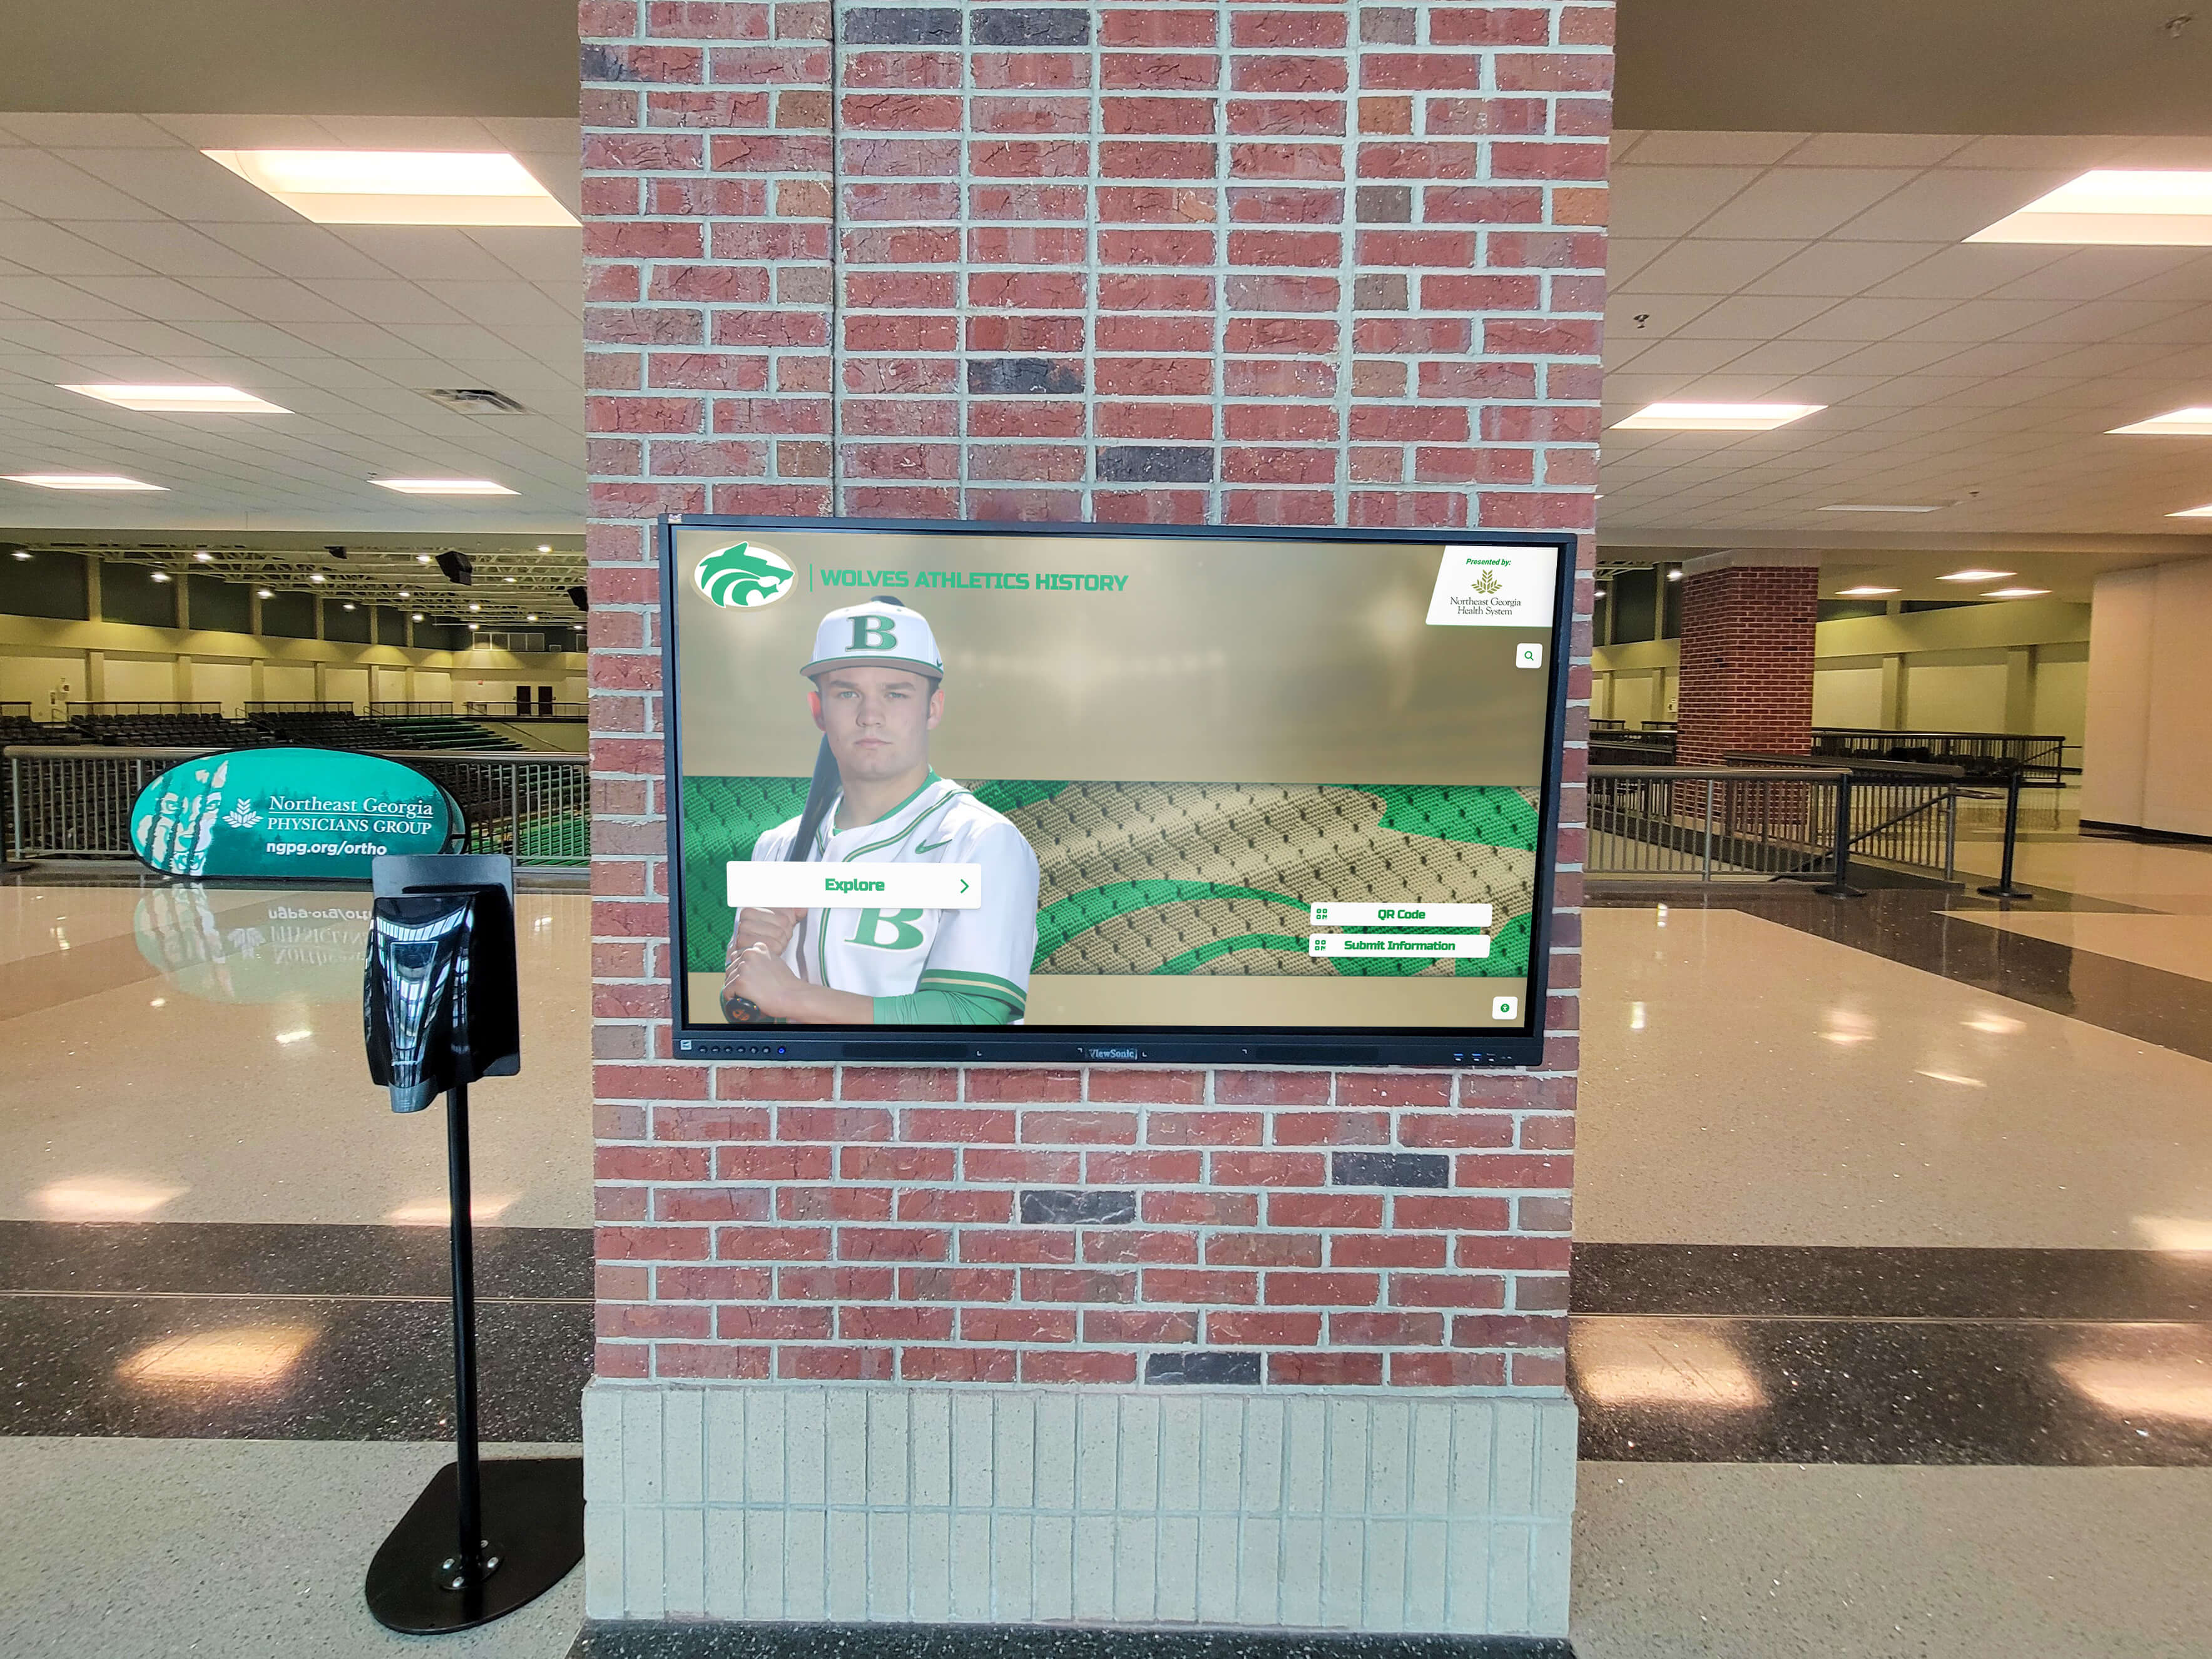
Arena and lobby recognition displays that show athlete photography with dark backgrounds are common failure points for black crush — the setting mismatch may not appear in bright-content previews but becomes immediately visible when dark portrait photography is displayed
Multi-Panel Installations and Content Consistency
Schools installing multiple recognition displays across a hallway sequence, gymnasium entrance, or hall of fame wing face an additional consideration: each panel may arrive with different factory default settings, and signal range matching must be verified for each display individually. A single signal range mismatch on one panel in a multi-display installation will make that panel’s dark content look obviously different from the others, even if all panels are showing identical content.
For multi-panel installations, run the near-black gradient test on each panel individually before comparing panel-to-panel consistency. Record the HDMI Black Level, Brightness, and Gamma settings for each panel separately — do not assume that matching OSD values across panels of the same model and batch will produce identical results. Production variation between batches can mean that matching the label of a setting does not match the actual tonal output.
Digital hall of fame tools and interactive touchwall display resources for athletics programs increasingly include content management guidance alongside hardware guidance — consistent black level accuracy across all panels in a multi-display recognition program is part of the content quality foundation that makes a recognition program look professionally maintained.
Frequently Asked Questions
What is the most common cause of black crush on a school recognition display?
Signal range mismatch is the most common cause. When a media player or PC outputs Full RGB range (0–255) and the display is set to “Limited” or “Low” for its HDMI Black Level setting, the display clips the 16 lowest tonal steps entirely — values 0 through 15 on a 0–255 scale are all treated as pure black. This produces severe black crush in all dark content. The fix is a single setting change: set the display’s HDMI Black Level or Input Range to “Full” or “High” to match the source’s output. Many commercial display installers set this incorrectly on installation — it is among the first settings to verify when dark content looks crushed.
How is black crush different from a picture that is simply too dark?
A dark picture — overall low brightness affecting the entire image — can be corrected by increasing the display’s Brightness or the content’s exposure. Black crush is a tonal collapse affecting only the lowest tonal range: bright and midtone areas may look correct while very dark areas lose all distinguishable detail. The diagnostic test is the near-black gradient: if a correctly dark picture shows distinct dark gray steps above pure black, the display is rendering the dark range accurately. If those steps merge into uniform black, the display has black crush regardless of overall brightness.
Can black crush be corrected through content editing rather than display settings?
Black crush can be partially compensated in content — lightening the dark regions of photographs, using lighter backgrounds in graphic templates — but this is a workaround that permanently changes the content rather than fixing the display. Content that is lightened to compensate for one display’s black crush will look washed out and faded on a correctly calibrated display. Correct the display setting rather than the content. If the display cannot be corrected through OSD settings — which would be unusual — document the limitation before accepting delivery.
Does black crush affect OLED recognition displays differently than IPS or VA panels?
OLED panels handle near-black tones through per-pixel light emission rather than a backlight, which means that true black is a powered-off pixel. Black crush on an OLED display produces a similar symptom — near-black gray tones collapsing to an unlit pixel — but the cause is typically a signal range mismatch rather than a brightness or gamma setting, because the OLED’s black is absolute (zero light). The gradient test and signal range verification procedure described here applies to OLED panels. IPS and VA panels can produce black crush through any combination of the setting causes in the decision table.
Should the black crush test be repeated after the recognition content management system is updated?
Repeat the test if a CMS update changes the video output settings, color range, or encoding format of the media player — changes that can alter the RGB range delivered from the source to the display. In most cases, CMS software updates do not change display hardware output settings, and the OSD configuration remains stable. However, if a CMS update is accompanied by a media player firmware update or a change in how video files are encoded and delivered, re-verify the HDMI Black Level match between source and display before accepting the updated content delivery.
What should we do if the display fails the black crush test and OSD corrections do not resolve it?
Document the specific failure: which test steps failed, what content was used, which OSD settings were tried, and the resulting scores at each setting level. Contact the vendor with this documentation before signing acceptance paperwork. In some cases, the display’s minimum HDMI Black Level or Gamma setting may not be adjustable enough through OSD controls to correct a severe mismatch — this is a hardware or firmware limitation that the vendor should address before the installation is accepted. Never accept a display on a commitment that a future firmware update will correct black crush — require the issue to be resolved with the equipment as delivered.
A recognition display black crush test is a targeted, repeatable procedure that any AV coordinator or IT staff member can run with real school content before the program launches. Identify the artifact through the near-black gradient and dark portrait tests, trace the cause to the most likely setting using the decision table, adjust one setting at a time, and document the final configuration before signing acceptance. The test adds an hour to the installation acceptance process and prevents a display quality problem that would otherwise be visible to every community member who engages with the school’s recognition program.
Looking for a recognition display partner that validates hardware configuration alongside content quality before go-live? Rocket Alumni Solutions deploys interactive hall-of-fame, athletic record board, and donor wall systems in schools nationwide, with structured installation processes that include display hardware configuration as part of the deployment. Request a demo to learn how their managed approach covers the technical details so your team can focus on building a recognition program your school community will be proud of.