Black video on an athletic recognition touchscreen — where a championship highlight reel or senior recognition clip should be playing — stops visitor engagement before it starts. Before adjusting any browser or OS setting, open the browser’s built-in GPU status page. It records exactly what the display hardware supports, which video codecs are enabled for hardware-accelerated decode, whether the browser’s GPU process started correctly, and which driver version is installed. That report gives you a factual baseline so every subsequent test changes one variable at a time rather than cycling through uninformed guesses.
The direct answer for school IT: navigate to chrome://gpu in the Chromium-based browser running your recognition display. Read the “Video Decode” and “Hardware-accelerated video decode” rows near the top of that page. Note the driver and browser version strings shown in the lower sections. Then play a known-good local video file — in the same codec your recognition platform uses — directly in the browser. If the local clip plays and your embedded recognition video does not, the problem lies in the network, embed code, or content delivery layer rather than in the GPU or decoder. If neither plays, the GPU report already contains the specific line that explains why hardware decode failed or was blocked.
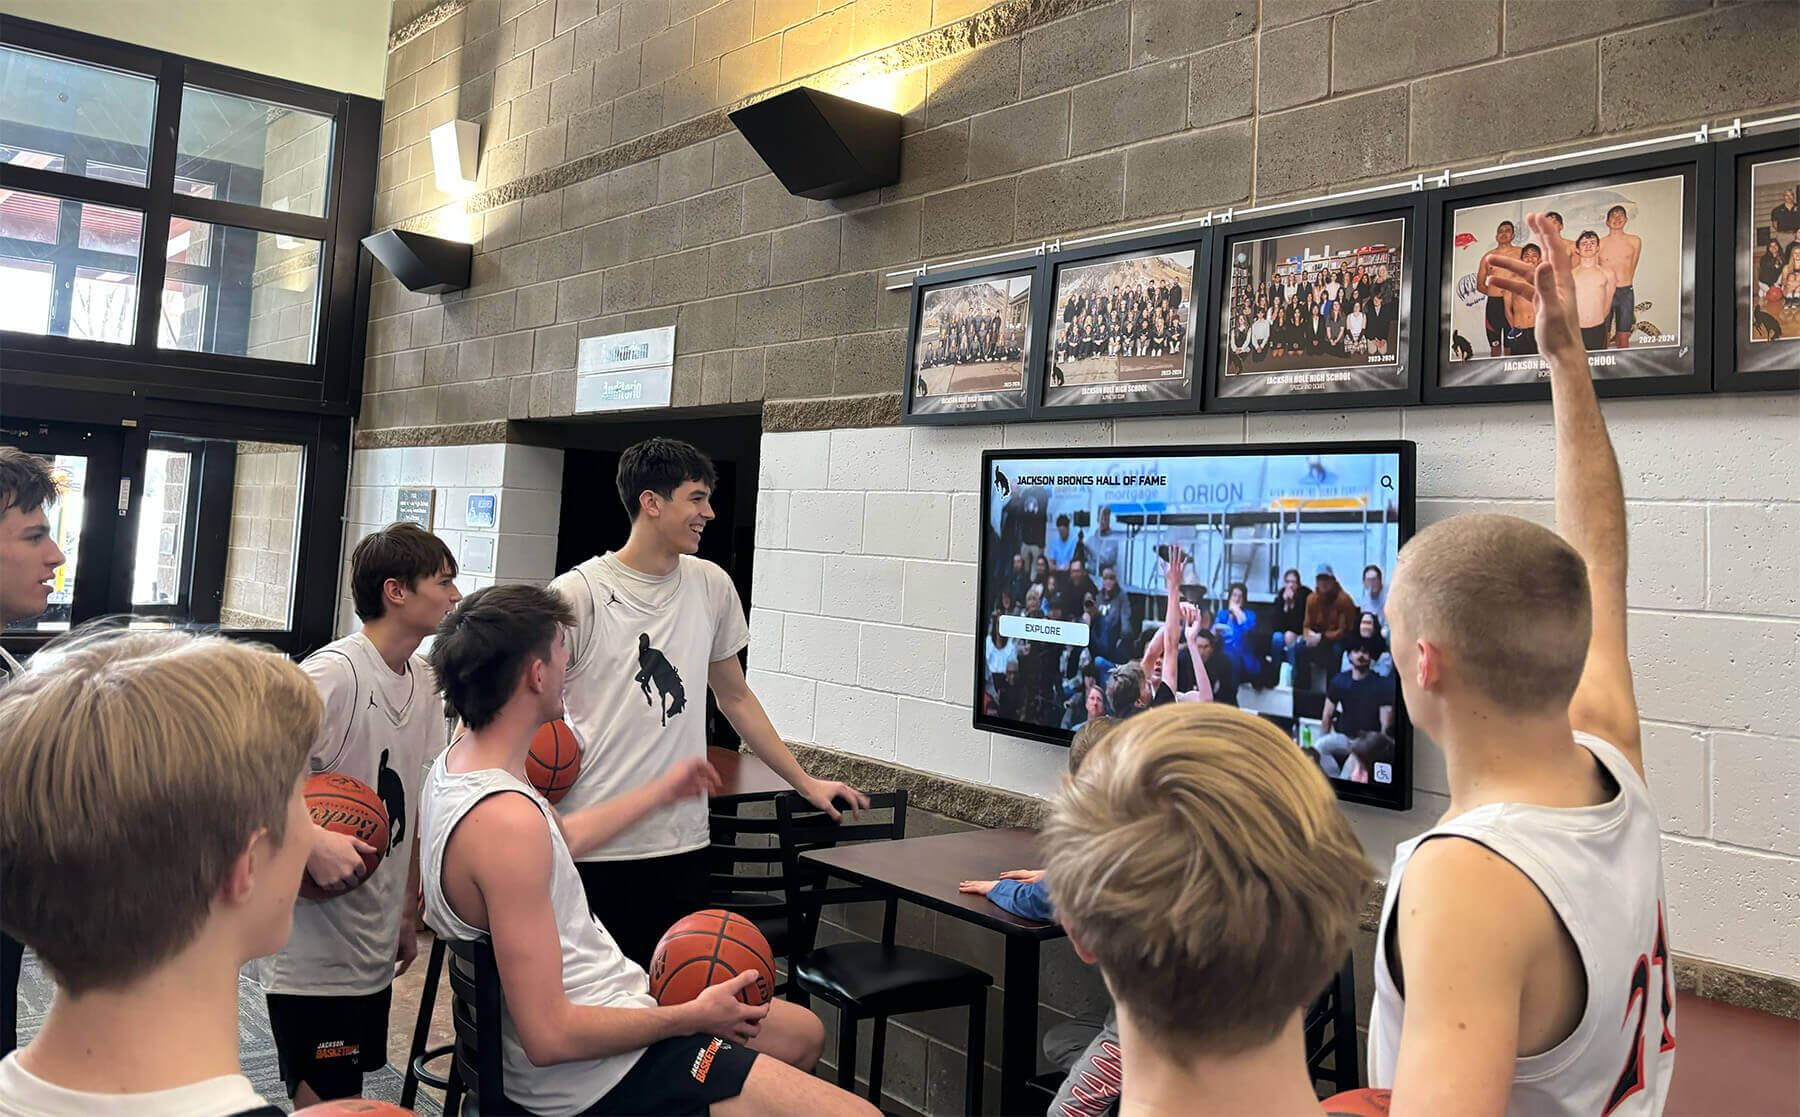
Athletic recognition displays rely on reliable video decode to present highlight content to students, families, and community members. The browser's GPU status report reveals the exact decode path the display hardware is using before any setting is changed.
Why the GPU Report Comes Before Any Setting Change
An athletic recognition touchscreen running a Chromium-based browser operates a separate GPU process alongside the main browser process. That process handles hardware-accelerated video decoding, 2D compositing, and WebGL rendering. Chromium’s GPU system is multi-process by design, which means a failure in the GPU process does not necessarily crash the browser — it may simply produce a black rectangle where the video frame should appear.
The chrome://gpu page is the browser’s own diagnostic surface for this system. It lists which GPU features are active, which are disabled, and — critically — why each disabled feature was blocked. The reasons are specific: a particular driver version known to cause rendering failures, a codec the installed GPU does not support in hardware, or a feature deliberately disabled by the browser’s GPU blocklist to protect display stability.
Reading the report before changing settings prevents two common mistakes that complicate school IT diagnostics:
Changing hardware acceleration without knowing the baseline. If hardware acceleration is already disabled by the GPU blocklist — because the installed driver or GPU model is known to have a rendering defect — turning it on manually overrides a deliberate safety measure and may introduce new problems. If hardware acceleration is already on and video is still black, toggling it off is a valid one-variable test, but you need the starting state on record to interpret the result.
Blaming the wrong layer. Black video has four distinct possible causes — decoder failure, composition failure, network or CDN failure, and embed or iframe configuration failure. A one-minute GPU report review narrows the field before you spend time on the wrong layer.
The Chromium project’s GPU debugging documentation describes about:gpu as the place where the GPU process logs errors and warnings, and notes that it also shows when a GPU has been placed on the blocklist and hardware acceleration has been disabled. That documentation is written for Chromium engineers and contains developer-only flags and build options not appropriate for a production school kiosk. The diagnostic workflow here uses only the public-facing status page that is accessible on any standard Chromium installation.
Black Video Symptom Decision Table
Use this table to route the symptom to the most likely layer before opening the GPU report. Confirm your diagnosis with the numbered workflow in the next section.
| Symptom | Likely Layer | First Check | GPU Report Relevant |
|---|---|---|---|
| Black video on all clips, including local test files, in every browser on the device | Hardware or driver | GPU report: hardware acceleration status and driver version | Yes — primary diagnostic |
| Black video in one browser; plays in another browser on the same device | Browser-level decode or codec support | GPU report in the affected browser; compare Video Acceleration rows to the working browser | Yes — compare browsers |
| Local test clip plays correctly; embedded recognition video is black | Network, CDN, or embed configuration | Network tab in browser developer tools; iframe or embed source URL | No — GPU decode is working |
| Video plays but is black for the first 2–5 seconds, then appears | Composition or frame timing | GPU report: compositor and rasterization status rows | Yes — check compositor rows |
| Black video on certain recognition content only; other clips play normally | Codec or resolution mismatch on specific files | Identify the codec of the affected clip (Step 2 below); compare to GPU report decode list | Yes — codec-specific check |
| Video plays on staff preview device; black only on the kiosk display | Device-specific driver or hardware decode support | Run GPU report on the kiosk device specifically; compare driver version to the preview device | Yes — kiosk device baseline |
Step-by-Step Diagnostic Workflow
Step 1 — Open the GPU Report and Record the Baseline
On the athletic recognition touchscreen kiosk, open the Chromium-based browser and navigate to chrome://gpu in the address bar. If the display runs a locked-down kiosk mode, you may need to temporarily exit kiosk mode using your IT management console or a connected USB keyboard. Record the following fields before making any changes.
At the top of the page — “Graphics Feature Status”:
- Hardware-accelerated video decode: Enabled or Disabled (note the reason if disabled)
- Compositing: Enabled or Disabled
- Rasterization: Enabled or Disabled
If any row shows “Disabled” with a reason in parentheses, copy the exact reason text. Common reasons include “Software only, hardware acceleration unavailable” (the driver or GPU is not supported at the current driver version) and “Disabled by blocklist” (the browser’s safety rules have identified a known-bad driver version). These are distinct causes and do not share the same resolution path.
At the bottom of the page — “Driver Information” and “Basic GPU Info”:
- Driver version string
- GL renderer string (identifies the GPU chipset model)
- GL version string
Browser version: In a separate tab, navigate to chrome://version and copy the full browser version string including the build number. The combination of GPU model, driver version, and browser version is the information recognition platform technical support teams need to reproduce the issue in a test environment.
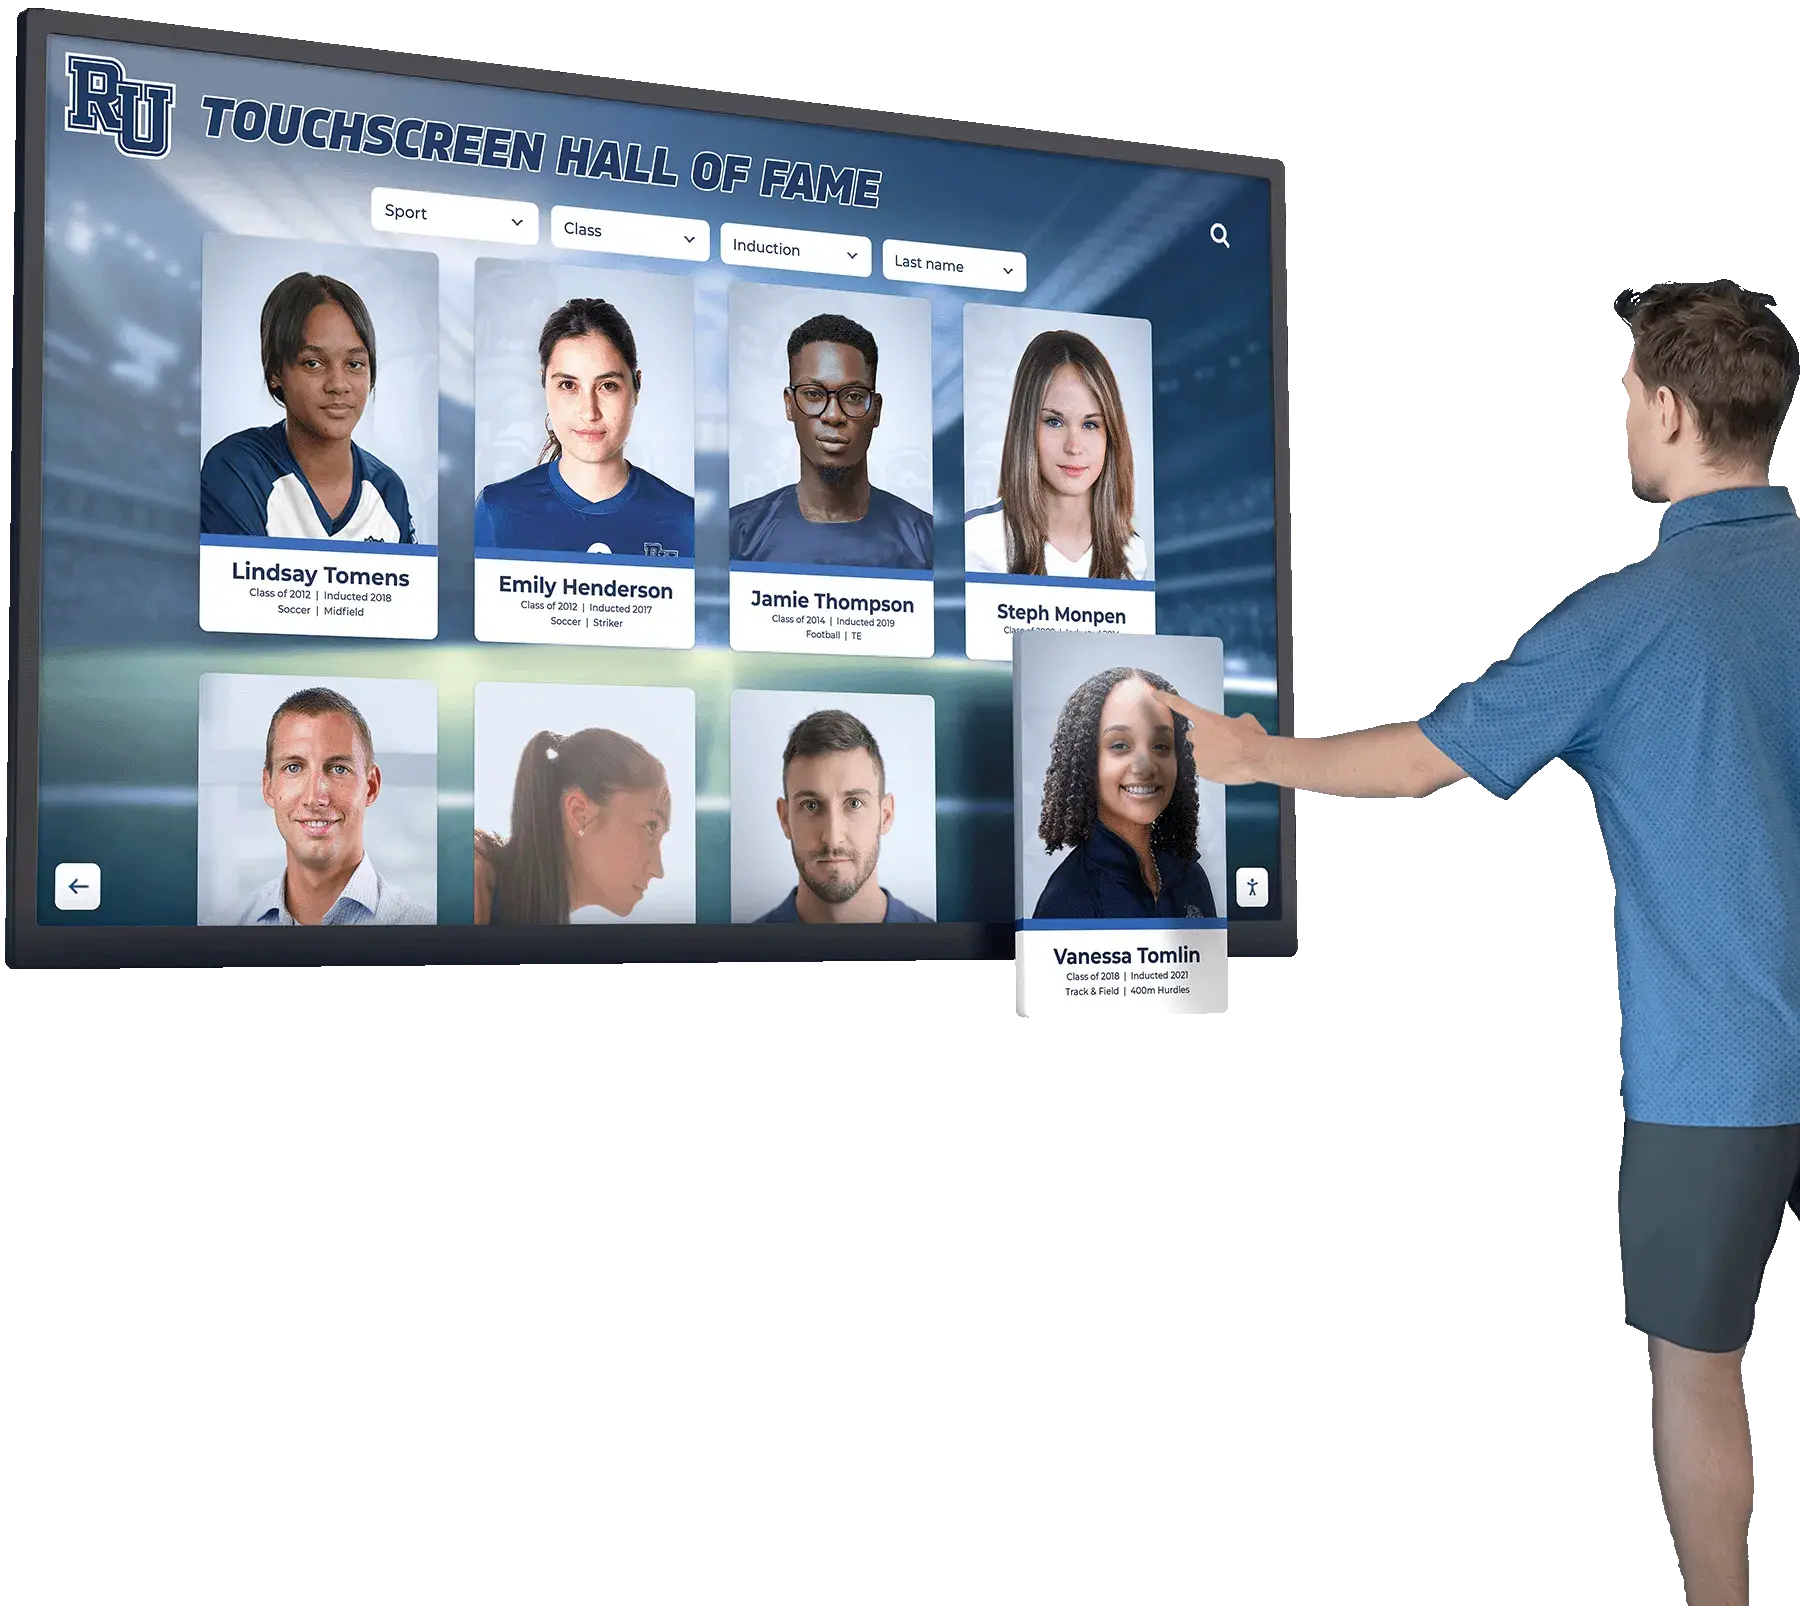
Diagnostic steps should be run on the exact kiosk hardware showing the symptom. GPU capability, driver version, and browser version differ between devices — a report from a staff laptop does not describe the kiosk's actual decode state.
Step 2 — Identify the Video Codec Your Recognition Content Uses
Before interpreting the GPU report’s decode rows, confirm the exact codec used by your school’s athletic recognition videos. Codec information is not visible from the video player itself — it requires checking the source file or asking the platform vendor.
If your recognition platform gives staff access to the underlying video files:
- Windows: Right-click the video file, select Properties, then Details. The “Video codec” field typically shows H.264 (also written AVC), H.265 (HEVC), VP9, or AV1.
- macOS: Open the file in QuickTime Player, then select Window > Movie Inspector.
- Any Chromium browser: Open browser developer tools (press F12), select the Media tab, play the video, and read the “Video Decoder” line.
For athletic recognition platforms where video files are hosted by the platform vendor rather than stored locally — which is common for schools using a cloud-based recognition CMS — ask the vendor’s technical team to confirm the delivery codec, container format (MP4, WebM, HLS), and whether adaptive bitrate streaming is used. These details determine which row of the GPU report applies to the symptom.
Step 3 — Match the Codec to the GPU Report’s Decode Status
Return to chrome://gpu. Scroll to the “Video Acceleration Information” section, which lists the specific codec and profile combinations the GPU supports for hardware decode. Common entries relevant to school athletic recognition content include:
- Decode H264 Baseline Profile — the most common format for athletic highlight clips and game recaps
- Decode H264 Main Profile and Decode H264 High Profile — variants used for higher-quality H.264 content
- Decode VP9 Profile 0 — relevant if the recognition platform delivers WebM-format video
- Decode HEVC Main Profile — relevant for H.265-encoded high-resolution or bandwidth-efficient recognition content
If the codec your recognition content uses does not appear in the Video Acceleration Information list, the GPU does not support hardware decode for that codec. The browser will fall back to software decode. Software decode is slower and uses more CPU, but it should still produce a visible image on most hardware. If the codec does appear in the list but hardware-accelerated video decode is listed as “Disabled” at the top of the page, the GPU blocklist has overridden the hardware capability. This typically means the installed driver version is below the threshold the browser requires for safe hardware decode.
Step 4 — Run a Known-Good Local Clip Test
The purpose of this step is to confirm whether the GPU and browser can play video at all, independent of any network or embed variable. Prepare a short video clip — 15 to 30 seconds — in the same codec your recognition content uses. A clip from the school’s athletic archive, a game recap, or a senior recognition segment is appropriate. The content matters less than confirming the file is the correct codec and container format.
Transfer the clip to the kiosk device using a USB drive. Open the Chromium browser on the kiosk — outside of kiosk mode if necessary — and drag the local video file into a new browser tab, or navigate to file:/// and open the file directly. Record whether playback succeeds, produces black video, or produces audio without a visible image.
If the local clip plays correctly: GPU decode is functioning. The black video symptom on the recognition platform is in the network, CDN, embed, or content delivery layer. Proceed to Step 6 and skip the hardware acceleration toggle test in Step 5.
If the local clip produces black video or fails to play: The problem is in the GPU or browser decode layer. Record the exact failure mode — black screen with audio, silent black screen, or an error message — and proceed to Step 5.
If the local clip plays in one browser but not in the recognition platform’s browser: Confirm which specific browser version the recognition platform uses. Some kiosk deployments run a pinned Chromium version that may have different codec support or GPU blocklist rules than the default system browser.
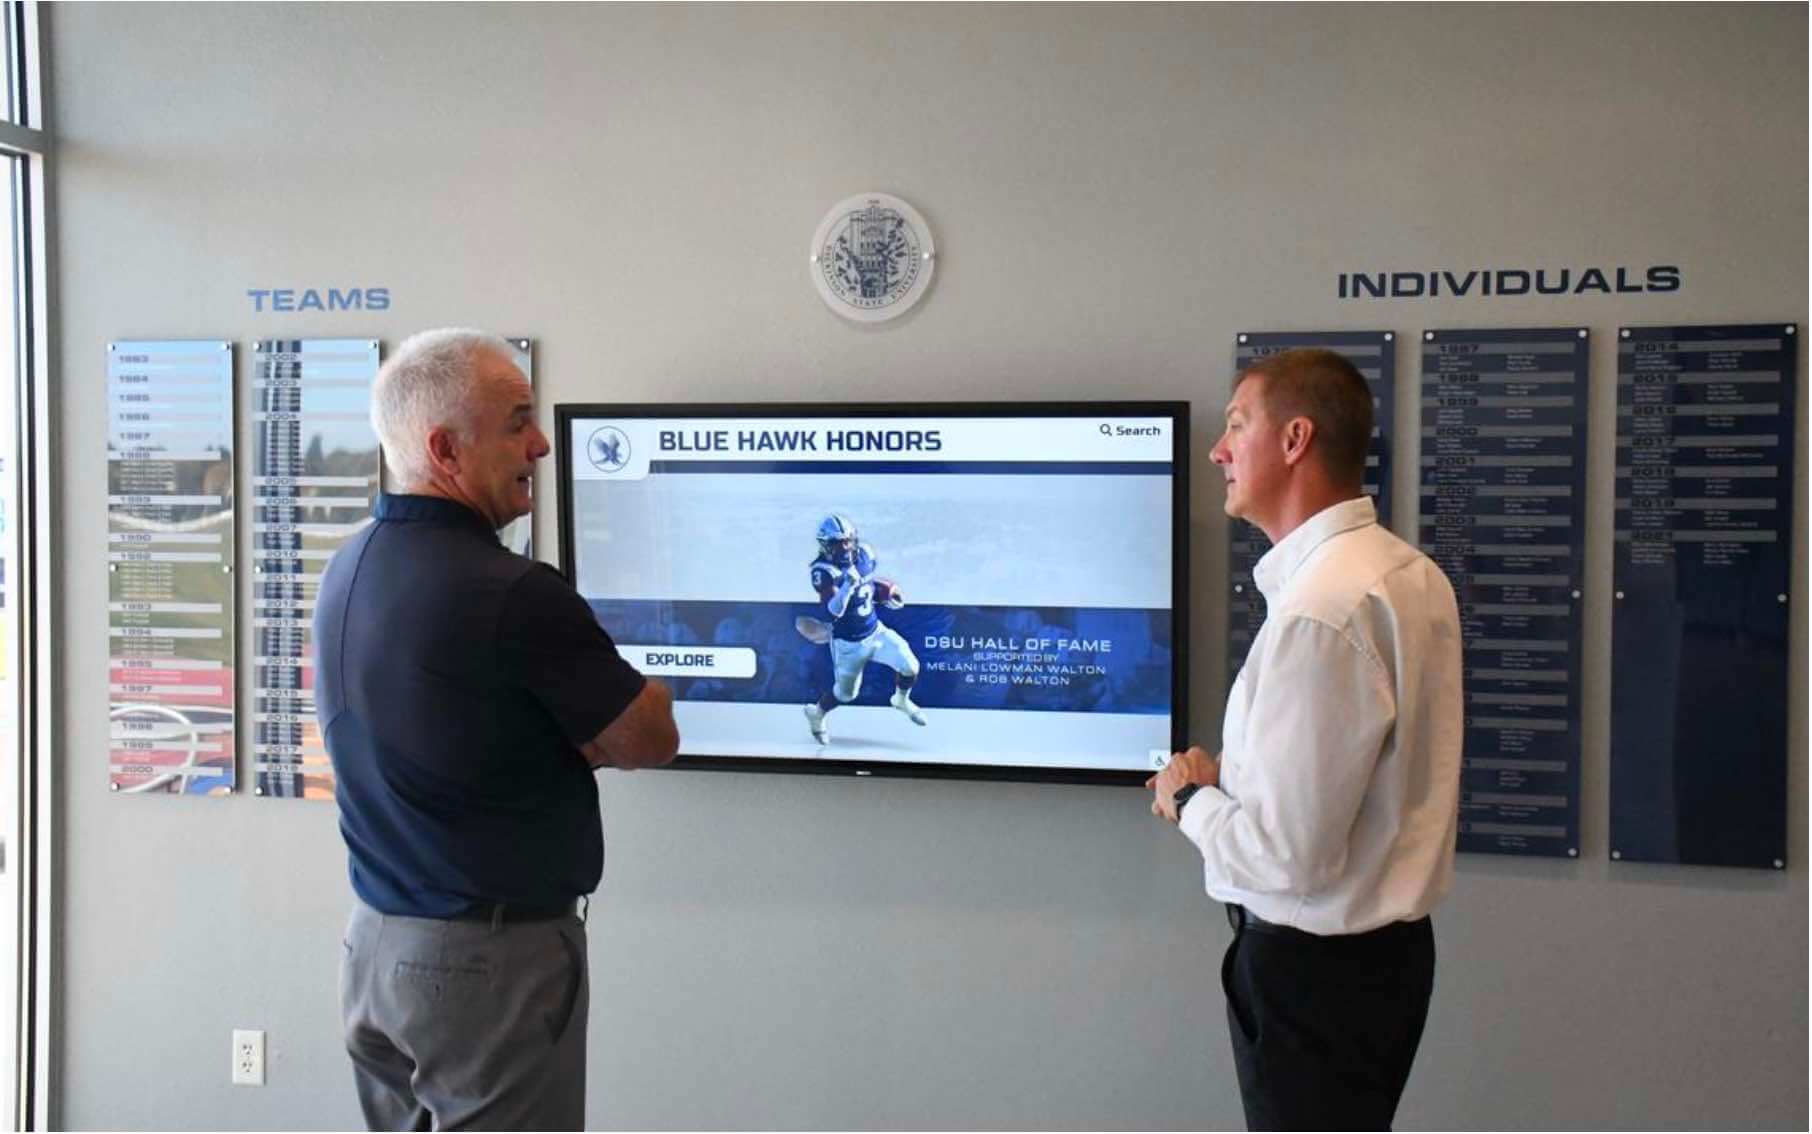
A known-good local clip test isolates the GPU and browser decode layer from network and platform variables. When the local clip plays and the embedded recognition video does not, the problem is in the delivery or embed configuration rather than the hardware.
Step 5 — Test Hardware Acceleration Before and After (One Variable at a Time)
If the local clip test in Step 4 produced black video and the GPU report shows hardware acceleration is currently enabled, you can test whether disabling it changes the behavior. This is a controlled one-variable test: change only the hardware acceleration setting, leave all other configuration unchanged, and record both states before deciding which to keep.
To disable hardware acceleration in Chrome or Chromium: navigate to Settings > System > “Use hardware acceleration when available” and toggle it off. The browser will prompt for a restart. After restarting, repeat the local clip test from Step 4 and record whether playback succeeds.
Caveats for school IT staff before running this test:
- Disabling hardware acceleration is not universally the correct resolution. On some hardware configurations, software decode produces worse outcomes — dropped frames, higher processor temperature, or audio synchronization problems — rather than better ones. Record the result for both the enabled and disabled states before committing to either in production.
- If the GPU report showed hardware acceleration was already disabled by the blocklist before you began diagnostics, the toggle in Settings is not changing the effective decode path. The browser has already been running software decode, and the toggle does not override a blocklist-driven block.
- A school recognition kiosk in production service should use the setting that produces reliable playback for the specific installed hardware, confirmed through this controlled test. If disabling acceleration fixes the black video symptom, document it as the preferred configuration for the specific device, driver version, and browser version combination — not as a universal recommendation.
After completing the test, restore hardware acceleration to the original state if software decode did not improve playback. Note both results in the test log.
Step 6 — Separate Network, CDN, and Embed Issues
When the local clip test in Step 4 plays correctly, the GPU and browser decode layer are functioning, and the investigation moves to delivery and embed.
Network check: On the kiosk device, open browser developer tools (press F12 or right-click and select Inspect). Go to the Network tab, then reload the recognition platform page containing the video. Watch for video resource requests that return error status codes — 403 (access denied), 404 (not found), or 0 (blocked or failed to connect) — or requests that stall at low progress for an extended time. A 403 status on a video resource typically means the CDN or storage service is not authorizing the request from the kiosk’s IP address, user agent, or referrer domain.
Embed check: If the recognition platform presents video inside an iframe, right-click the black video area and select Inspect. Read the iframe’s src attribute. Open that URL directly in a new browser tab on the kiosk. If the video plays directly but not inside the iframe, the iframe’s allow attribute may be missing the autoplay or encrypted-media permission, or the page’s Content Security Policy is blocking the video source domain. These are platform-side configuration issues to escalate to the recognition platform’s technical support team with the specific URL and error message.
Codec delivery check: Some recognition platforms select the video codec served to the browser based on the browser’s reported capabilities. If the platform detects that the kiosk browser does not support a preferred codec, it may serve a fallback format. Confirm with the platform’s technical team that codec fallback selection is working correctly for the browser and GPU combination installed on the kiosk, and that the fallback format appears in the kiosk’s GPU report Video Acceleration Information list.
Step 7 — Record Each Test as a Single-Variable Entry
Before proceeding to any further changes, create a test log entry for each step completed. A note in your school’s IT ticketing system, a shared document accessible to the IT coordinator and the recognition program administrator, or a printed worksheet all work. The critical requirement is that each row describes exactly one variable change.
| Test | Variable Changed | Before State | After State | Result |
|---|---|---|---|---|
| Local clip baseline | None — baseline only | GPU report: HW accel enabled / disabled | — | Plays / Black / Error |
| Hardware acceleration toggle | Hardware acceleration setting | Enabled | Disabled | Plays / Black / No change |
| Browser update | Browser version | [pre-update version] | [post-update version] | Plays / Black / No change |
| GPU driver update | GPU driver version | [pre-update version] | [post-update version] | Plays / Black / No change |
A single-variable log ensures that when a change resolves the problem, the record shows which change was responsible. It also gives the recognition platform’s support team the test sequence they need to reproduce the issue — or confirm it is resolved — without additional rounds of questions.
Step 8 — Driver and Browser Update as a Controlled Test
If the GPU report shows a driver version that is significantly out of date and the school’s IT policy permits driver updates on display hardware, updating the driver is a valid next step. Run it as a controlled test on one device before applying it to all display units:
- Record the current driver version from
chrome://gpuand the browser version fromchrome://version. - Back up the current display configuration: screen resolution, orientation setting, and kiosk mode startup parameters.
- Update the driver through the operating system’s device manager or the GPU vendor’s installer.
- Restart the device and reopen
chrome://gputo confirm the new driver version is shown. - Repeat the local clip test from Step 4 and record the result.
- If the update does not resolve the symptom, document this in the test log and consider rolling back the driver before returning the display to service.
Driver updates on production kiosk hardware can change display resolution behavior, audio output routing, or kiosk mode startup settings in ways that are unrelated to video decode. Testing on one device first, confirming the recognition display functions correctly in all respects, and then updating additional units in sequence reduces the risk of a single failed update affecting the entire recognition display fleet.
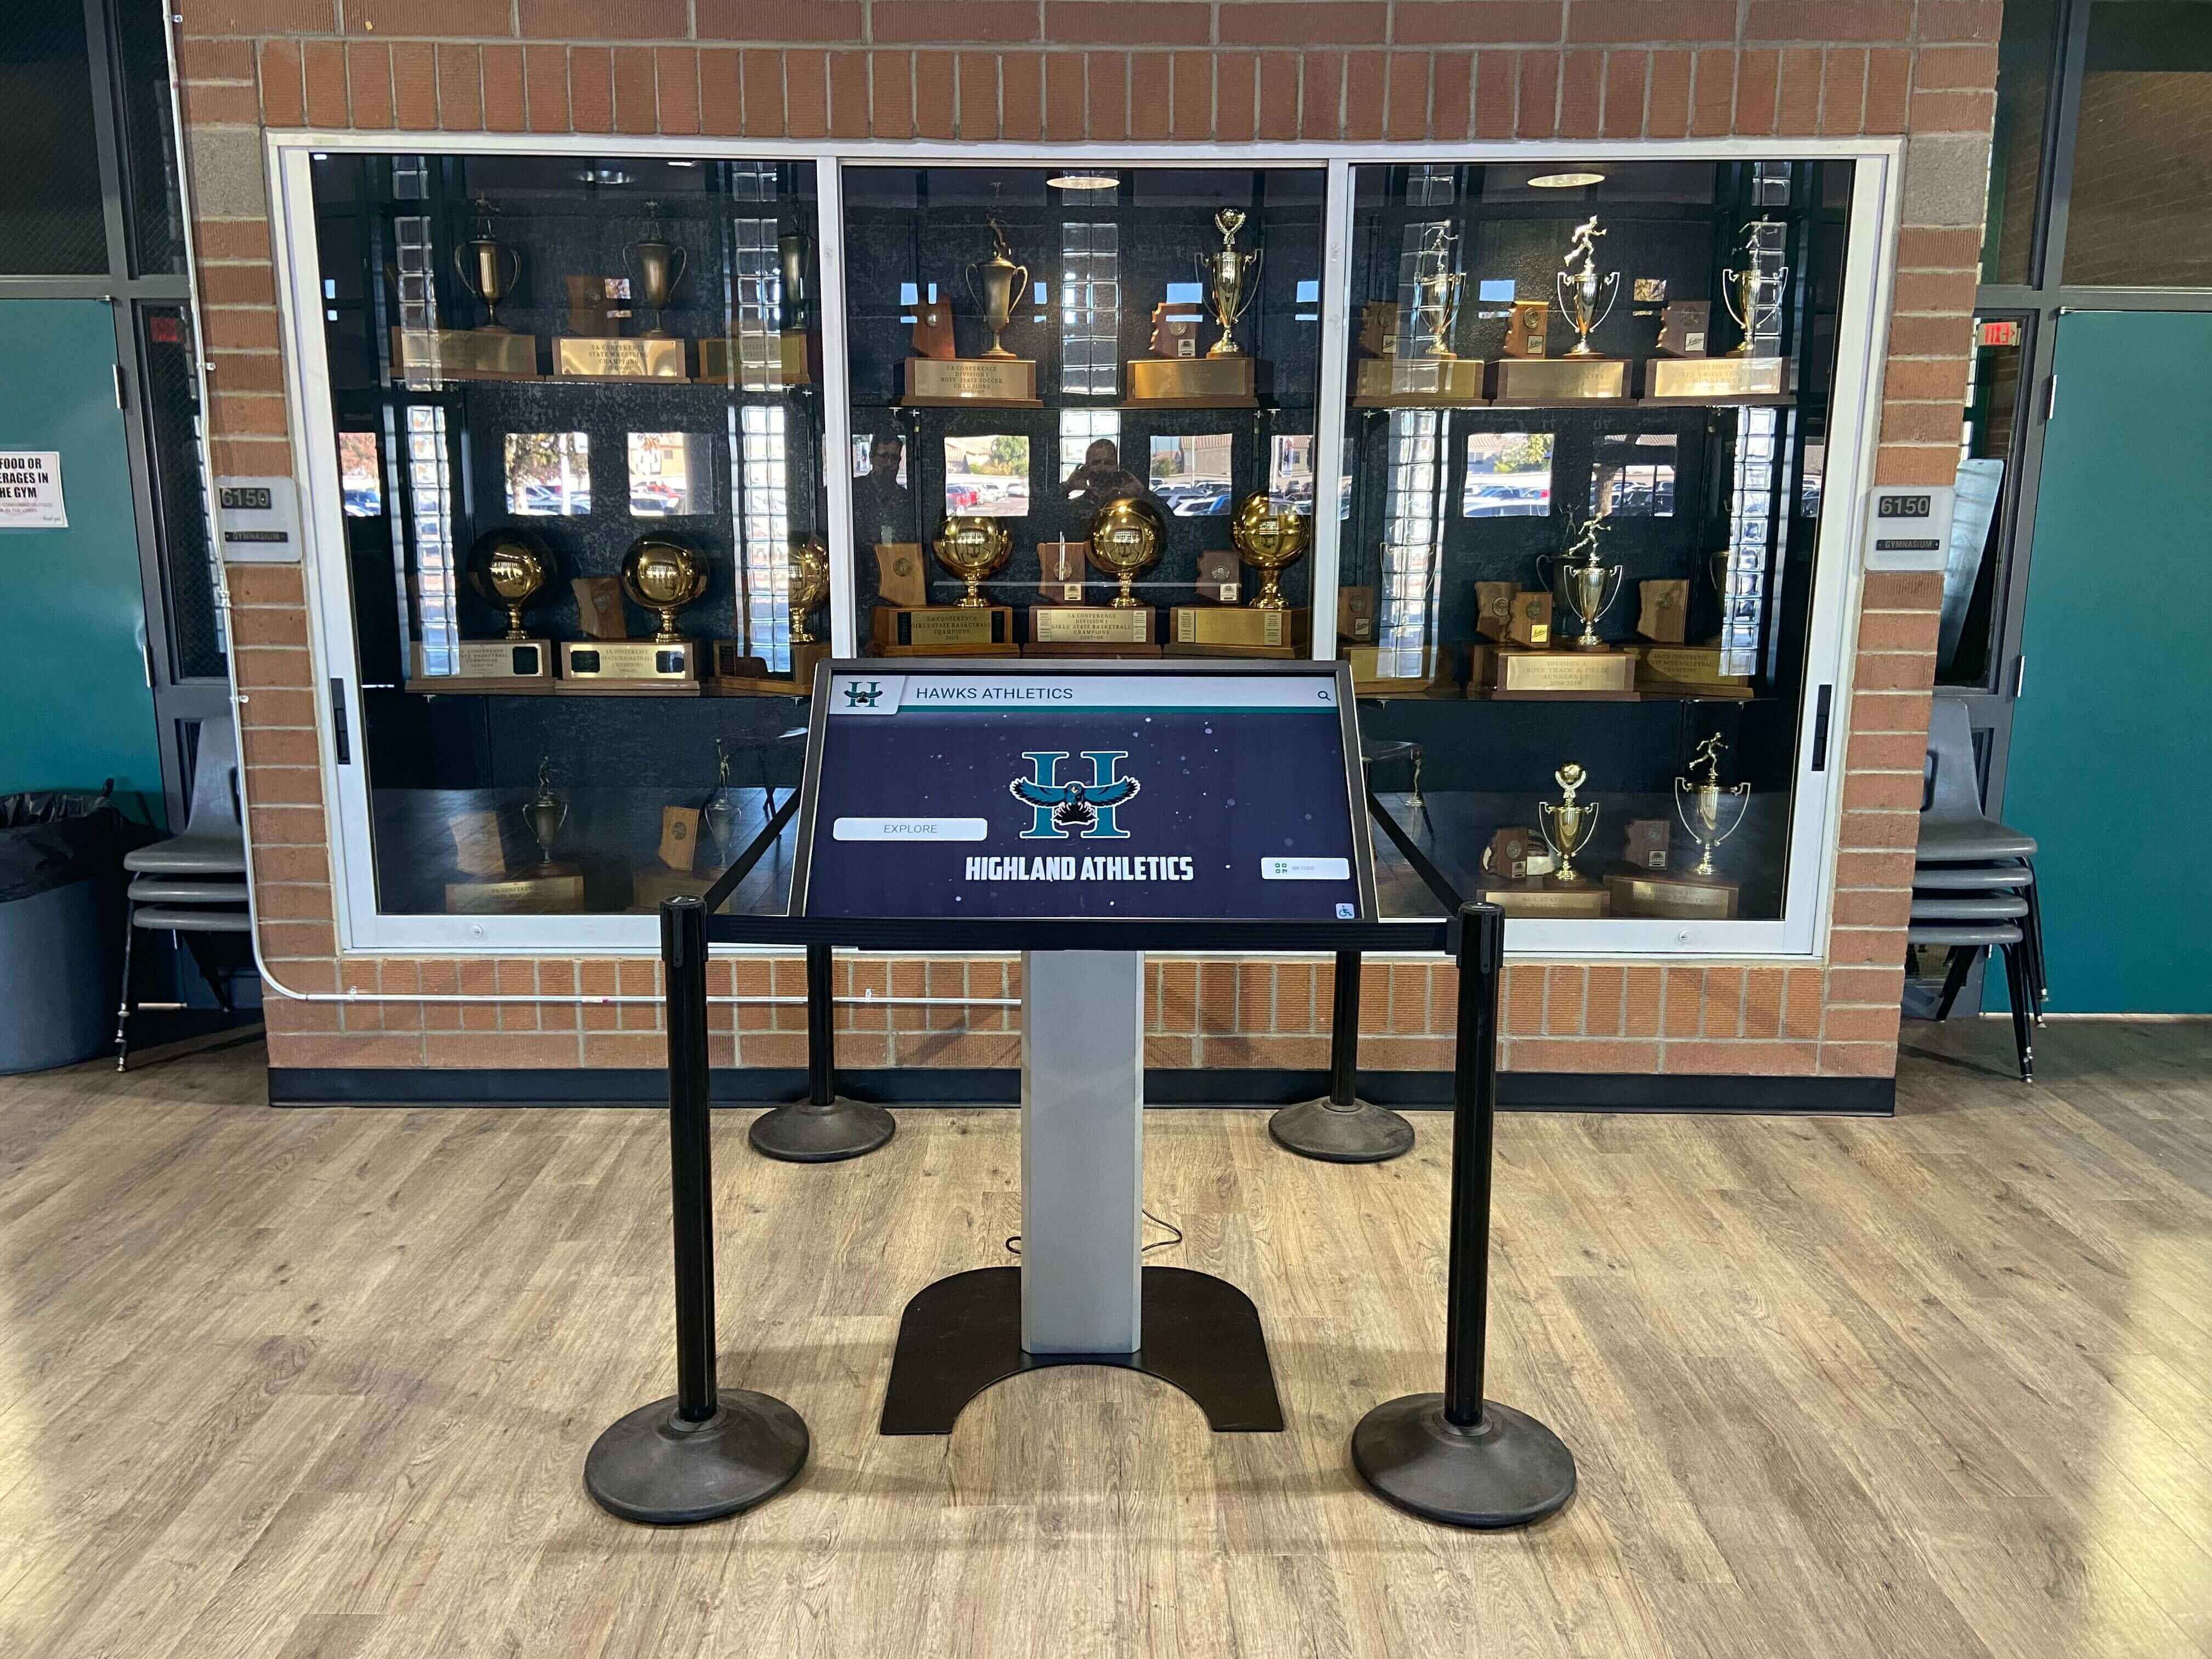
Staged updates — testing one kiosk device before applying changes to all display units — prevent a single failed driver or browser update from taking the entire school recognition installation offline.
Where GPU Diagnostics Fit in the Broader Recognition Display Workflow
Video decode diagnostics address one layer of a broader recognition display maintenance and commissioning process. Before a display goes live — or before a maintenance session that might affect hardware — parallel physical checks are equally important. The Touchscreen Recognition Display Dead-Pixel Inspection Checklist covers the structured panel inspection procedure for identifying display defects that can sometimes be confused with a black-video or rendering failure in the software layer.
For school athletic programs that manage recognition content across both a touchscreen display and a supporting website or content archive, video file organization extends beyond the kiosk itself. The Athletic Website Content Checklist: Teams, Records, Awards, Sponsors, and Alumni covers the content categories that schools commonly manage alongside their recognition displays, including video and media records that content administrators need to verify before publication.
Recognition platforms that store athlete and achievement data in a structured database may also track media file references as data fields. The Hall of Fame Profile Data Dictionary Template describes the data fields commonly used to standardize recognition profiles — including media references — so that IT staff and recognition program administrators share a consistent vocabulary when diagnosing which video record is affected by a black-screen symptom.
Copyable Diagnostic Checklist
Copy this checklist into your IT ticketing system or print it before beginning the diagnostic session. Fill in each recorded value before moving to the next step.
| Step | Action | Record This Value | Done |
|---|---|---|---|
| 1a | Open chrome://gpu; read Graphics Feature Status section | Hardware-accelerated video decode: Enabled / Disabled / Reason: ___________ | ☐ |
| 1b | Read Driver Information and Basic GPU Info sections | Driver version: ___________ | GL renderer: ___________ | GL version: ___________ | ☐ |
| 1c | Open chrome://version; record browser version | Browser version: ___________ | ☐ |
| 2 | Identify recognition content codec (file properties or vendor confirmation) | Codec: H.264 / H.265 / VP9 / AV1 / Other: ___________ | Container: MP4 / WebM / HLS / Other | ☐ |
| 3 | Match codec to Video Acceleration Information in chrome://gpu | Codec listed in GPU report: Yes / No | Profile: ___________ | ☐ |
| 4 | Transfer known-good local clip in matching codec; open in browser on kiosk device | Local clip result: Plays correctly / Black video / Audio only / Error: ___________ | ☐ |
| 5a | If local clip fails: disable hardware acceleration in Settings > System; restart; retest | Result with HW acceleration off: Plays / Still black / No change | ☐ (if applicable) |
| 5b | Restore hardware acceleration to original state; record both results in test log | Original state restored: Yes / No | ☐ |
| 6a | If local clip plays: open DevTools Network tab; reload recognition platform page | Video resource HTTP status: 200 / 403 / 404 / 0 / Other: ___________ | ☐ (if applicable) |
| 6b | If video is embedded: inspect iframe src; open URL directly in new tab | Direct URL plays: Yes / No | iframe allow attribute includes: ___________ | ☐ (if applicable) |
| 7 | Add each test result as a single-variable entry to IT test log | Log location: ___________ | ☐ |
| 8 | If driver update planned: record pre-update driver; update one device; retest; document result | Pre-update driver: ___________ | Post-update driver: ___________ | Result: ___________ | ☐ (if applicable) |
Accessibility and Presentation Review After Video Restoration
Once the video decode issue is resolved, confirm that restored playback meets the accessibility standards expected of school recognition displays. Video content presented to all visitors — including students with hearing impairments, parents using assistive technology, and community members with visual processing needs — benefits from closed captions and sufficient contrast between the video area and surrounding recognition content.
A related consideration during any display diagnostic session is how recognition content presents at high browser zoom levels. Some visitors increase zoom significantly to read smaller text within recognition profiles. The Digital Hall of Fame Reflow Accessibility Test at 400% Zoom describes the reflow test that confirms whether recognition content — including video containers — remains accessible and usable at high zoom without requiring horizontal scrolling.
For installations that serve visitors with mobility impairments or other access needs, the Hall of Fame Accessibility Checklist: Making School Recognition Usable for Every Visitor provides a structured review of the accessibility standards that apply to public-facing school recognition displays, covering concerns that go beyond video playback to the full visitor experience.
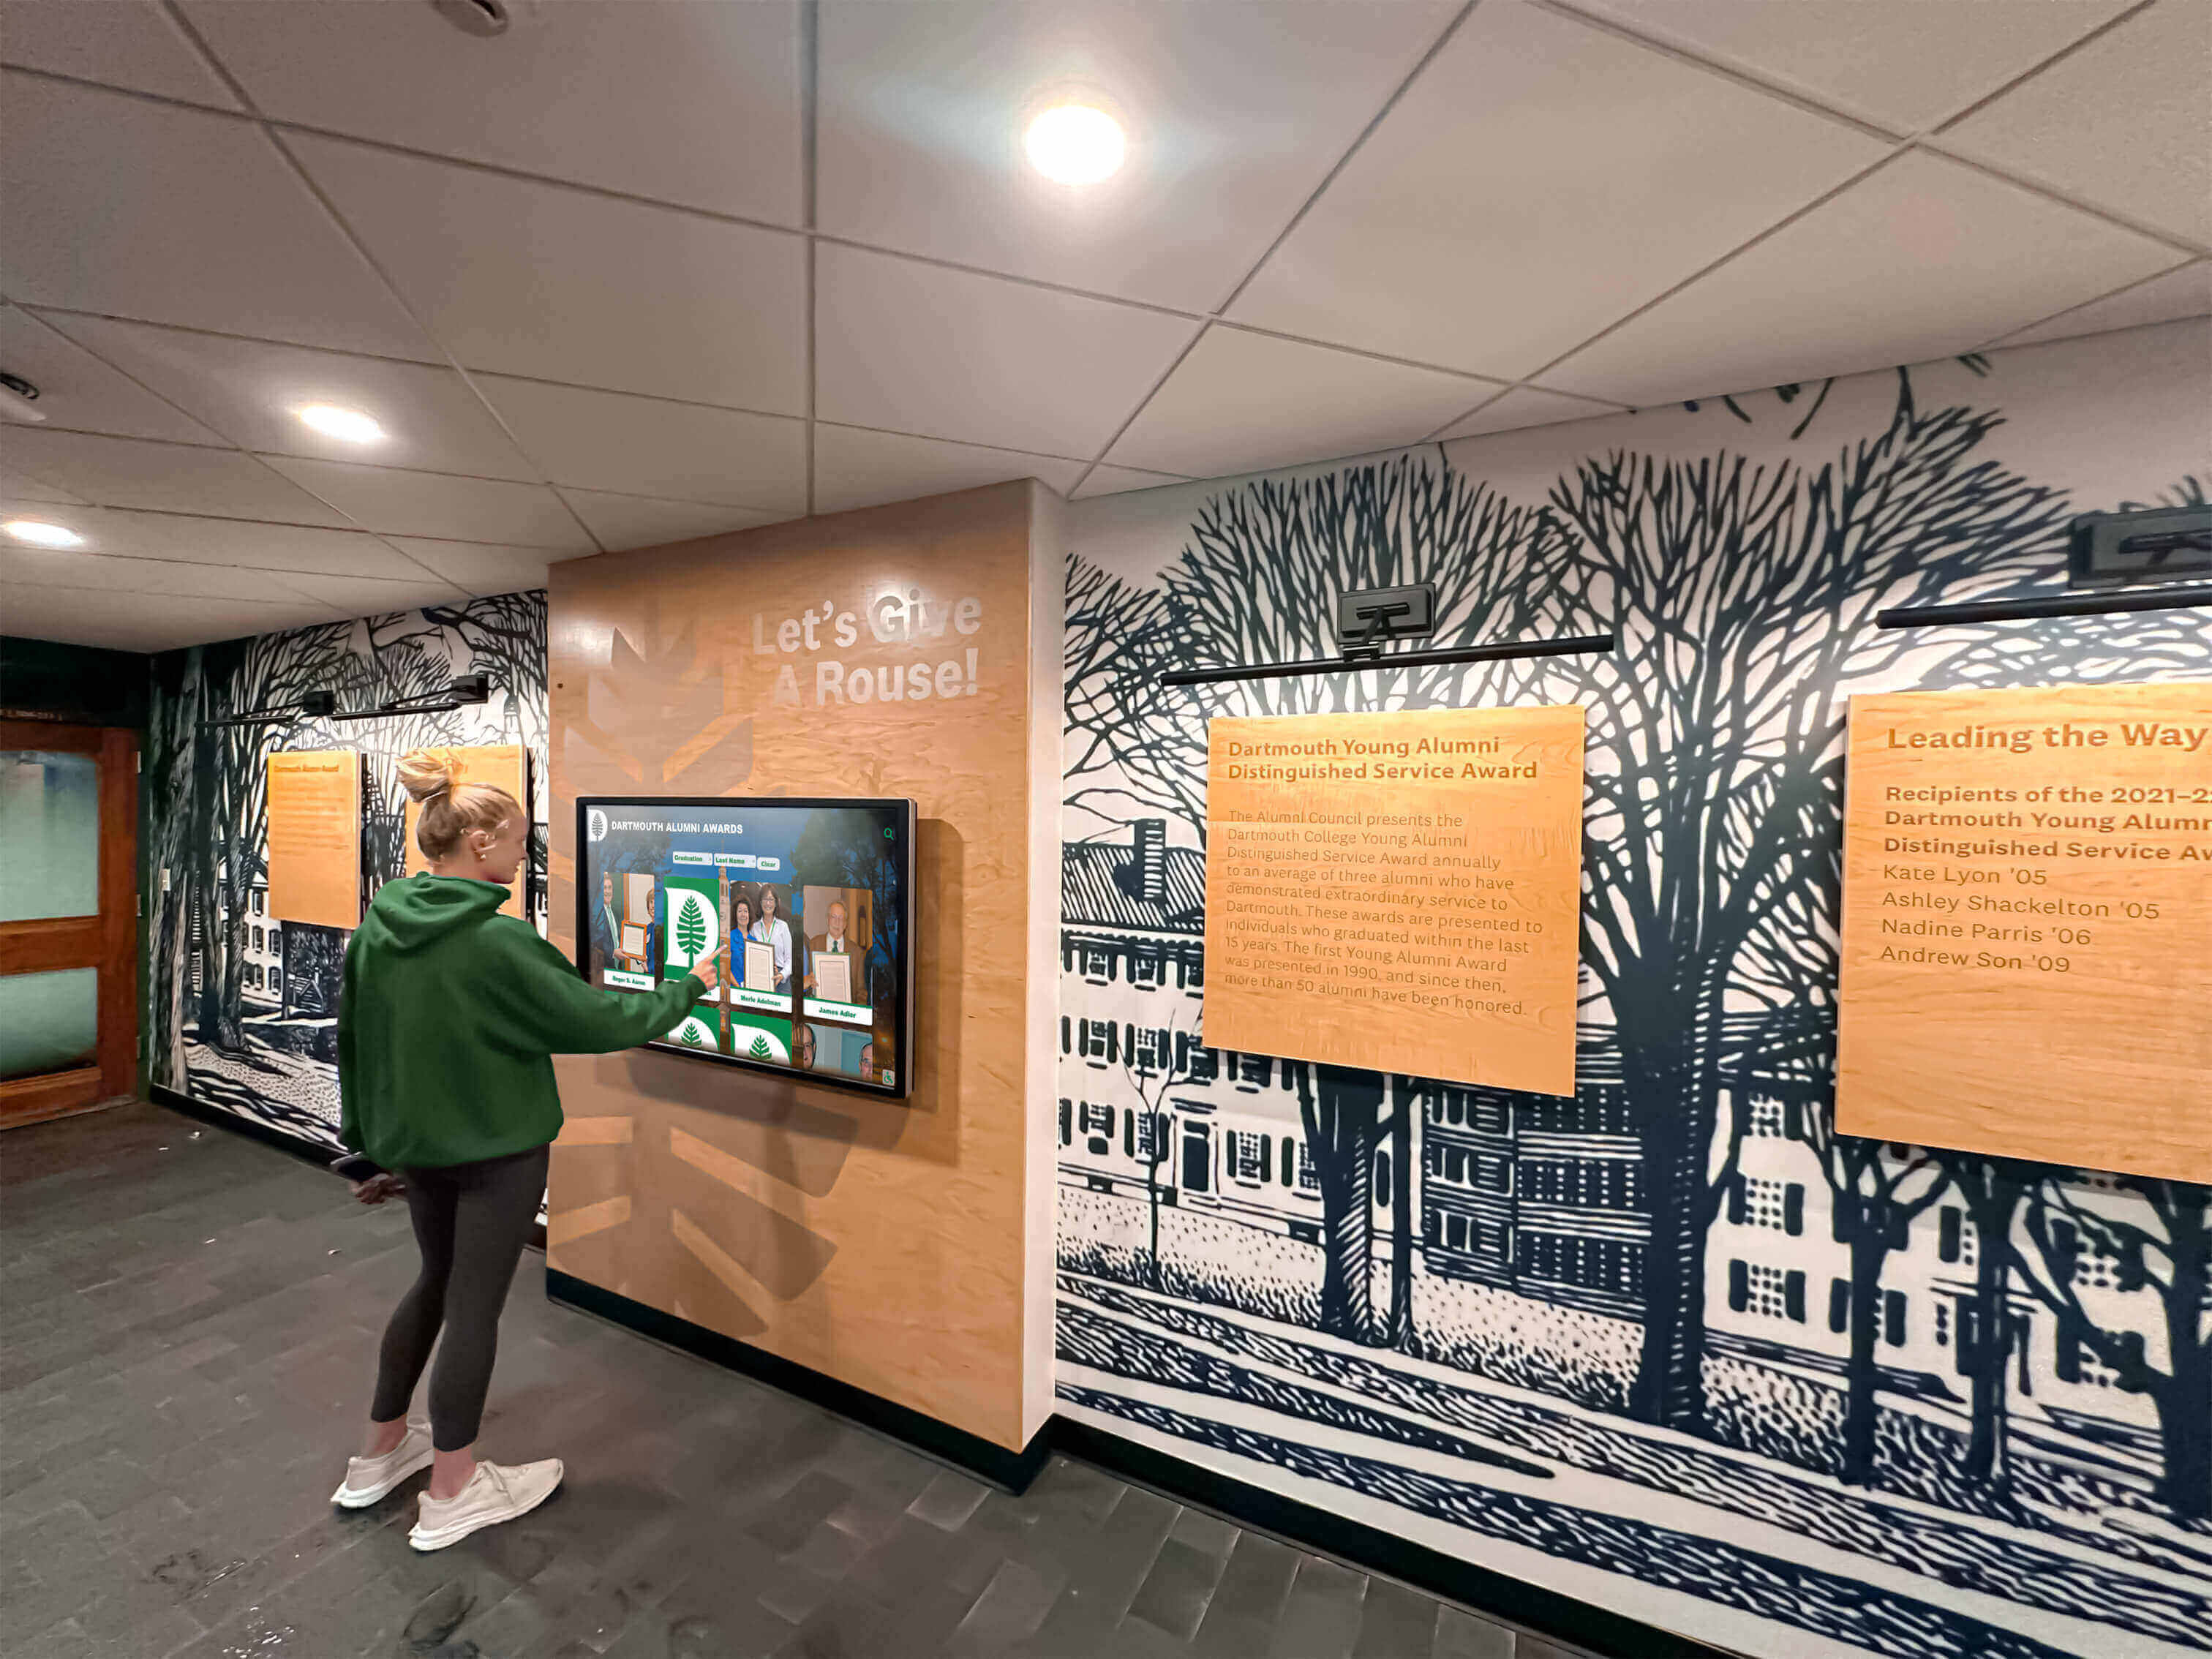
Athletic recognition displays serve visitors of all ages and abilities. After resolving a black video issue, verifying that captioned video and accessible contrast meet the school's recognition program standards is the final step before the display returns to service.
Frequently Asked Questions
What does the chrome://gpu page show about video decode on a school recognition display?
The chrome://gpu page in Chromium-based browsers presents a “Graphics Feature Status” section that lists whether hardware-accelerated video decode is enabled or disabled, along with the specific reason if it is disabled. Below that, a “Video Acceleration Information” section lists the codec and profile combinations the GPU supports for hardware decode. As described in Chromium’s GPU debugging documentation, this page also surfaces errors and warnings logged by the GPU process itself. For school IT staff diagnosing black video on an athletic recognition touchscreen, the feature status rows and video acceleration list are the most directly relevant sections for establishing a baseline before any setting is changed.
What does “Disabled by blocklist” mean in the GPU report?
The GPU blocklist is a set of rules built into the browser that identifies specific driver versions and GPU models known to cause rendering failures — including black video, flickering, and browser crashes — and disables hardware acceleration for those configurations. When chrome://gpu shows “Disabled by blocklist,” the browser has detected a driver version or GPU model that matches a known-problematic entry and has intentionally switched to software decode. The appropriate response is to update the GPU driver to a version the browser’s current blocklist rules approve, then recheck chrome://gpu to confirm the feature status changes. Using developer-only command-line flags to override blocklist rules is not appropriate for a school recognition kiosk serving students, families, and community members in a production environment.
Can chrome://gpu be accessed on a locked-down kiosk device?
On many school kiosk deployments, the address bar is hidden or unavailable in kiosk mode. To access chrome://gpu for diagnostics, temporarily exit kiosk mode using the device’s management console, a keyboard shortcut configured by your IT team, or a USB keyboard with the appropriate exit gesture. Run the full diagnostic on the same hardware that is showing the symptom — a report from a different device reflects a different GPU, driver, and browser configuration and does not describe the kiosk’s actual decode state. After completing diagnostics, verify that kiosk mode restores correctly and the recognition display returns to its expected presentation before closing the maintenance session.
Why does recognition video play on a staff preview device but show black on the kiosk?
Kiosk display hardware frequently uses older or embedded GPU chipsets with different hardware decode capabilities than a staff laptop or desktop. The staff device may support hardware decode for a codec that the kiosk’s GPU does not, or may have a newer driver version that is not on the GPU blocklist. Running chrome://gpu on both devices and comparing the “Video Acceleration Information” and hardware-accelerated video decode rows shows whether the capability difference is the source of the symptom. If the kiosk is running an older driver, a controlled driver update tested on one device first (Step 8 in the workflow) is the appropriate next action before updating all display units.
How do we identify the codec of a recognition video file without developer tools?
On Windows, right-clicking a video file and selecting Properties > Details shows the video codec field for most common formats. On macOS, QuickTime Player’s Movie Inspector (Window menu) shows codec and resolution information. For video files served by a recognition platform’s content management system — where files are hosted by the vendor rather than stored locally — ask the platform’s technical team to confirm the delivery codec, container format, and whether adaptive bitrate streaming is in use. These details are part of the platform’s encoding pipeline and should be available from technical support without requiring IT staff to inspect individual files.
When should IT involve the recognition platform’s technical support team?
Contact the recognition platform’s technical support team when: the local clip test plays correctly but the platform’s embedded video is still black (indicating a platform-side network, CDN, or embed issue); the GPU report shows codec support that should match the recognition content but black video persists (indicating a possible platform-side configuration mismatch); or a driver update fixed the symptom and the IT team wants the platform team to confirm the display passes their commissioning checks. Provide the recorded GPU report fields — hardware acceleration status, driver version, browser version, and codec — at the start of the support conversation so the team can reproduce the configuration without additional diagnostic rounds.
Black video on an athletic recognition touchscreen is a specific, diagnosable problem when approached as a controlled workflow. The browser GPU report gives you the actual state of the display hardware and driver before any setting changes. A known-good local clip confirms whether the decode layer is functional. Separating the four possible failure layers — decode, composition, network, and embed — prevents time spent investigating the wrong part of the stack. Every test recorded as a single-variable entry builds the documentation that resolves the issue faster and prevents recurrence when driver or browser updates cycle through the school’s recognition display fleet.
See Rocket's Athletic Recognition Display in Action
Rocket Alumni Solutions builds interactive hall-of-fame, athletic record board, and donor wall touchscreens for schools across the country — with technical support that helps IT teams get recognition video content displaying correctly from day one.
Request a Custom Demo